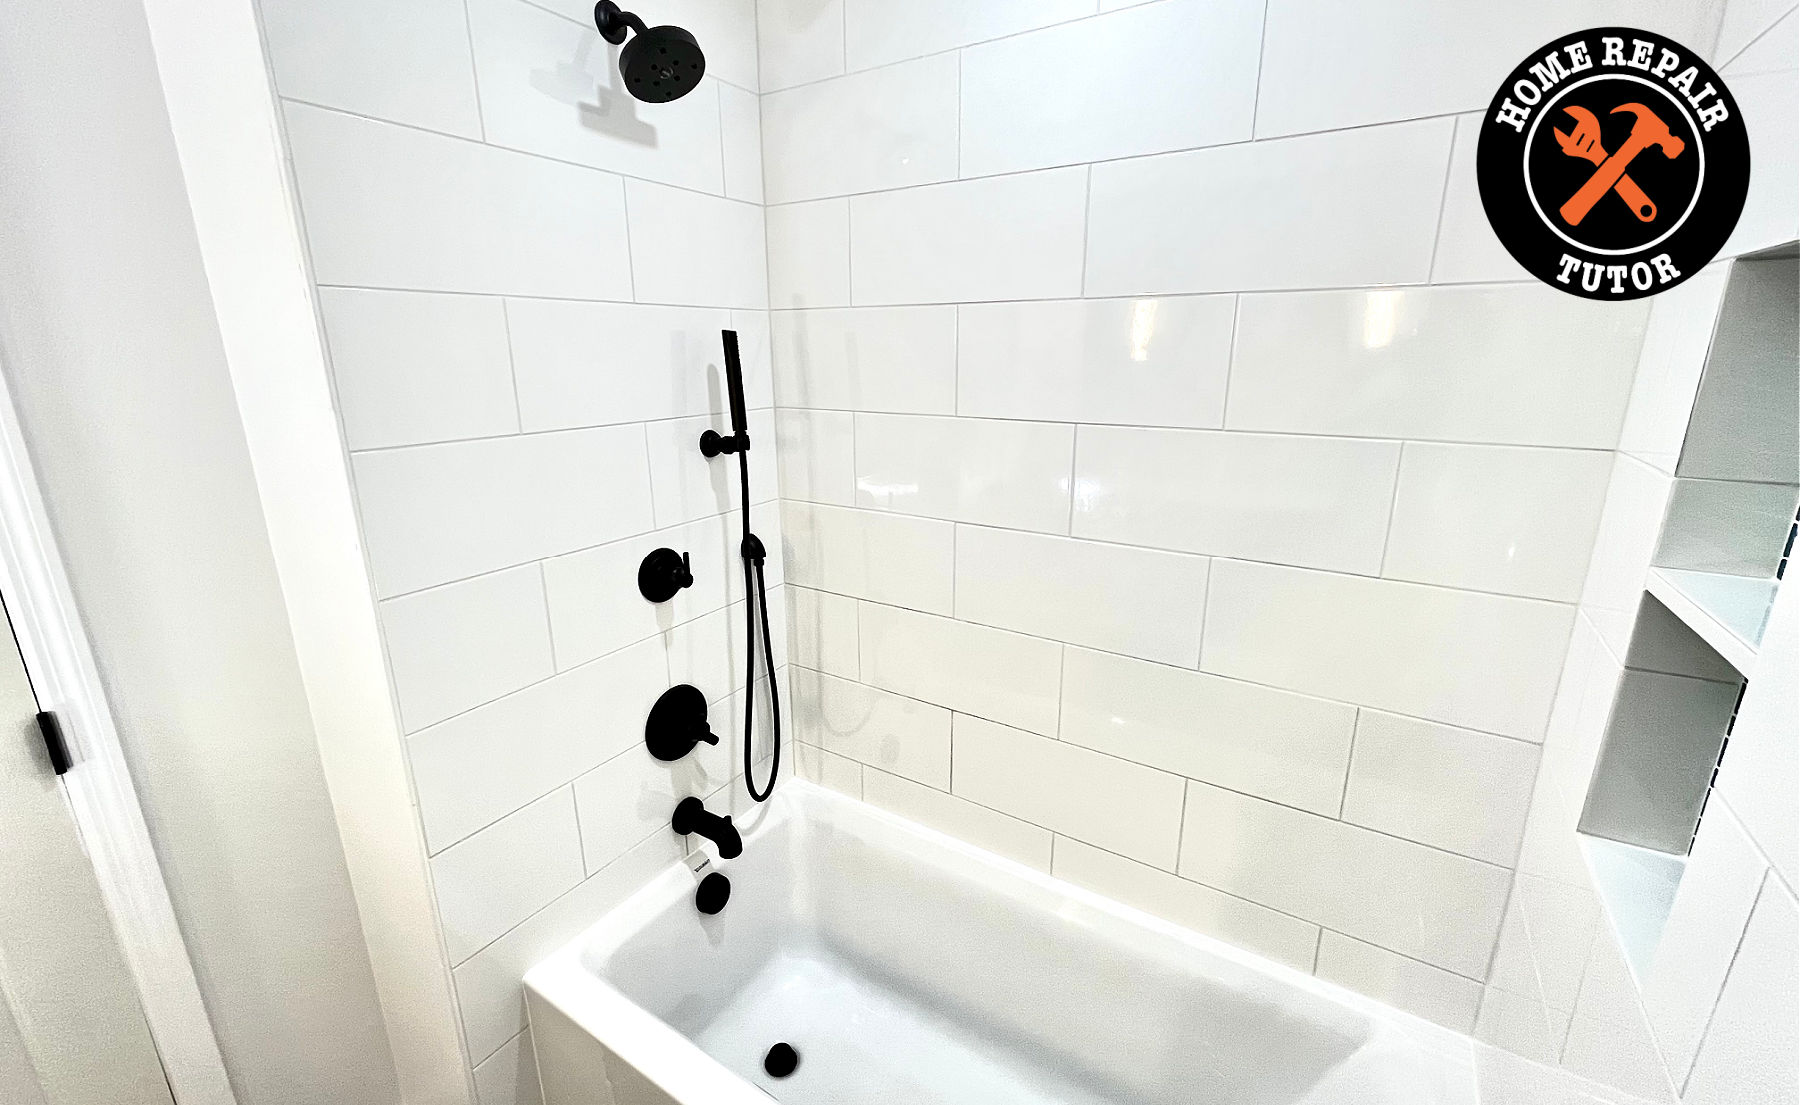
If you’re remodeling an outdated tub shower combo you’re in the right place.
Today you’ll get a step-by-step guide with plenty of material suggestions.
I highly recommend bookmarking this Guide for future reference.
Plus, we have a few surprises for you. Let’s dive in.
Your Tub Shower Remodeling Guide
Most tub shower projects are broken into these categories:
- Demo
- Framing
- Plumbing
- Electrical
- Drywall Ceiling
- Waterproofing
- Drywall Installation
- Tile Floor and Walls
- Finishing Touches
You can tap these links and they’ll take you to that specific section.
Each phase is critical. For example, waterproofing and tile require proper framing.
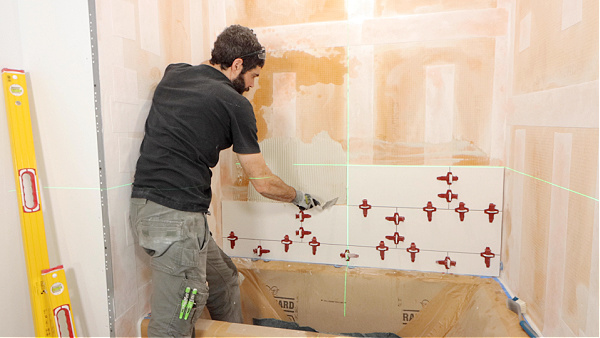
Thus, every phase relies on the prior. Plus, you don’t want to take one step forward and four backward because of improper planning.
Before you begin, here’s what I’d recommend doing:
- Design your overall layout and lighting
- Buy the tub, shower valve, and vanity cabinet
- Purchase the tile floor and tile shower walls
- Get the shower wall waterproofing supplies
If you keep the current design it cuts down on the cost. For example, keep the tub, toilet, and vanity cabinet in the same location.
However, if you move any plumbing, the cost will increase – especially if you pay a plumber or electrician to reroute mechanicals.
Don’t buy the cheapest tub. Instead, get something in the middle of your price range. American Standard, Kohler, and Duravit make great tubs.
I love Delta shower valves. The installation is simple, affordable, and relatively fast. Only buy valves from build.com or supplyhouse.com
In addition, Delta makes valves with the PEX fittings and copper stub out pre-installed at the factory. This speeds up installation and cuts down on the chance of water leaks.
Most of the time I recommend buying tiles from dedicated tile distributors. The quality is better than home stores and you’ll have more options. Larger tiles like 8×20 or 12×24 are faster to install than small 3×6 subway tiles. The same principle applies to floors. And if you’re wondering, the smallest grout joint I use is 1/16-inch.
Waterproofing is important for small bathrooms. I use DITRA on the floor over plywood or concrete. This prevents tile floors from cracking and can waterproof against the tub.
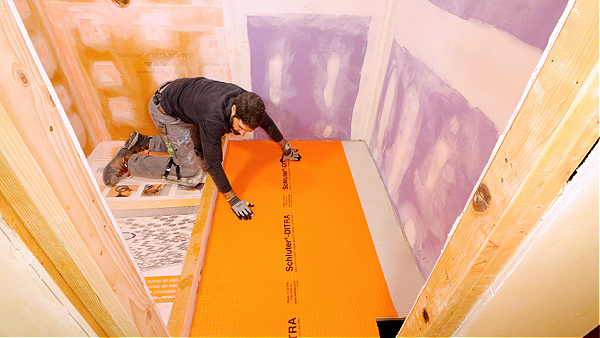
As for the shower walls, you have a lot of options. But I still like KERDI-BOARD. It can be wet shimmed over irregular studs and I use the extra pieces for custom niches or shower curbs.
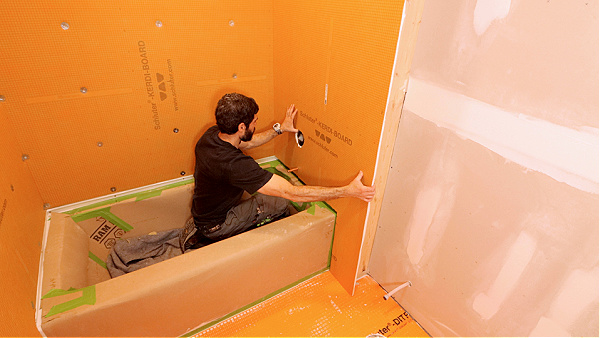
Set aside a good budget for the waterproofing. And be sure to follow the manufacturer’s recommendations.
Step 1: Demo Old Tub Shower Combo
Many bathrooms have one-piece fiberglass surrounds. The only way to get them out is to cut the fiberglass into three pieces.
Before you do anything, turn the water and electricity off to the bathroom.
Remove all the old plumbing fixtures, like the shower valve plumbing, shower head, and tub spout.
Then use a reciprocating saw to cut the fiberglass at each corner. This makes it easy to remove the walls.
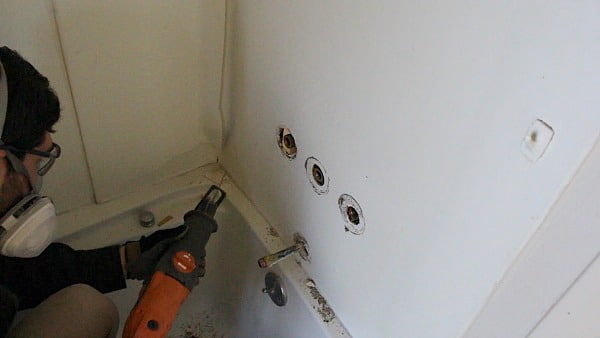
You’ll have to disconnect all the pipes from the tub and then you can remove it as well.
Here’s a list of relevant demo tutorials along with links:
Step 2: Framing
Once the old shower is gone and the tile floor removed, it’s time to inspect the framing.
I recommend inspecting the
- Stud walls
- Ceiling joists
- Plywood subfloor
- Floor joists
Not every bathroom will have a plywood subfloor or floor joists. Instead, you’ll likely have a concrete slab. We have tips for both scenarios.
But first, the studs must be at least 16 inches on-center, plumb, and even.
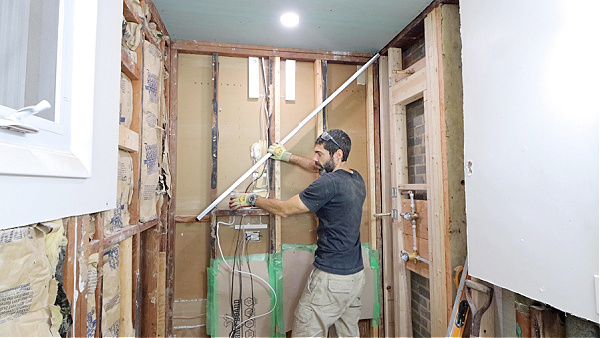
Every 1/2-inch backer board needs studs to be 16 inches on-center or less. This provides the proper support.
In addition, place a level across all the studs. It should touch all the studs or be within 1/16 inch to 1/8 inch. The final step is to inspect all the shower studs and see if they’re plumb.
Again, if the studs are out-of-plumb by up to 1/8 to 3/16 inch, it’s fine. Anything more than that and you’ll want to address the problem.
Side note, the larger the tile the less important it is that studs be plumb. For instance, it’s not as critical for 12x24s as it is for 3×6 subway tiles.
The same principle applies to bathroom floors. In general, if the tile is large, the floor doesn’t have to be 100% level. But it should be in the same plane.
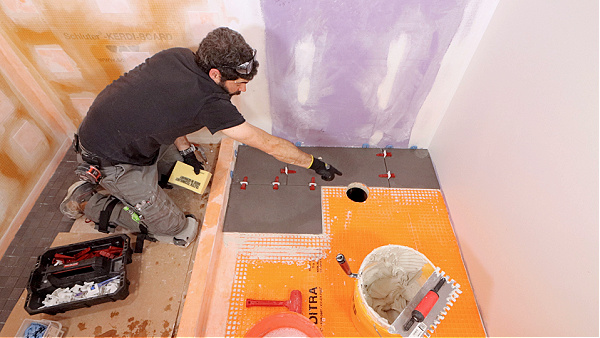
If your floor joists or concrete slab is in good shape, yet the floor is sloped, then self-leveling is an option. However, if the joists are notched or cracked, I recommend sistering new ones.
One final tip,
It’s at this point that I’d frame the shower niche. However, to do that correctly, you’ll have to plan the tile layout. This helps you avoid slivers of tile at the shower niche perimeter.
Here are some relevant links to tutorials:
- Fool-Proof Shower Niche Framing Tips for Beginners and Pros
- Bathroom Subfloor Tips Every DIYer and Professional Should Know
- Self-Leveling Bathroom Floor Tips
Step 3: Plumbing
Once the framing or floor is addressed, it’s time for plumbing.
There are three plumbing phases for tub shower combos:
- Tub drain, waste, and vent
- Tub installation
- Shower valve
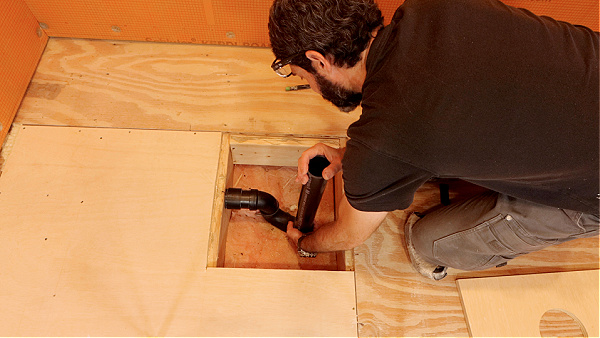
Every shower needs a P-Trap. Frequently, the minimum P-trap size for tubs is 1-1/2 inches. The trap keeps sewer gas from entering the bathroom and is a must.
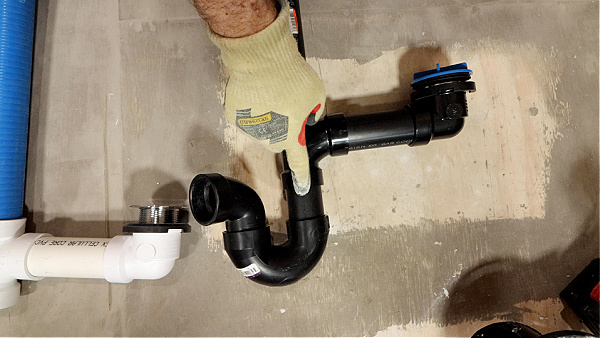
In addition, all bathtubs have to be vented to the exterior. Normally, you’ll see the vent rise through the roof. There are rare occasions where this is not possible. And if that’s the case, you should check to see if an AAV (air admittance valve) can be used.
However, if you use an AAV here’s the deal,
It must be accessible.
All AAVs go bad. Thus, you need the ability to access it.
The DWV (drain, waste, and vent) plumbing should be installed before the tub. The last part of the tub installation is the P-Trap connection.
Once the tub DWV is done, you can install the tub. Every tub installation is different. For instance, some tubs require mortar beds underneath. Others do not.
But they should all be installed so that the four sides are level. This ensures the water will drain properly.
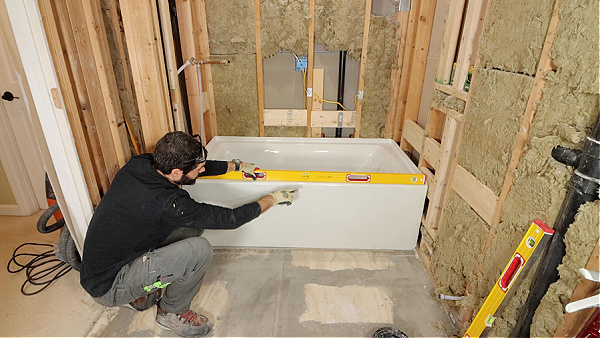
After the tub is installed, you can tackle the shower valve.
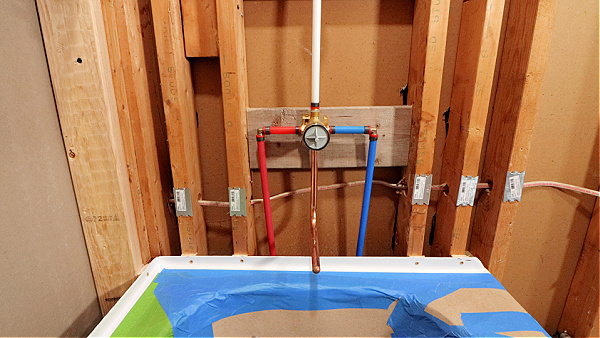
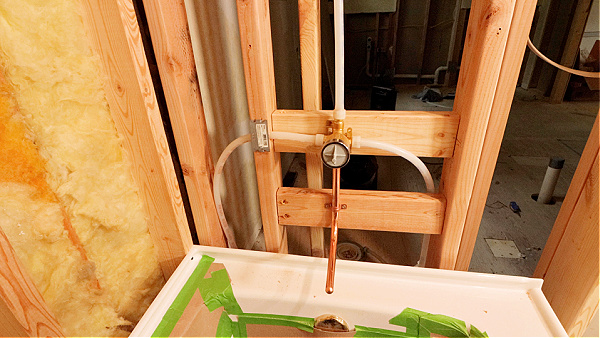
I center the valve on the tub drain and make the copper stub out about 4 inches above the tub deck. In addition, the shower valve should be plumb and set to the correct depth. This helps the shower trim sit flush against the tile and make a watertight seal.
Here are suggested tutorials with links:
- Tub Shower Valve Mistakes and How You Can Avoid Them
- Shower Valve Replacement with PEX B
- Bathtub Replacement: Your Step-by-Step Guide
- How to Install a Bathtub
Step 4: Electrical
Electrical should be considered for the following:
- Recessed light for tub area
- Recessed lights outside tubs
- Bathroom vent fan
- Vanity cabinet lights
- Switches & GFCI
- Heated Flooring
I highly recommend having at least one 4-inch recessed light for the tub. I like HALO thin-profile lights that are dimmable. They make this for wet areas, and the cost is around $26 to $30 per light.
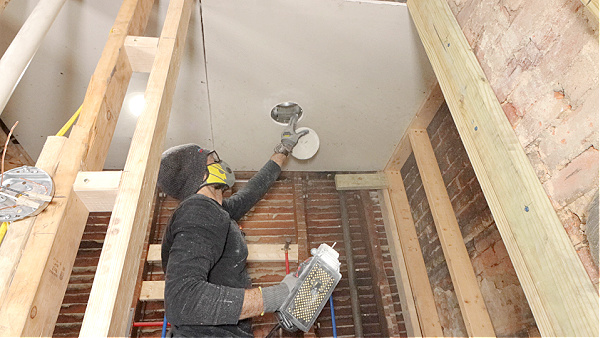
Outside the shower area, it’s best to think about how the lighting will be used. Overhead lights cast shadows on the face. So they are not the best for makeup. Thus one light or two sconces for the vanity cabinet might be best.
Every bathroom should have a vent fan. And it needs to be vented to the exterior either through the roof, side of the home, or soffit. I prefer Panasonic fans because they’re easy to install, have adjustable CFM ratings, and are very powerful.

All of the above need switches. I like paddle switches by Lutron. And if your lights dim, get a dimmable switch.
Know this,
Not every light is dimmable. So check if the light can be dimmed before buying it.
Heated flooring is a luxury upgrade. That said, if your bathroom gets cold in the winter, I’d consider DITRA-HEAT. It’s one of the best investments you can make. You’ll need the heat mat, heat cable (which cannot be cut), and thermostat.
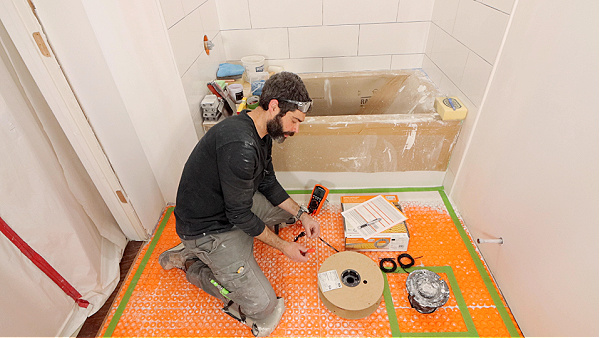
Here are additional tutorials to help you out:
Step 5: Drywall Ceiling
It’s easier to install the ceiling before the shower waterproofing.
Most codes require the drywall ceiling to be 5/8″ thick. You’ll have to check you local building requirements.
In addition, the screw schedule and fastener length are important. I use at least 1-5/8″ coarse-threaded drywall screws even though 1-1/4″ is in the instructions.
The length of the drywall panel should be perpendicular to the ceiling joist orientation This makes the installation stronger. That said, in small bathrooms, I have installed the panels parallel with the joists BUT added more fasteners.

It’s always helpful to have a friend when installing the ceiling. Drywall lifts are also great, but sometimes too big for small bathrooms.
If you cannot add insulation after the ceiling, do it beforehand. Plus, you’ll want to install the bathroom vent fan and recessed lights before the drywall ceiling.
Here are some helpful links:
- USG Brand Drywall Installation and Finishing Guide
- How to Drywall a Ceiling
- How to Hang Drywall Ceilings by Yourself
Step 6: Waterproofing
Tub shower combo projects have two waterproofing locations
- The shower walls
- The bathroom floor
I waterproof the heck out of tub showers. Water can easily be wicked behind the backer board. So the shower walls have to be properly installed.
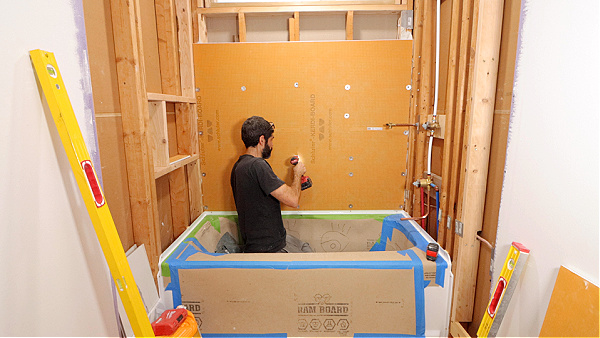
Second, shower curtains are often used incorrectly. This causes water to splash onto the floor. Over time, framing will rot and drywall damage will occur.
As a result, I always use DITRA to waterproof the tub to the floor and walls.
Normally I install DITRA first then the shower walls. Frequently I get asked two questions about tub shower walls:
- Should backer board sit above the tub lip or
- Should backer board sit on the tub deck
The answer is both can work if the backer board is plumb and waterproofed properly.
For example, KERDI-BOARD can sit above the lip on just above the tub deck. Both options are in the Schluter Handbook. In each instance, KERDI-FIX, KERDI-BAND, and thin-set are used; but they’re used correctly.

In addition, I recommend using the Schluter Mixing Valve Seal and Pipe Seal. These prevent water from getting inside the stud bay and reduce the rate of vapor transfer. Both keep your bathroom dry and less likely to accumulate mold.
The other reason I use KERDI-BOARD is that it can be wet shimmed. This helps keep the boards plumb when studs are not. And any extra pieces of board can be used to build your shower niche.
Here are some helpful tutorials that have more details:
- KERDI-BOARD: Waterproof Your Shower in 1 Day
- Shower Wall Wet Shimming
- Schluter DITRA Over Wood in a Bathroom
- Schluter DITRA Installation Mistakes
- Schluter Mixing Valve Seal Installation
Step 7: Drywall Installation
Once the shower backer board is installed I add the drywall walls.
But before I do that, I’ll add Rockwool to the stud bays. In fact, I even use Rockwool for interior walls because it’s a form of sound-deadening and helps delay the spread of fires.
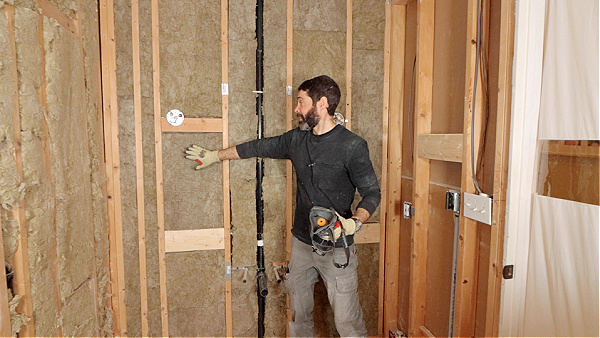
In most of my tutorials, you’ll see a 1/2-inch Purple Board on the walls. It’s mold and mildew-resistant.
I install the drywall at the ceiling first with the tapered edge at the top. Then I add the second panel, again the tapered edge butts the tapered edge of the first panel. this small tip helps you finish the drywall more easily.
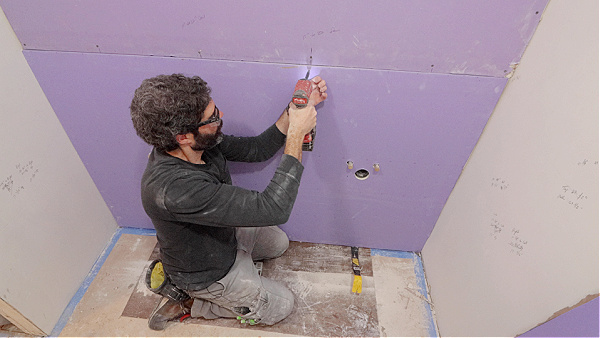
Speaking of finishing, I use USG Easy Sand 45 and Strait-Flex Original instead of paper tape. The latter is a composite drywall corner tape. This combined with Easy Sand 45 makes your inside corners, butt joints, and screw coverings strong and less likely to crack.
Plus, Easy Sand 45 cures quickly and won’t take as long as the pre-mixed joint compound to dry. Yes, it requires mixing the joint compound. But you’ll save that time by being able to do multiple coats in one day.
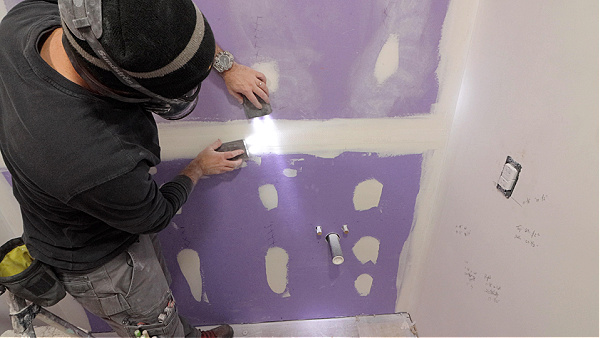
If you need a smooth final finish, USG Plus 3 is terrific.
All fresh drywall needs to be primed and painted. I recommend Sherwin-Williams ceiling paint in flat white and their Emerald paint in a satin finish.
Here are additional tutorials:
Step 8: Tile Floor and Walls
You can tile the floor before or after the shower walls.
But sometimes it’s nice to do the tile floor first. That way, you can butt the tile shower walls against the floor. That said, you’d still want a 1/16-inch expansion joint between the top of the tile floor and the bottom of the tile shower wall.
Here’s how I’d approach the tile sequence:
- Tile the bathroom floor
- Tile the largest shower wall
- Tile the easiest side wall
- Tile the hardest side wall (plumbing wall typically)
Tile floors are deceptively hard. You’ll have to determine the pattern and how to avoid slivers at the tub, walls, closet, and doorway.
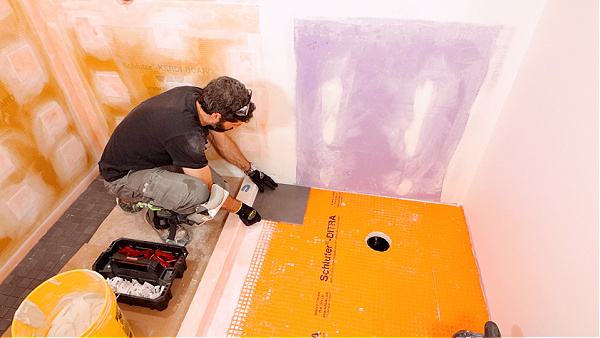
Normally I start by choosing the pattern, e.g. 1/2 or 1/3 offset pattern for 12x24s or plank tiles. I start the layout and installation at the tub. Primarily because that’s the focal point in tub-shower combos.
When the tile floor is done, I protect it with Ram Board or something similar.
The next step is to tile the tub shower walls. I start on the main wall then do the side walls. I try to extend the tile 3 to 6 inches outside the shower.
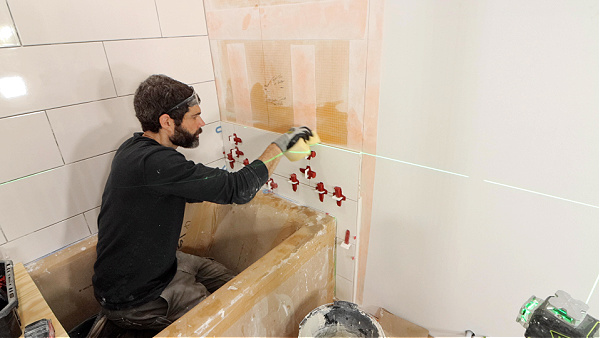
The key to good tile installation – and avoiding common mistakes – is understanding the basics and how to use tools/materials. I have several good tutorials that dive deeper into this topic.
Once all the tile is complete, that’s when I grout the floor and then the shower walls. Remember, changes of plane like inside and outside corners need to get silicone and NOT grout.
Currently, I like Laticrete Spectralock 1 grout and the color-matching Latasil silicone. Both are excellent for DIYers and Pros.
Here are links to additional tutorials:
- How to Tile a Bathroom Floor and Avoid Mistakes
- How to Install Vertical Shower Tile
- Subway Tile Shower Niche Tips
Step 9: Finishing Touches
Once the tile is done I do the rest of the remodel in this sequence:
- Door Casing
- Baseboards
- Toilet Installation
- Vanity Cabinet
- Vanity Lights
- Accessories
It’s easier to install baseboards and door casings before anything else. Try your best to nail baseboards to studs. I use 18 gauge finish nails for this job then fill in any holes with DAP DRYDex.

I use a similar approach to door casings. But recommend pre-assembling them with TiteBond then nailing it to the door jamb. This makes the installation easier and stronger.
I’m a big fan of American Standard, Kohler, and Toto toilets. The latter in particular is terrific but can be pricey.
Here’s the deal with toilets,
The closet flange should be above the finished floor. Ideally, the closet flange is screwed to the top of the tile floor. But you can also build up any closet flange with spacer rings.

Vanity cabinets come in a variety of styles:
- Single sinks
- Double sinks
- Floating sinks
- Pedestal
It’s truly a personal decision. But as I said earlier, if you have to adjust the sink plumbing with the tub plumbing (Step 3) it’s best to have the vanity cabinet. This ensures the sink plumbing will be done per the vanity cabinet dimensions.
The final step of any bathroom remodel is the installation of small stuff:
- Vanity cabinet lights
- Towel bars or hooks
- Toilet paper holders
- Light switches
- GFCI outlet
Tub shower remodels take time, patience, and attention to detail.
If you’ve never done it before, the project can feel overwhelming. But don’t let that stop you. Having a good plan like this makes it a lot easier.
If you want to unlock all my bathroom remodeling videos and Personal Coaching, join our Platinum membership today – tap the button below to learn more
Thanks for reading this guide. I hope it helps you out!
Jeff


