In this tutorial, you’ll see how to drywall a ceiling. Specifically, you’ll see how to drywall a ceiling by yourself.
Sure, this sounds daunting. Maybe even dangerous.
But several tips make it not only doable but also straightforward.
That said, if you choose to ignore these tips, proceed with caution.
Let’s dive in.
How to Drywall a Ceiling: Step One
Most ceilings have an orientation. For example, the joists run parallel.
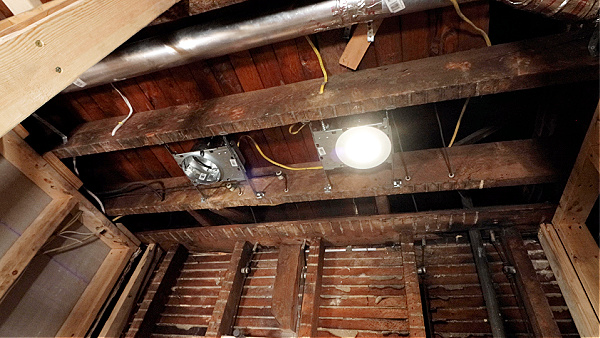
Normally, it’s best practice to hang drywall perpendicular to the joists.
This provides extra stability to the installation. And it reduces any chance the drywall will sag.
In addition, always check the local code to see what thickness of drywall to use.
For example, 5/8 inch thick drywall is commonplace for ceilings due to fire code.
One word of caution: always check ceiling joists with a level, especially inside showers.
If the joists are not level, this will be reflected on the finished drywall. And ultimately, this affects the look of the shower wall tile.
How can ceiling joists be repaired or made level?
Use 1/4 inch or even 1/2 inch strips of plywood. Place the plywood on the joists until the level is, well, level across the span in question.
Dang. That was a lot of information to digest. But hey, if you didn’t know all that, you’re way ahead of the newbie drywall installer.
But there’s more!
Drywall Ceiling or Walls First
Always drywall the ceiling first, then the walls.
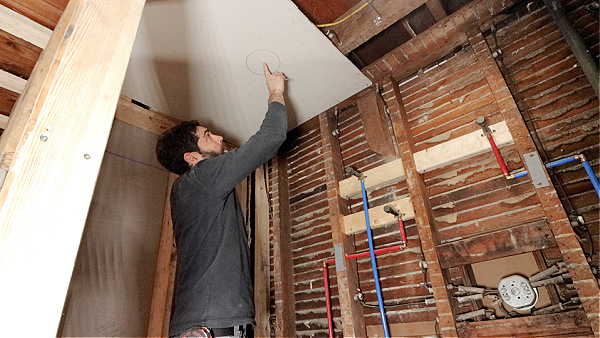
The walls can be butted up against the ceiling. This makes installation easier.
I always make the drywall ceiling 1/2 inch shorter than the span.
For example, if the total length from top plate to top plate is 60 inches, I make it 59-1/2 inches because that provides 1/4 inch wiggle room.
Furthermore, most walls are not perfectly framed. So that wiggle room comes in handy when hanging a heavy sheet of 5/8 inch drywall.
Plus, the 1/4 inch gap – if you have one, because remember, framing is never perfect – will be covered by the 1/2 inch drywall on the studs.
Those are the basics for drywalling a ceiling. Let’s dive into the details.
Screws for Drywall Ceiling
Here’s a general rule of thumb, screws should bite 1 inch into lumber.
Therefore, the recommendation for 5/8 inch drywall is to use 1-5/8 inch screws.
In addition, wood requires coarse-threaded drywall screws. Every home store has them, so these screws are easy to find.
Drywall screw guns are terrific for hanging drywall. But they aren’t necessary for small projects.
I frequently use an impact driver and set the screws just subflush or below the surface of the drywall because this helps with finishing the drywall ceiling.
Honestly, I think YouTubers adamant about using drywall screws guns are snobbish tool whores. Sure, if you’re hanging drywall all day, go buy one.
But c’mon, not everyone needs this for a bathroom or bedroom project.
Just my two cents, and definitely shop around before clicking on someone’s Amazon link, they absolutely are not the cheapest supplier.
Screw Pattern for Ceiling Drywall
Always read the manufacturer’s recommendation for screw patterns.
USG, which makes more drywall than anyone (honestly, I’m not sure about that claim, but it seems plausible) recommends spacing screws every 12 inches for drywall ceilings.
That said, I don’t use adhesive on the ceiling joists. Therefore, and mostly because I’m known for overkill, I use a screw every 8 to 10 inches.

In addition, I place screws about 3/8 inch from the drywall ends and edges. This ensures the panels can share a joist and won’t break.
Overall, it provides a very sturdy installation.
Speaking of the installation, let’s discuss that.
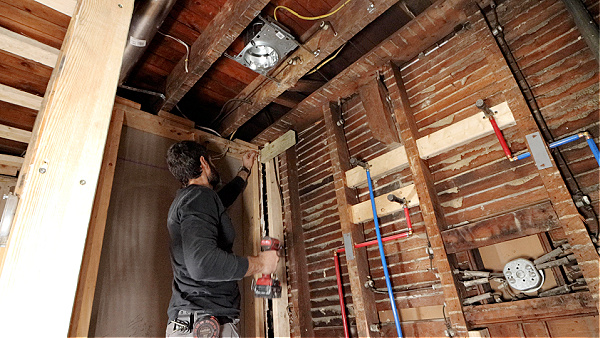
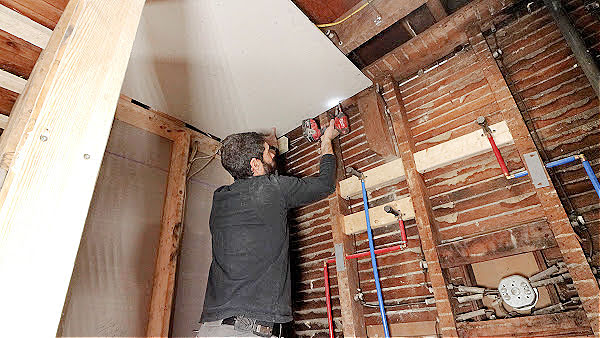
How to Hang Ceiling Drywall
Anyone can hang ceiling drywall with a lift. But can you hang drywall ceilings by yourself?
You betcha.
Is it a pain in the butt?
You betcha.
The first step is to add a 2×4 in the corner, about 2 inches from the top of the top plate. I do this for bathroom remodels and regular drywall installation.
I use two 3-inch construction screws.
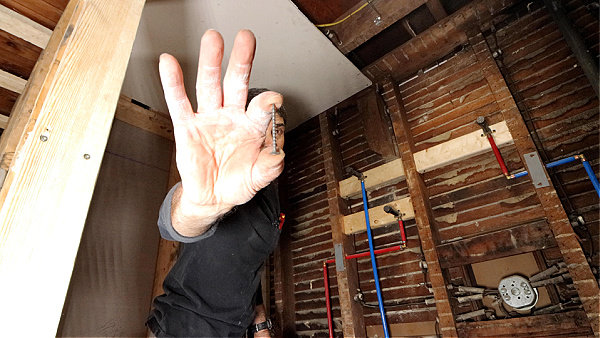
Then I add 2-3 screws along the perimeter of the drywall panel. The screws don’t penetrate through the panel.
I also have my impact driver and some extra drywall screws attached to my utility belt.
Then I hoist the panel up over the 2×4 – where it can be supported – and screw it to the joists or nailers.
I made it sound easy. And sometimes it is easy, but only if you cut the drywall correctly.
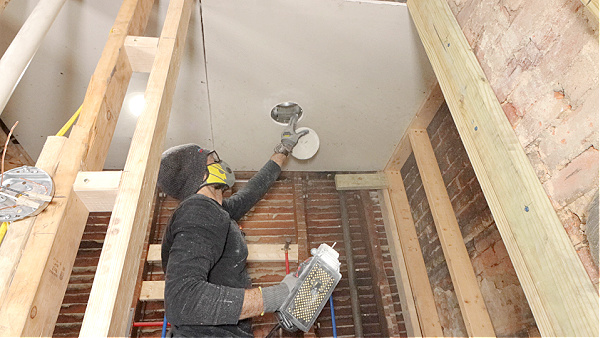
Before I add the rest of the screws, I RotoZip any recessed lights (if there’s a housing).
Drywall ceilings are just one part of bathroom renovations.
If you want to unlock all my bathroom remodeling videos, courses, and personal coaching, join Home Repair Tutor today – it’s one of the best online resources for anyone renovating a bathroom. Tap the button below to learn more
Cheers,
Jeff