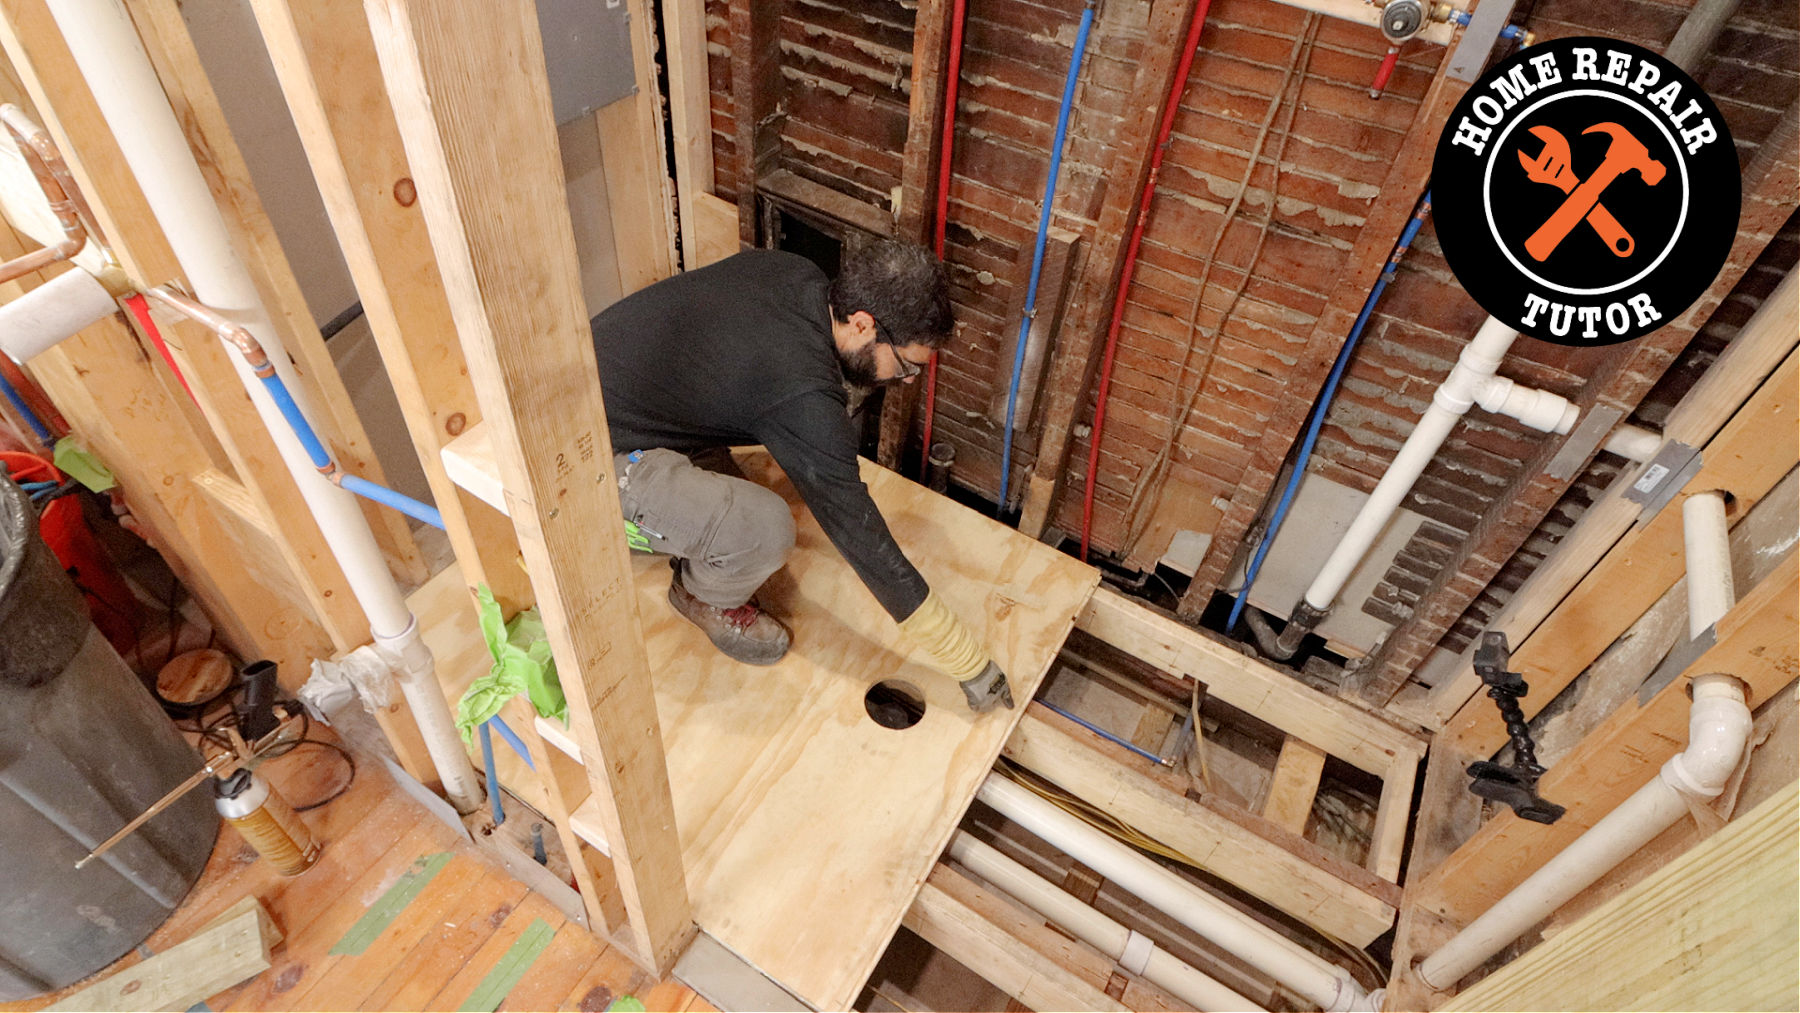
In this tutorial, you’ll see bathroom subfloor tips. Specifically, bathroom subfloor replacement recommendations.
Most folks also ask questions about subfloor thickness and how to choose the right subfloor for bathrooms.
So all that will be covered as well. I guarantee you’ll be ready to replace bathroom subflooring after reading this quick tutorial.
Here’s what I’ll discuss:
It’s very easy to get deep into the details of subfloor installation.
But my job is to break it down and make it easier to understand.
That said, if you love details (like me), I’ll provide additional resources that’ll make you geek out.
Let’s start.
Bathroom Subfloor Overview
All the tips I’m sharing are based on recommendations from the APA, aka the American Plywood Association. They’re an excellent resource and any remodeler or homeowner should reference their resources.
It’s worth your time to read the APA’s Floor Construction guide.
Furthermore, I cross-reference the Schluter Handbooks with the APA Floor Construction Guide since I use Schluter products.
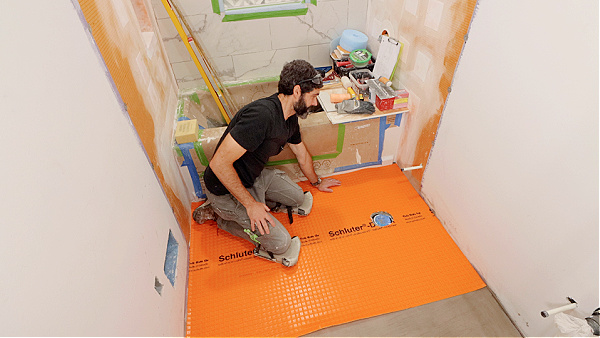
Then I use that knowledge to build bathroom subfloors based on the finished flooring, e.g. ceramic, porcelain, stone, etc.
By and large, it’s best practice to maximize subfloor thickness.
This does several things. First, it reduces deflection or flex in the subfloor.
This in turn reduces squeaking and potential tile floor failures.
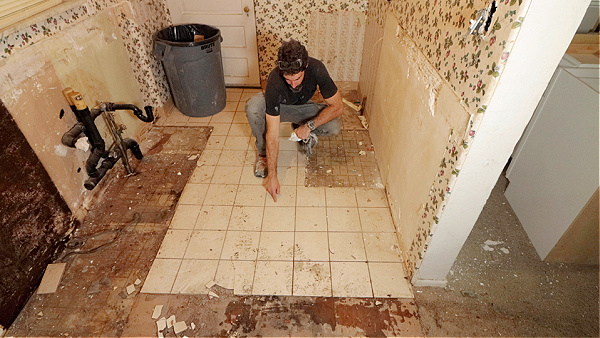
Second, thicker subfloors are better for shower waterproofing than thinner subfloors.
Subfloor deflection in a shower is bad news because that can cause waterproofing failures and leaks.
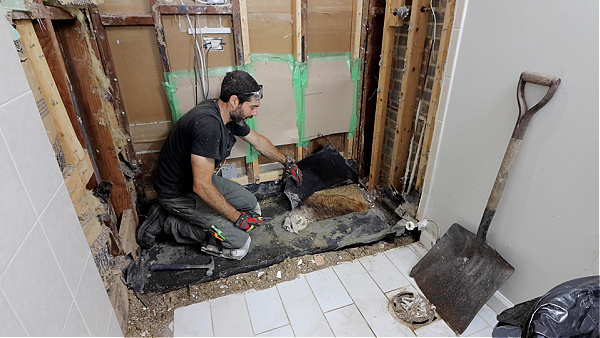
Finally, if the homeowner decides to build a curbless shower, thicker subfloors make recessing the shower subfloor much easier.
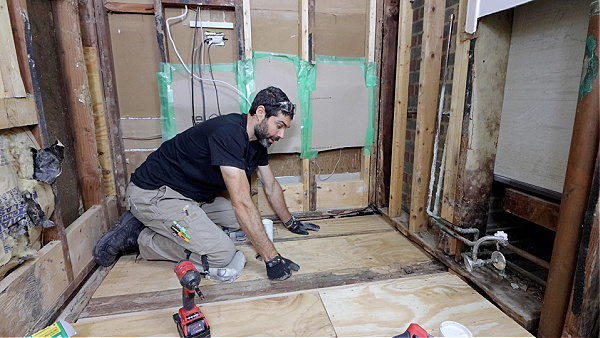
For example, if the main bathroom subfloor is 3/4 inch thick, this in turn allows a thicker shower tray to be used for the curbless shower.
Btw, iff you have questions about curbless showers, send me an email at [email protected]
So what bathroom subfloor thickness should be used?
Bathroom Subfloor Thickness
Subfloor thickness depends on the joist span and finished flooring.
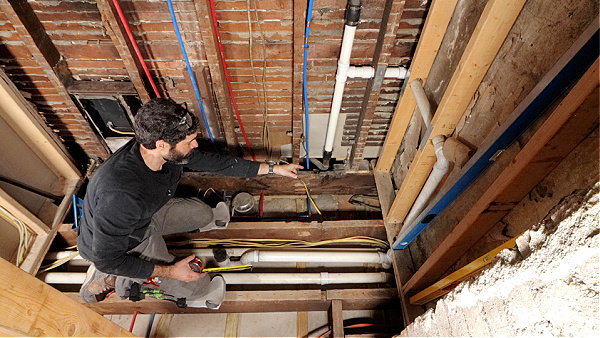
For example, most of the time (because I work on old homes) I’m dealing with 16-inch on-center floor joists.
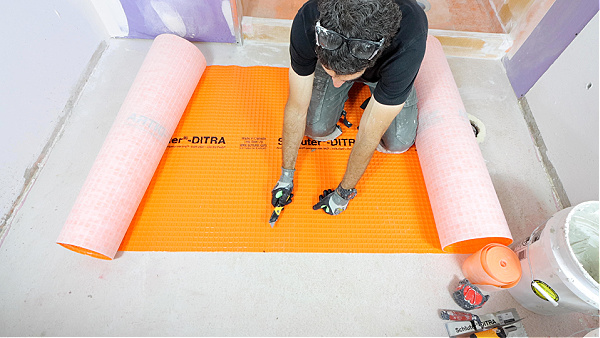
In addition, I normally use Schluter DITRA or DITRA-HEAT mats as an uncoupling membrane.
DITRA prevents tiles from cracking and also provides a good waterproofing layer over subfloors.
Therefore, I ask three questions before choosing the bathroom subfloor
- What is the floor joist span?
- What is the finished flooring?
- What uncoupling membrane will be used?
Here are some typical answers to those three questions,
- 16-inches on-center
- Ceramic or porcelain tile
- DITRA
Frankly, it’s fairly easy, right?
At this point, I reference the Schluter DITRA Handbook.
And it says to use (per page 4) a minimum of 19/32-inch (5/8-inch nom) tongue and groove subflooring.
In addition, Schluter and the APA recommend a 1/8″ gap between plywood or OSB sheets.
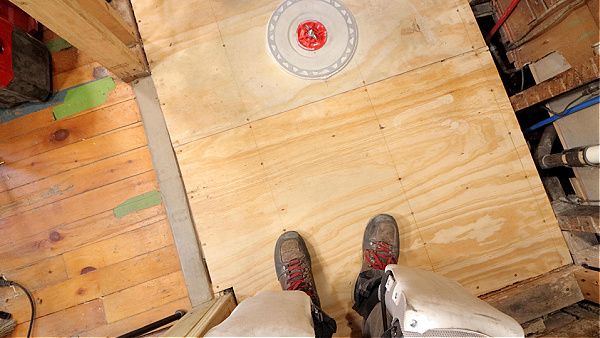
This recommendation from Schluter is based on joists, I-joists, and trusses and the use of ceramic or porcelain tile.
To make life easy, simply ask the home store or lumber yard for 23/32-inch (3/4-inch nom) STURD-I-FLOOR tongue and groove panels.
They should have an APA floor sheathing trademark stamped on them.
Now it’s time to use this info to install the subfloor.
Bathroom Subfloor Installation Tips
Here’s the deal,
the APA recommends using specific fasteners for subfloors.
For example, the goal is to have about 1-inch of the fastener go into the floor joist.
Therefore, I use 2-inch screws for 3/4-inch plywood subfloors because roughly 1-inch will penetrate into the floor joists.
That said, the APA recommends 6d ring or screw shank nails for 3/4-inch subfloors.
These days I use U2 Fastener’s universal screws, they’re great at sinking the subfloor tight to the joists.
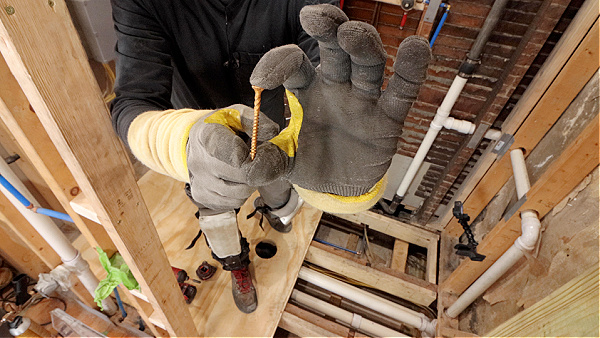
In addition, I like using Great Stuff Pro Construction Adhesive on the floor joists prior to the subfloor installation.
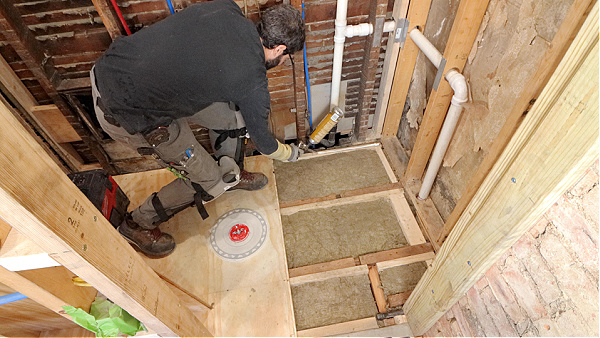
The combination of the 2-inch screws and Great Struff Pro Construction Adhesive reduces squeaks and makes the subfloor feel rock solid.
The APA recommends adding a nail or screw every 6 inches along supported panel edges.
And 12 inches along intermediate supports like the floor joist field.
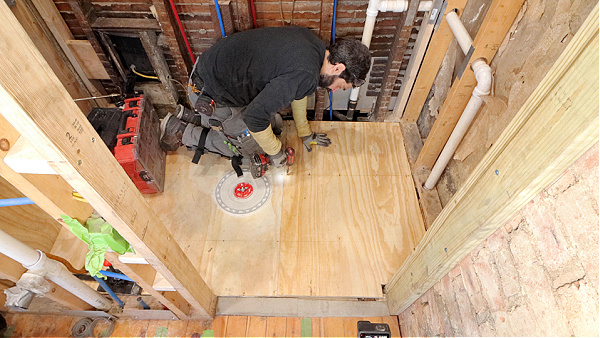
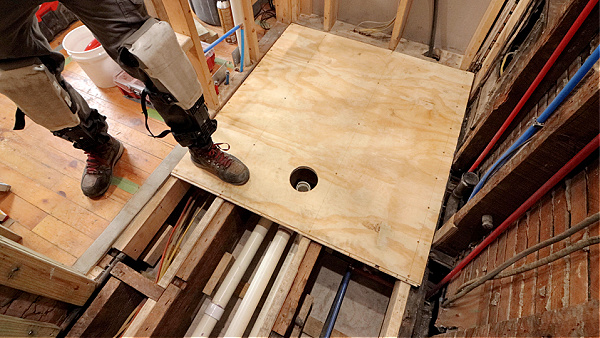
In addition, the strength axis or length of the subfloor panel should be perpendicular to the floor joists.
Notice how in the picture above, the plywood grain runs perpendicular to the floor joist direction.
End joints should be staggered as well to impart strength to the entire subfloor installation.
If you’re doing a bathroom subfloor repair, add 2×4 blocking between the floor joists for extra support.
And use some type of adhesive before adding the subfloor patch.
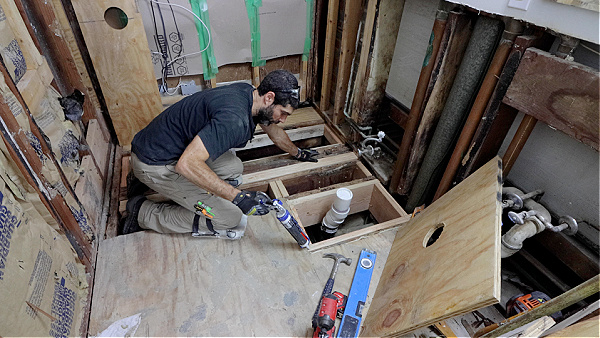
All these tips will make your subfloor installation rock solid for decades.
What’s Next
In summary, bathroom subflooring is very important for many reasons. It imparts strength to your tile floor, shower waterproofing, and plumbing.
Framing is just one aspect of bathroom renovation.
If you’re remodeling your bathroom and need help, join our Platinum Membership.
I promise the step-by-step tutorials and Personal Coaching will make your project easier.
Tap the button below to learn more
Cheers,
Jeff


