Today I’m going to show you 9 terrific bathroom remodeling ideas for today and beyond.
In fact, I personally use these remodeling ideas myself to make bathrooms more private, maintenance-free, and relaxing.
So if you want bathroom remodeling ideas for small bathrooms, master bathrooms, or guest bathrooms this list is for you.
- Install Bidet Toilet Seat
- Heated Floor Tile
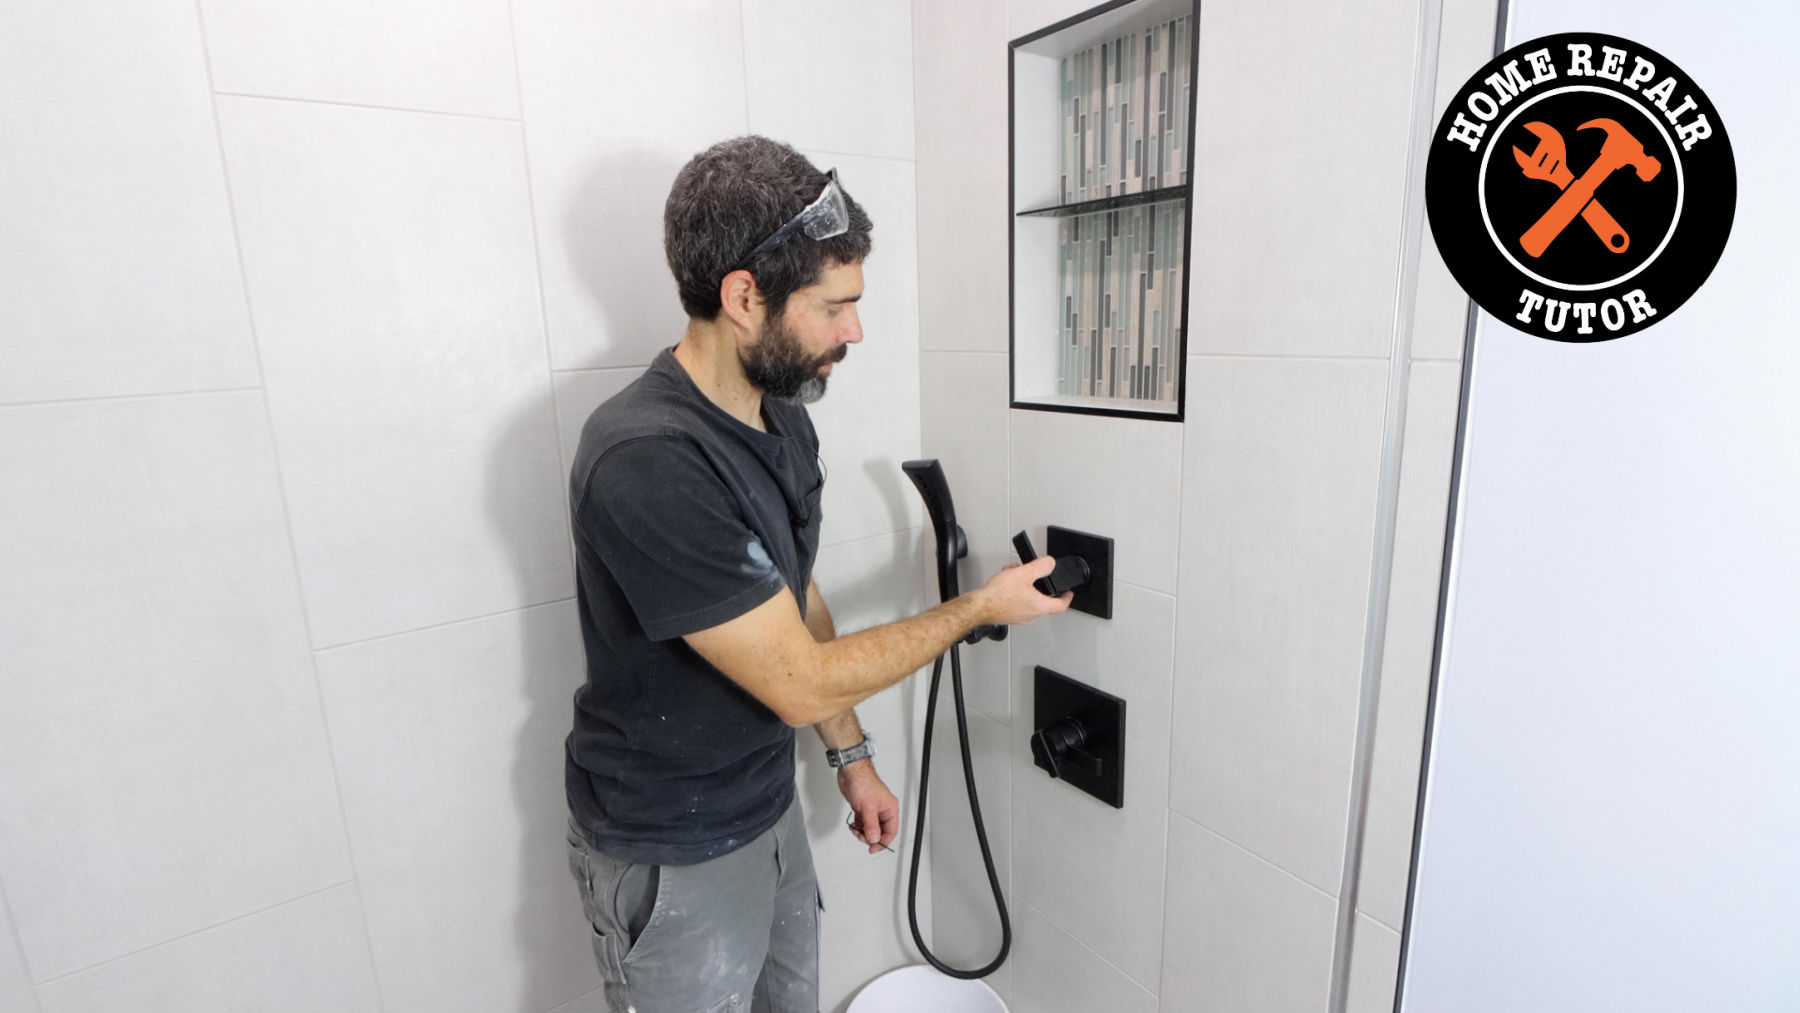
- Matte Black Shower Fixtures with Handheld
- Curbless Shower System
- Epoxy Grout
- LED Shower Light
- Soundproof Bathroom
- Modern Shower Drain Grates
- Glass Mosaic Tiles
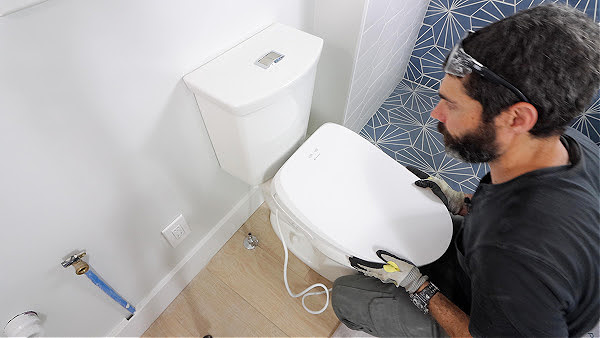
Install Bidet Toilet Seat
This upgrade is easy and you’ll want to think about it before remodeling your bathroom.
Why?
Most electric bidets worth their salt require an electric outlet. Who doesn’t love a warm toilet seat in the morning?
So you’ll want to run the wiring while doing the remodel.
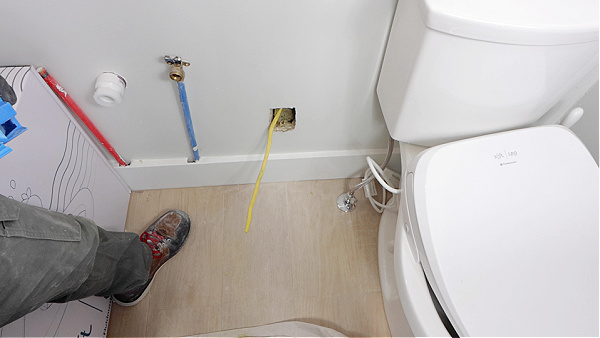
I personally am impressed with Fluidmaster’s SoftSpa and for $400 you’ll get a lot of bells and whistles. Plus, it’ll fit on pretty much any toilet, so you don’t have to get a new toilet.
How do you run the new wiring? It’s actually simple if you have the stud walls open.
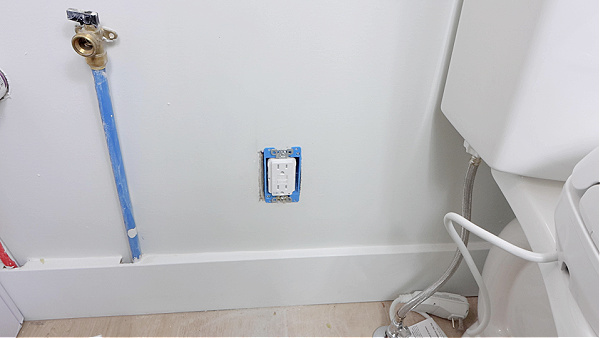
Every bathroom is required to have a dedicated GFCI, normally on a 20A circuit. You can run a new wire, with the same gauge, from the load terminals of the existing GFCI to a new outlet.
Since the new outlet is downstream from the GFCI, it’ll be GFCI-protected. Make the new electrical box about 16 inches off the finished floor and just under the toilet tank.
If you aren’t comfortable doing this project, hire a qualified electrician.
But here’s a pro tip: most electricians aren’t going to come to your house to install one outlet or electrical device. So when you call them, have at least three projects they can do to make it worth their time.
For example, have them install the new outlet for the toilet, vanity light boxes, recessed lights, etc.
But for today, you can check out the Fluidmaster SoftSpa and decide if it’s a good option for your bathroom remodel. If you’re installing a new toilet, I think it’s one of the best bathroom remodel ideas, hands down.
Heated Floor Tile
There is nothing better than heated floor tile in January. I LOVE heated floors!
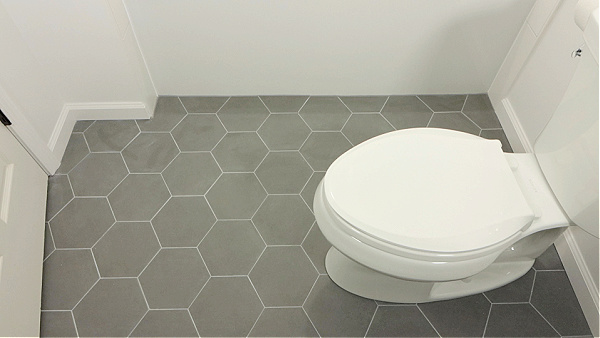
Sure, this requires some planning and some electrical work but is well worth it.
I highly recommend Schluter DITRA-HEAT because the wires are easy to install into the heat mats.
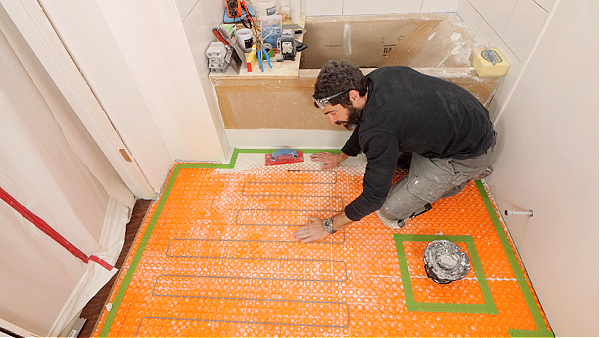
Schluter has an awesome DITRA-HEAT Estimator that helps you choose how much wire you need, which voltage of wire, and more.
Here’s what you need for a Schluter DITRA-HEAT system:
- DITRA-HEAT Mats
- Cables (120V or 240V)
- Thermostat
- Thin-Set for Mats
- Conduit
- 4×4 Electrical Box
- Mud Ring for Box
The other reason I like DITRA-HEAT is that the mats protect your tile from cracking. Each mat is an uncoupling membrane and also helps waterproof the bathroom floor.
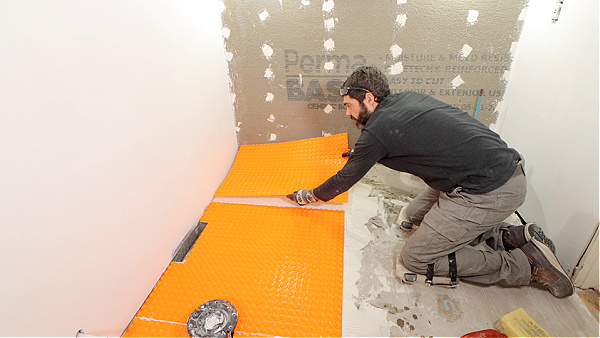
And if you get stuck with the installation just call Schluter tech support, they’re always available during the work week.
As I said, the DITRA-HEAT Estimator is invaluable and something you can use today to see how much the system will cost.
Matte Black Shower Fixtures with Handheld
There’s nothing slicker than black fixtures. They’re just cool. And they’ll be timeless.
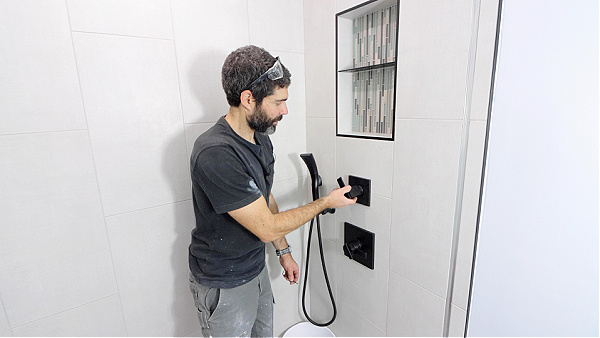
Now I always get questions about what fixtures to buy, i.e. what brands are the best.
Obviously, this is my opinion and you’re free to agree or disagree. I love Delta.
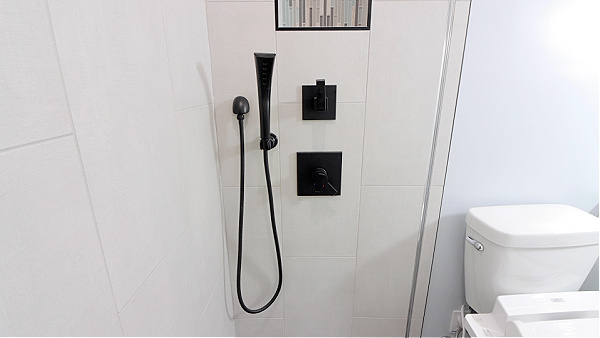
Why does Delta make good matte black shower fixtures?
Simple, they’re easy to install, work exceedingly well, and continue to look amazing after years of use.
Plus, they have great warranties. Delta in particular will send you free parts for the lifetime of the fixture.
Here are some tips for choosing the fixtures and parts.
First, buy them from build.com or your local plumbing supply house.
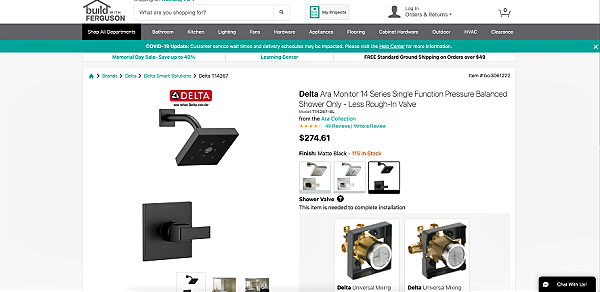
PLEASE don’t buy your shower fixtures from big box stores.
The finishes and cartridges are made for mass consumption. And as we all know, that process leads to defects – the last thing you want when building showers in bathrooms.
Second, read the instructions well before planning your shower remodel. That way you can get all the parts you need before starting the bathroom remodel.
And you won’t have to worry about back orders or supply issues.
In addition, having the valve bodies helps you plan the ideal shower valve height and do some preliminary design work.
Here’s a sample list of parts for a Delta shower valve system with a handheld shower wand:
- Delta R10000 shower valve
- Delta R11000 diverter valve
- Delta trim kit for R10000
- Delta trim kit for R11000
- Handheld shower wand
- Handheld shower wand elbow
- Delta shower arm and shower head
Those are the main components and sometimes the shower arm and shower head come together. So always double-check.
Also, keep in mind that the Delta R10000 can be purchased for PEX A, PEX B, and copper. Just know this simple tip will speed up any shower valve installation.
Plan on spending anywhere from $500 or more for a quality shower fixture system.
And the reason I like Delta for black finishes is that the finish is higher quality than other brands. And therefore it’ll last longer than lower-quality brands.
You can visit build.com and find both the valves from above as well as multiple options for the trim kits.
Matte black is one of the best bathroom remodel ideas of 2022 and beyond, no doubt.
Curbless Shower System
As I get older I realize how important it is to have safe and functional showers. Having no curb to step over makes so much sense to me, really for anyone.
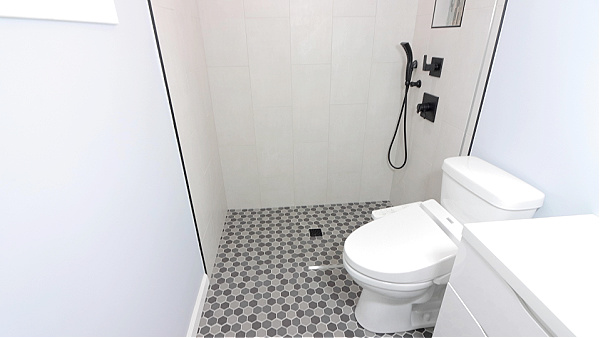
I’ve been using a curbless shower for the last 8 years and wouldn’t go back to a curbed option.
In many ways, a curbless shower is easier to build and more sanitary than curbed showers.
Think about it, soap scum and biofilm love to accumulate between the bottom of the curb top and curb sides. If you’ve ever cleaned a shower you know how disgusting that area gets.
That problem is automatically eliminated since curbless or barrier-free showers don’t have curbs.
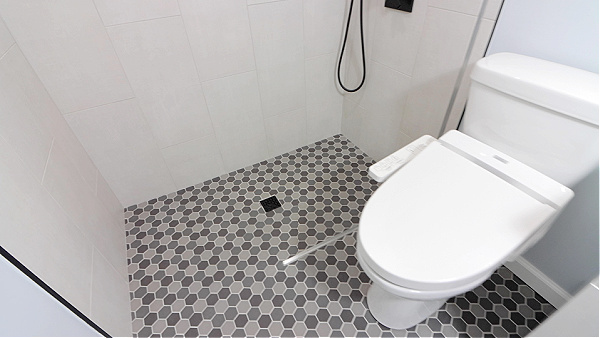
Also, curbless showers are faster to tile because you’re not having to plan the tile layout around the curb. Trust me, if you’ve never tiled a shower this is HUGE, especially if you’re using subway tile.
The hardest part of curbless showers is framing. You need to recess the main shower floor so that the shower tray will sit flush with the main bathroom floor.
It sounds scary to the layperson but is actually very straightforward.
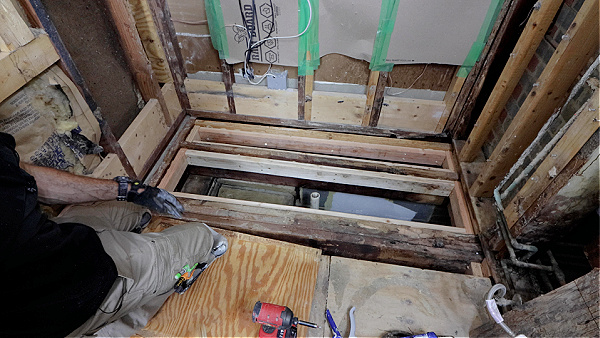
Once the shower floor is recessed, you can use a pre-sloped shower tray like Schluter’s Thin-Trays.
These are specifically made for curbless showers because the trays are thin enough to work well with 3/4″ plywood outside the shower.
Plus, Schluter shower trays are very easy to extend by using dry pack.
By the way, here’s a question I get a lot:
Should the shower tray or shower walls be installed first?
Technically it doesn’t matter. But I recommend waterproofing shower walls first then installing the shower tray.
This reduces the odds of damaging the tray. I also like KERDI-BOARD because it can be wet shimmed, which is super helpful if stud walls aren’t square.
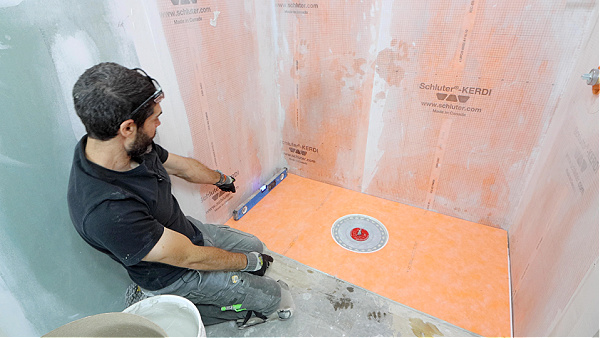
Then you can add either DITRA, DITRA-XL, or DITRA-HEAT mats outside the shower to make all the waterproofing flush at the shower entrance.
I explain and show how to use these materials in my terrific Beginner Curbless Shower Waterproofing Course
Epoxy Grout
I’ve talked to lots of homeowners about tile and the #1 complaint is maintenance.
No doubt, grout is the biggest hangup for most people redoing a bathroom. They don’t want to see it discolor or accumulate dirt.
What can you do to make tile as maintenance-free as possible?
Epoxy grout is the answer.
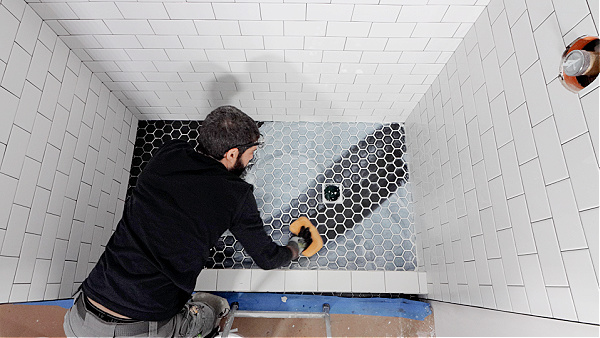
Now here’s the deal, epoxy grout is expensive. And there’s a lot of fear around using it and making mistakes, like letting it cure on the tile surface.
I totally understand these problems.
Price is one thing I’ll address right now. Yep, epoxy grout is gonna run you $100 to $200 depending on the bathroom or shower size.
But it’s going to last forever. I recommend these epoxy grouts:
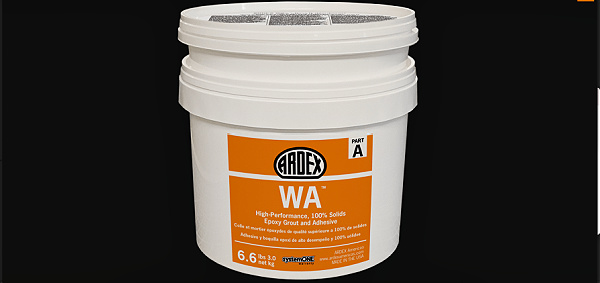
Ardex WA can be used to set tiles on shower trays and the benefit to that is any WA that oozes up between grout joints isn’t an issue; primarily because the WA will also be the grout.
Laticrete Spetraclock, like Ardex WA, is two-part epoxy grout. But it can’t be used as an adhesive like WA.
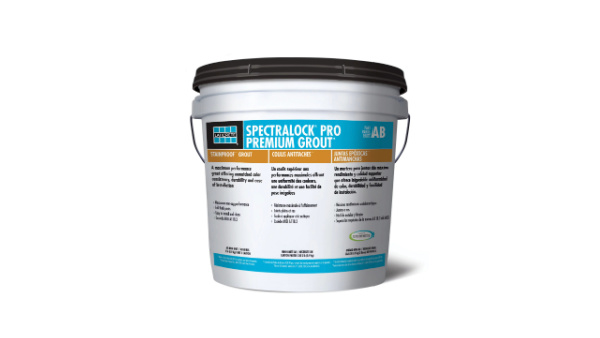
Spectralock is slightly easier to clean off tiles than WA. Laticrete recommends white vinegar for cleaning Spectralock and Ardex has recommended Krud Kutter in the past.
With all that said, I highly recommend Spectralock 1 for several reasons.
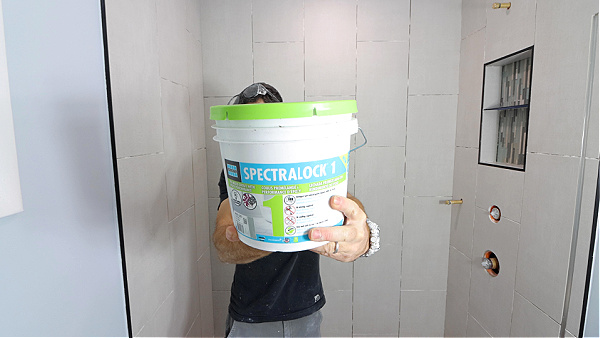
First, it’s pre-mixed and this makes using it so much easier than two-part epoxy grout.
Second, because it’s pre-mixed you can store it and use it to fill in any low spots; this is terrific for the day after grouting when you notice mistakes.
The other benefit to these grouts is that they don’t let water penetrate below the tile. So it’s kind of an insurance policy against waterproofing.
In addition, you can get color-matching silicone for WA, Spectralock, and Spectralock 1. Search for Ardex SX and Laticrete’s Latasil in 100% silicone, those are the silicones you want to use.
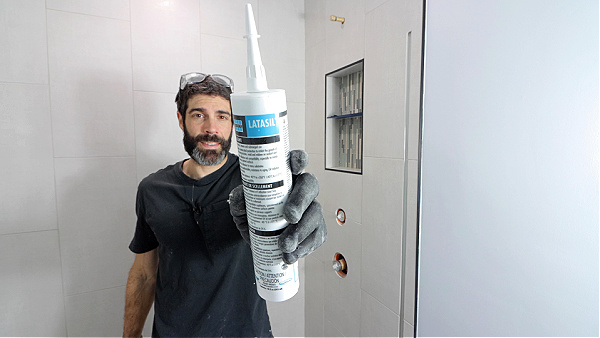
So ya, these epoxy grout options make tile showers rock solid and way more maintenance-free than other grout you’ll find in home stores.
Here’s a step-by-step tutorial showing how to use Spectralock 1
And I highly recommend reading this tutorial that shares the best tile shower floor options.
LED Shower Light
Lighting inside showers is very important, especially if there aren’t any windows in the bathroom.
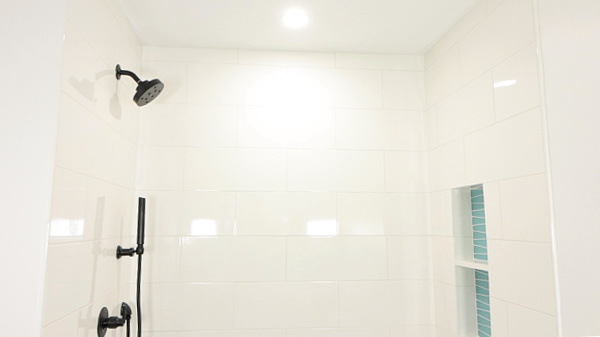
One of the best LED shower lights you can install is by HALO and is called the Ultra Thin Downlight.
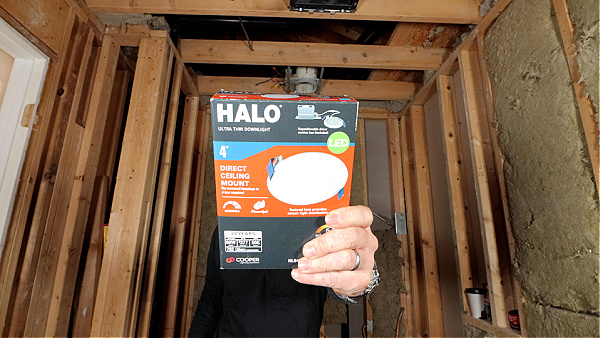
They come in 4″ or 6″ diameters but I only use the 4″ inside showers, it puts off plenty of light.
Anyone can install this light because it doesn’t require a recessed housing or junction box.
In fact, it comes with a driver junction box that can be mounted to ceiling joists.
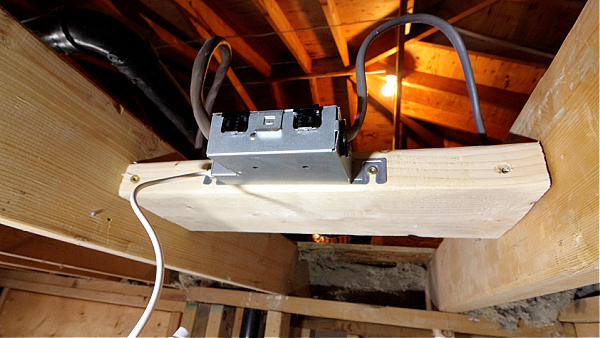
In addition, you can adjust the warmth of the light to one of five different colors and the light is dimmable.
I recommend mounting the driver junction box close to where you want the light and then installing the drywall ceiling.
Cut out a hole using an adjustable drywall hole saw, like this one from Milwaukee.
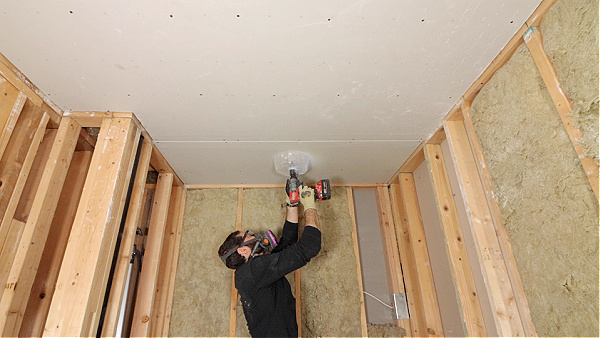
Then you can plug the light into the driver and you’re done.
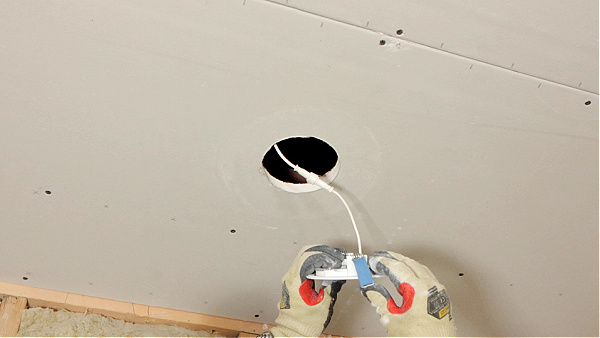
Ya, it’s really that simple. The hardest part is probably cutting the hole in drywall, but that hole saw makes it easy.
You can buy these lights online or at local home stores. Here’s the model number for reference: HLB4069FS1EMWR
Cooper Lighting Solutions makes these lights and they have a ton of other options that are very user-friendly.
Oh, by the way, this light is rated for wet locations and because it’s ultra-thin it’ll fit underneath joists…sweet.
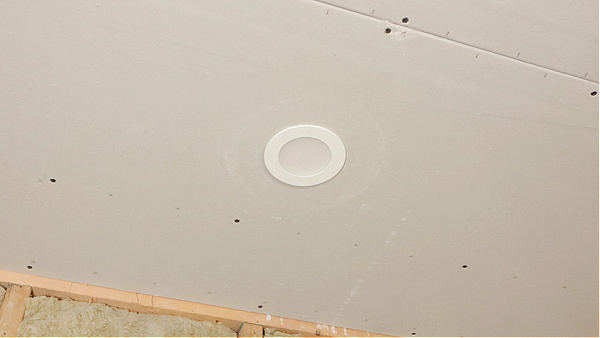
Here’s an Amazon link to check out the lights
Amazon Disclaimer: Some product links may be Amazon affiliate links. As an Amazon Associate, I earn from qualifying purchases at no additional cost to you.
Soundproof Bathroom
Why is this important?
Primarily because you won’t hear all the running water draining through pipes. Also, because privacy in bathrooms is, ahem, kind of nice.
And you might be surprised how loud pipes can get when gallons of water from the shower is draining. The average American shower uses 17.2 gallons and lasts about 8 minutes. That’s a lot of water running through 2-inch and 3-inch pipes!
What’s the cheapest and easiest way to soundproof bathrooms?
Rockwool Safe ‘n’ Sound.
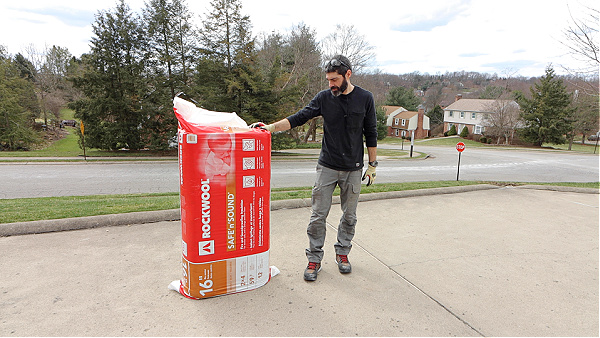
Seriously, it’s super easy to use and costs about $63 for 59.7 square feet.
Simply cut the batts to size and add them inside joist bays.
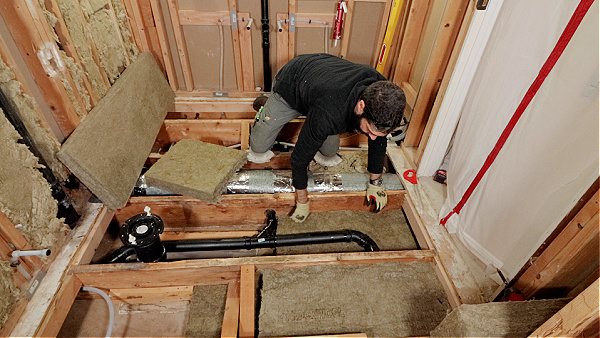
I recommend using a special knife for stone wool insulation to cut the batts.
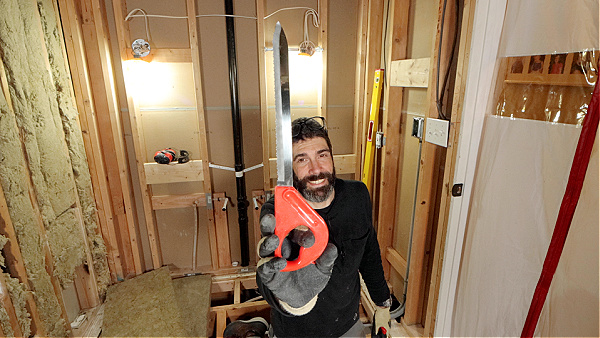
Wear gloves and a respirator like with any other insulation.
You can also use Safe ‘n’ Sound inside walls to deaden the sound of vertical pipes.
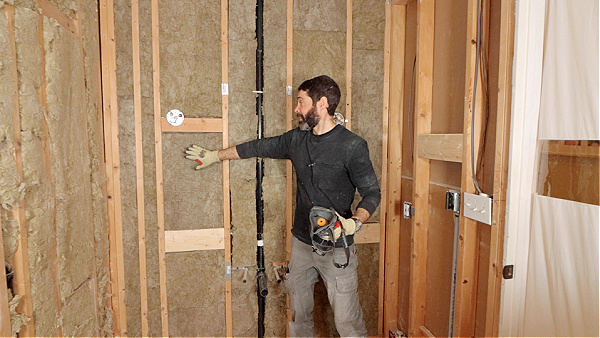
Yes, it’s an extra step and costs $60 to $120.
Making your bathroom as private as possible is one of those bathroom remodel ideas that is smart and efficient because it saves on heating/cooling costs.
You’ll thank me later
Modern Shower Drain Grates
One of the best ways to jazz up your shower is with modern drain grates.
Traditionally you’d be confined to whatever the drain manufacturer offered. And that was some bland drain grate from 1988.
These days you can choose different designs, colors, and finishes.
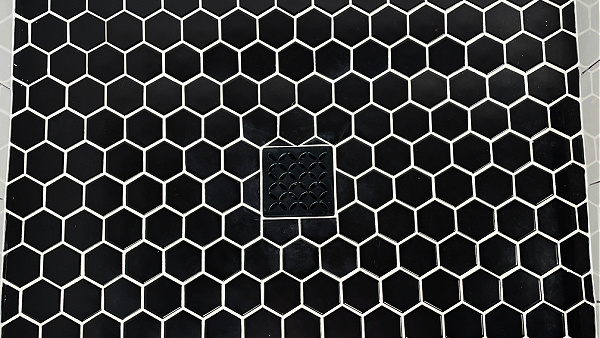
It’s no secret that I love Schluter’s KERDI-DRAIN because it’s solvent-welded to pipes. But I also think they have some of the coolest drain grate options.
I recommend getting a drain grate system that has no screws. The grate simply fits into the drain recess like a puzzle piece.
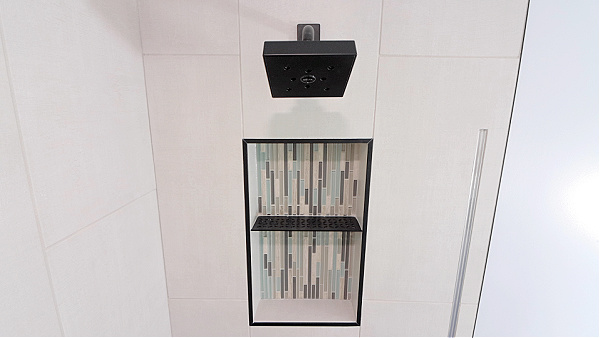
The other great part about Schluter’s new Trendline grates is they will match other components in the shower like shower shelves for the niche or wall.
If you’re not using Schluter’s KERDI-DRAIN there’s another great option for grates:
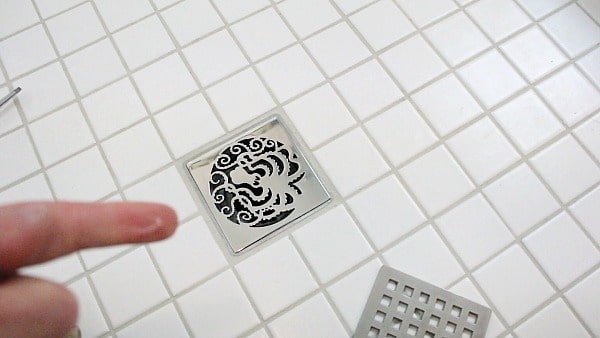
They make custom drains for pretty much any shower system you’re going to use like
- Kohler
- Laticrete
- Oatey
- Sioux Chief
- Wedi
You can also get cabinet hardware that matches the shower drain grate.
Yet another way to customize your bathroom and make it look breath-taking.
Glass Mosaic Tiles
How can you make your bathroom pop?
Glass mosaic tiles.
But choose glass mosaics that will be timeless.
For example, I really like this Waveline glass mosaic
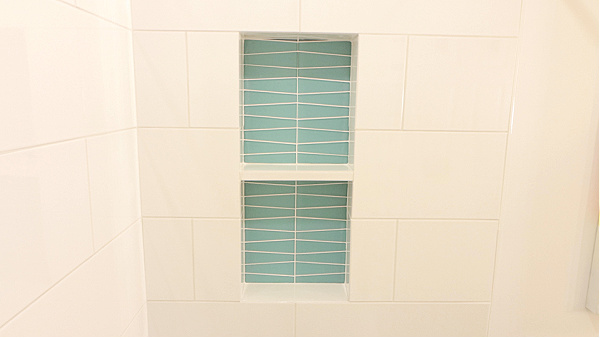
It simply adds a beautiful and relaxing splash of color to this classic ceramic tile.
How do you cut glass mosaics? And how do you install glass tile inside showers?
If you’re asking these questions you’re not alone.
Glass tile is fairly tricky to work with IF you don’t follow the manufacturer’s recommendations.
I also highly suggest the Tile Council of North America’s Handbook to see what they recommend when using glass.
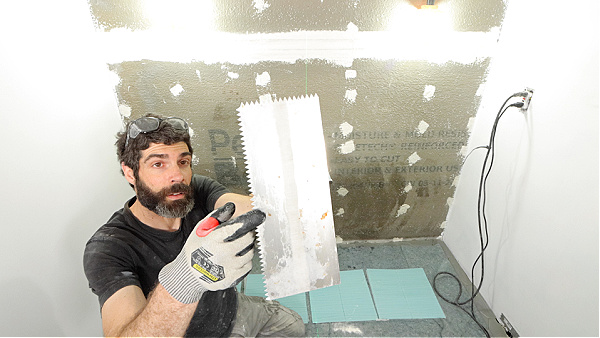
First, select the right trowel. I used a 1/4″ x 1/4″ V-notch trowel for this tile.
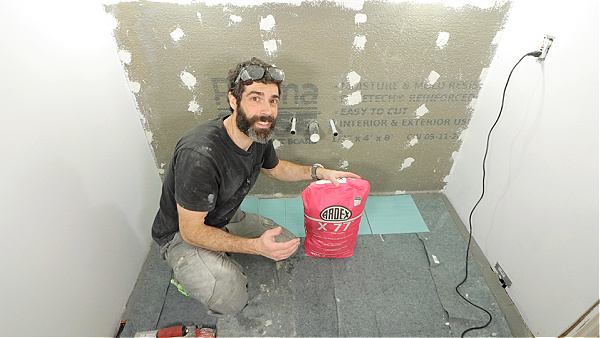
Second, use the right thin-set mortar. I used Ardex X77 modified thin-set because it’s got polymers that hold this tile tight against the wall, i.e. no sagging, which is exactly what you don’t want when each sheet costs $30.
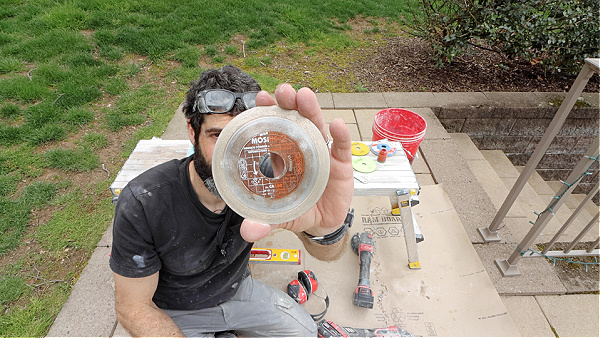
Third, use either a wet saw or an angle grinder with a blade specifically for glass. I used my trusty Milwaukee grinder with Montolit’s Mosaic Cut 2 blade.
Finally, clean grout joints with a toothbrush during installation. This works exceedingly well if you have some thin-set ooze out.
In the end, you’ll love the way a contrasting glass mosaic color will make your shower niche pop. I promise!
What’s Next
Bathroom renovations require a lot of knowledge about products and installation.
If you’re remodeling a bathroom and need help, join our Platinum Membership.
I promise the step-by-step tutorials and Personal Coaching will make your project easier.
Tap the button below to learn more
Cheers,
Jeff


