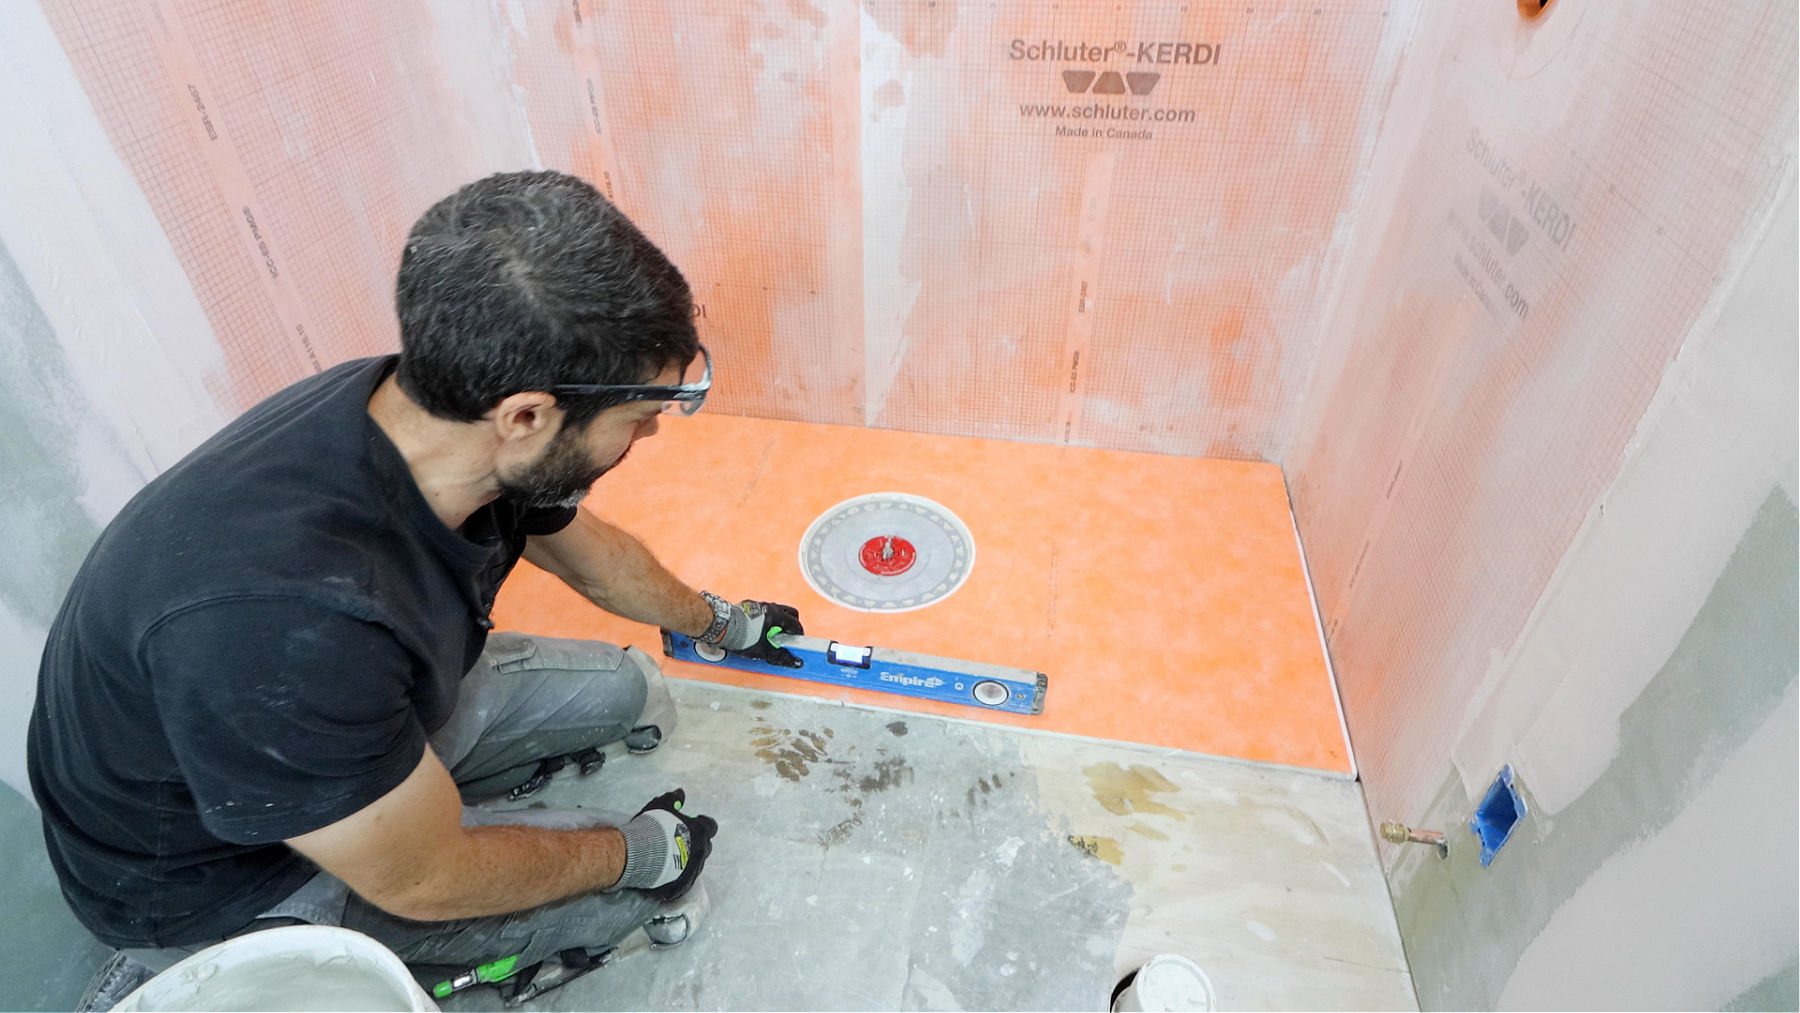
Schluter’s KERDI Shower Kit is one of the best options for shower remodels. But every shower project has challenges.
And it’s super easy to make bad mistakes, even with the KERDI shower kit. So I broke down the installation into three steps to show all the details of this installation.
Step 1 shows what’s in the kit and how to prep the pan/curb.
Step 2 shares how to waterproof the walls using KERDI membrane or KERDI-BOARD.
Finally, Step 3 explains how to waterproof the shower Schluter shower tray.
If you’re a complete newbie I promise you’ll be able to install the KERDI shower kit after today!
Let’s dive in.
KERDI Shower Kit Part 1: Getting Started
Schluter KERDI Shower Kits come in a variety of sizes.
The first step is to determine the size of the shower tray.
For example, the Schluter shower tray can be 38 inches by 60 inches to replace a bathtub.
Or larger sizes are available to do a completely new shower remodel, e.g. 48 inches by 48 inches.
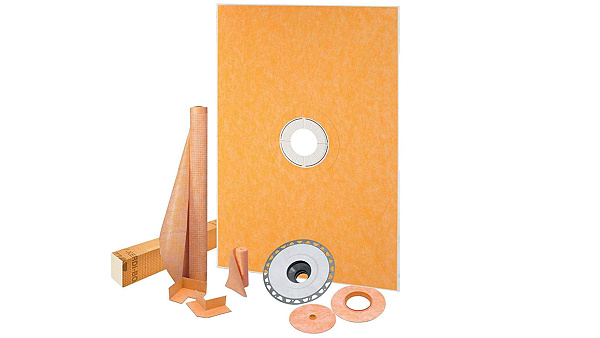
Keep in mind that Schluter shower trays can be cut down or extended.
How do you cut down a Schluter shower tray?
First, determine the shower footprint.
For instance, most tub-to-shower conversions involve replacing a tub with a shower tray. The tub footprint might be 32 inches by 60 inches.
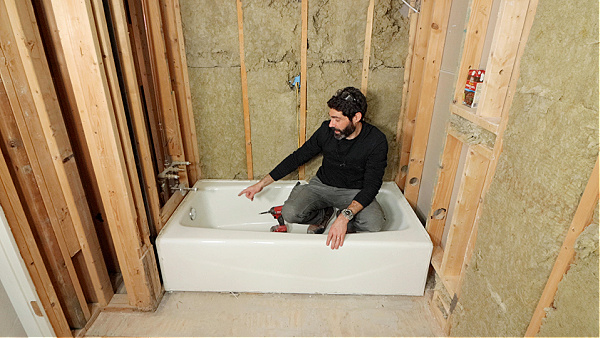
Thus, the Schluter 38-inch by 60-inch shower tray would be perfect.
Cut the first 3/4″ off the 60-inch sides because that 3/4″ area is flat and will help with the wall tile. Then cut off 3 inches on each side of the tray.
These 3/4″ pieces will be re-installed when the shower tray is bonded to the floor. This will make the shower tray 32 inches by 60 inches.
It’s very important to use the right thin-set when setting Schluter shower trays.
I recommend using Schluter ALL-SET because it can be used under shower trays and to set the tile.
Schluter requires the use of a 1/4 inch by 3/8 inch square notched trowel to embed the tray into thin-set; note, the shower floor MUST be level in order for the prefab tray to drain properly.
Here’s a short video that shows the shower tray installation process
Each shower kit also comes with a Schluter curb or curbs.
That curb configuration should span the entrance of the shower.
Schluter curbs can be bonded together using thin-set mortar or KERDI-FIX.
Also, these curbs can be cut down to smaller heights and widths, here’s a short video showing how that’s done
In addition, the KERDI-DRAIN should be in the kit. It’s important to choose between the PVC or ABS drain.
Note, the Schluter KERDI-DRAIN has a 2″ hub. Thus, the shower drain plumbing will have to be 2 inches as well.
This means that if a tub is being converted to a shower, and there’s 1-1/2″ pipe, that pipe will have to be converted to a 2-inch pipe somewhere in the home’s DWV system.
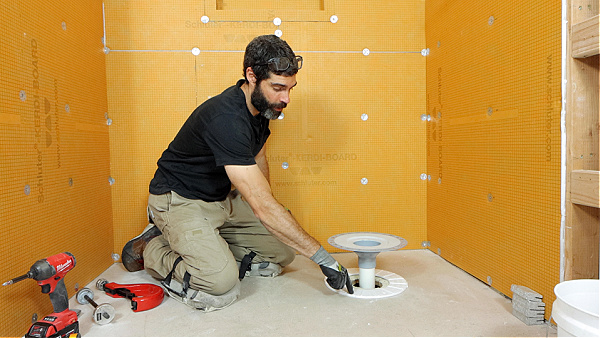
I love Schluter KERDI-DRAINs because they are solvent welded to PVC or ABS.
This reduces the chances of water leaks versus drains that rely on rubber gaskets.
In addition, it’s super straightforward to cut down P-Trap riser pipes for these drains.
Here’s a video that shows those tips
This is important,
Not all Schluter shower kits include the drain grate kit.
That kit might have to be purchased separately. These drain grate kits are fantastic because they allow the final drain location to be adjusted based on the tile height.
There are a ton of ways to configure a Schluter KERDI-DRAIN, here’s a fantastic resource to see them all
KERDI Shower Kit Part 2: Waterproof Walls
There are two ways to waterproof shower walls with Schluter.
I’ll get into that in a moment. But wanted to highlight shower niches for a second.
If you choose to install a shower niche, it’s essential to plan the framing ahead of time.
I highly recommend reading this shower niche framing tutorial when you have the time.
Back to waterproofing…
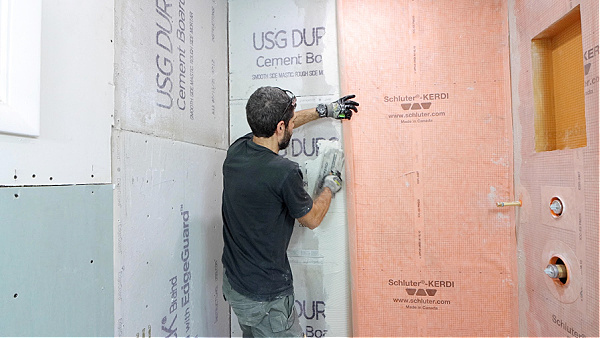
The first method is with KERDI membrane. This membrane can be bonded to clean drywall or cement board.
One word of caution,
It’s NOT necessary to finish drywall with joint compound.
The joint compound could be a bond breaker, i.e. it could prevent KERDI from bonding properly.
Thus, only install new drywall and don’t finish it.
Here’s a big tip,
Dampen new drywall or cement board before applying thin-set.
Both drywall and cement board are ‘thirsty’ – meaning they will absorb the thin-set’s moisture.
This causes the thin-set to skin over prematurely and prevents the KERDI membrane from sticking to the wall.
I recommend dampening the immediate area where the KERDI will be bonded. Then immediately apply thin-set and embed the KERDI.
Here’s a short video that has some KERDI membrane tips
Another option is KERDI-BOARD.
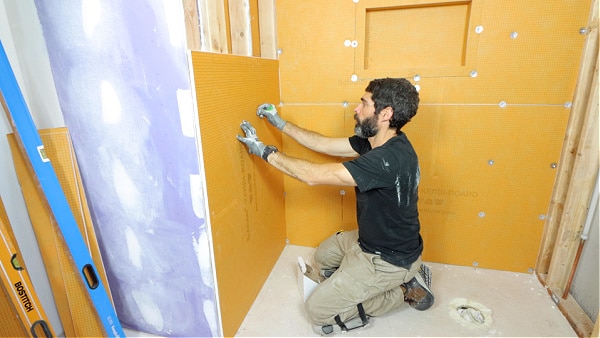
I like KERDI-BOARD because scrap pieces can be used for curbs, shower niches, shelves and more.
Plus, KERDI-BOARD can be wet-shimmed.
Wet shimming is used when wall framing isn’t plumb or even. It allows the KERDI-BOARD to be installed over a thin layer of thin-set on the studs.
The boards are made plumb and screws are only partially sunken into the studs until the thin-set partially cures.
Not all backer boards can be wet-shimmed. For example, cement board and Wedi panels cannot use this method.
This is a HUGE benefit of KERDI-BOARD, especially in older homes. And it’s imperative to have plumb walls for shower tile.
Here’s a video showing how to wet shim KERDI-BOARD
KERDI Shower Kit Part 3: Waterproof Shower Pan & Curb
In order for Schluter’s shower system to work, it requires the right thin-set, the correct trowel size, and fleece layers.
I get asked this question a lot,
How does Schluter’s shower system work?
Schluter’s system works because of the fleece and thin-set. The thin-set needs to be sandwiched between the fleece layers. As the thin-set cures, crystals anchor into the fleece layers. Over time, the crystals grow, anchor into the fleece, and literally create a physical barrier so tight that water molecules cannot pass through it.
What thin-set should be used with Schluter’s shower system?
Normally I recommend using Schluter ALL-SET.
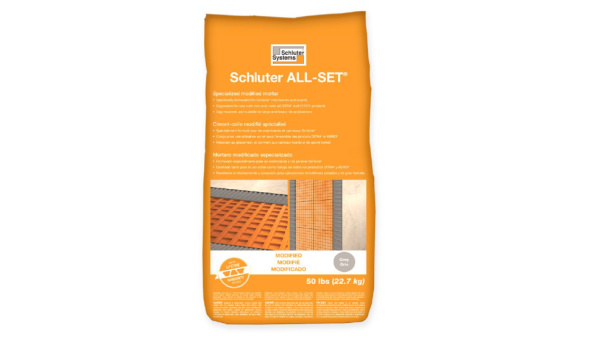
Yes, ALL-SET is a modified thin-set but it’s formulated to work with banding and KERDI membrane. Otherwise, an unmodified thin-set should be used, e.g. Mapei Kerabond.
What trowel should be used to waterproof Schluter showers?
Use the Schluter KERDI trowel, it can also be used to set small mosaics – so it’s worth the money.
Here’s the key to keeping a Schluter shower watertight,
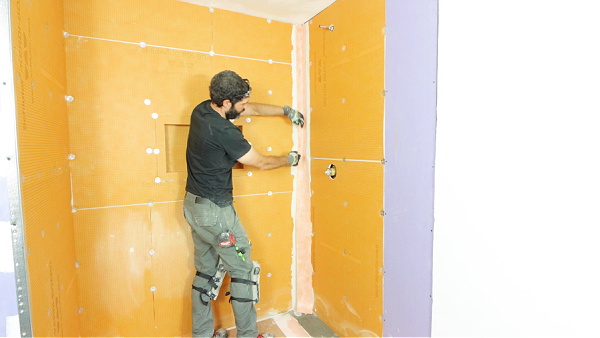
KERDI-BAND or KERDI must overlap by two inches. For example, KERDI-BAND must overlap KERDI-BOARD seams by at least two inches on either side. The same principle applies to walls and shower trays, the banding must overlap the tray and wall by two inches.
In addition, use KERDI-KERECK for inside and outside corners.
Watch our video for all the details on how to build a Schluter curbed shower
What’s Next
Bathroom remodels can be stressful.
If you’re remodeling your bathroom and need help, join our Platinum Membership. You’ll get over 400 step-by-step tutorials and personal coaching to make your project easier.
Tap the button below to learn more
Cheers,
Jeff


