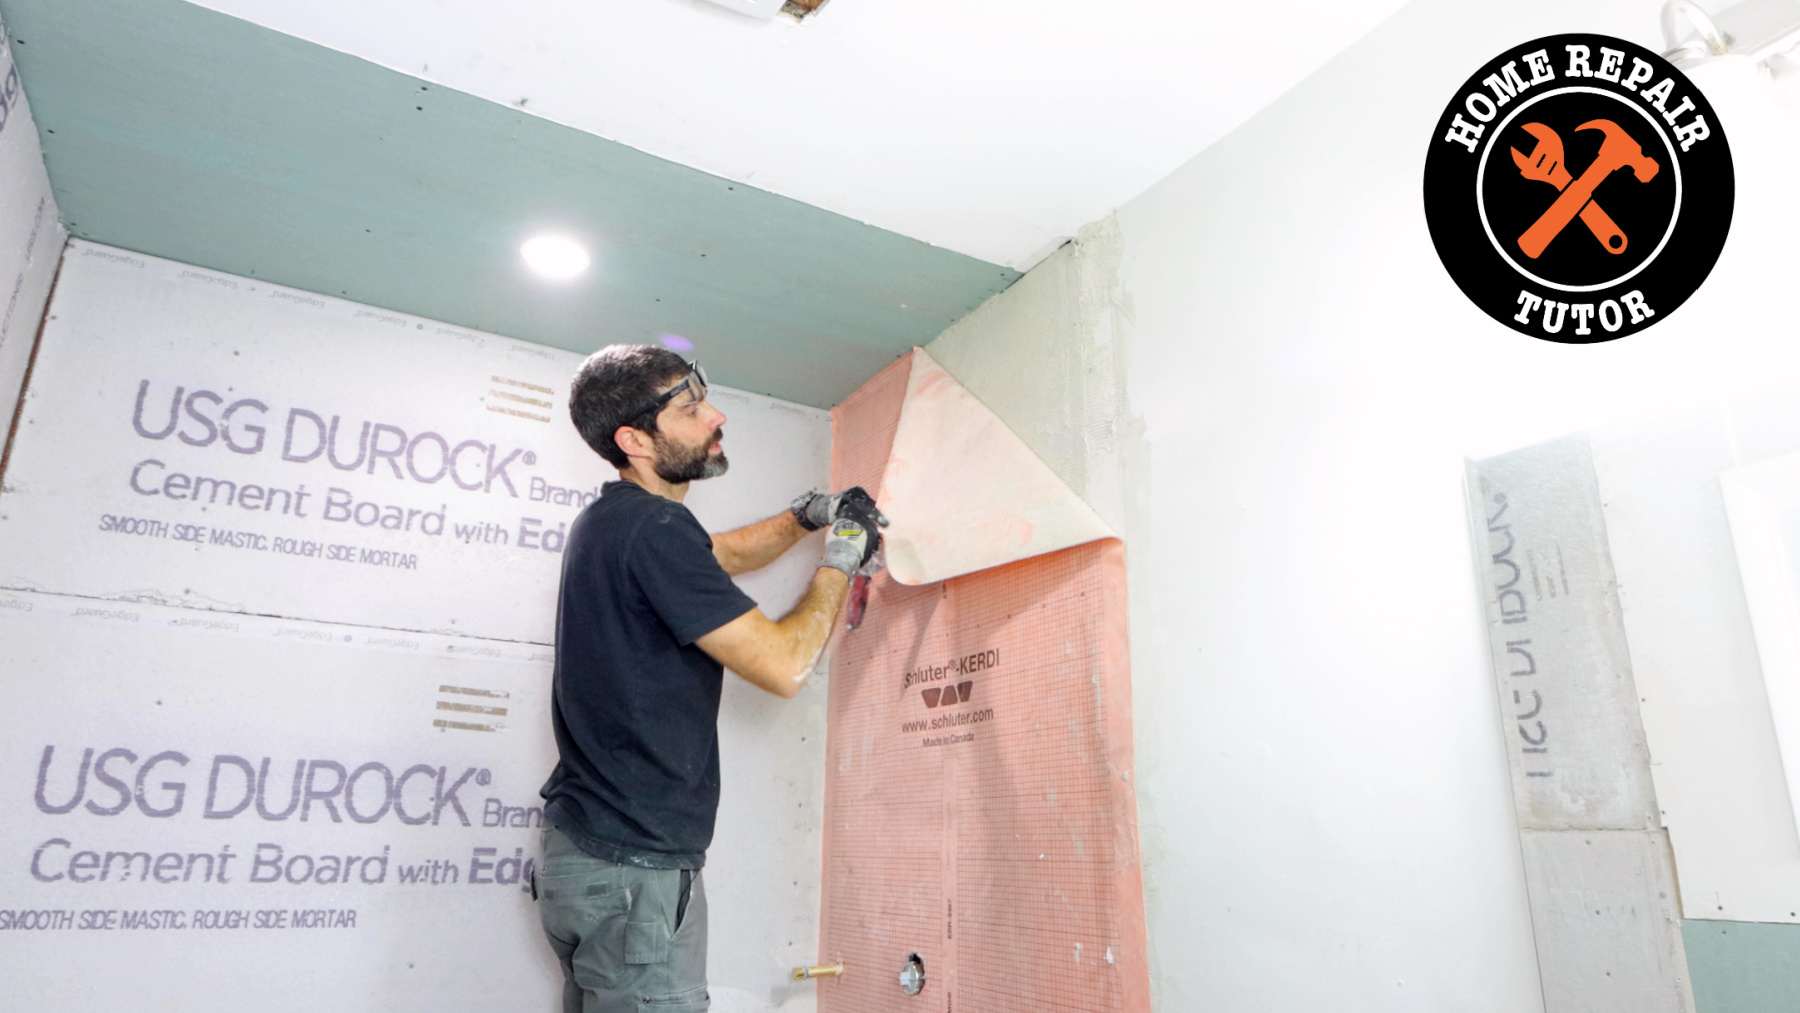
In this tutorial, you’ll see common KERDI membrane mistakes and how you can avoid them.
Sadly, homeowners and contractors install KERDI incorrectly.
This wastes time and money and causes failed tile showers.
Today, you’ll see how to avoid these mistakes with a step-by-step plan.
In the end, your shower renovation will be easier, waterproof, and ready for tile.
Let’s dive in.
Thin-Set Mortar Mistakes
The first big mistake homeowners make is with thin-set mortar.
KERDI membrane should be installed with unmodified thin-set like Mapei Kerabond or Schluter ALL-SET, Schluter SET, and Schluter FAST-SET.
Normally I use Schluter ALL-SET for KERDI.
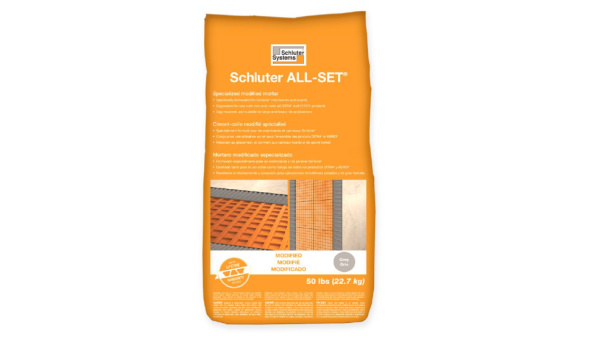
Primarily because it’s a good thin-set for both KERDI membrane and setting tile on walls or floors.
In addition, I use 8 quarts of water with a 50-pound bag to get the right consistency.
NOTE: Schluter recently changed the water ratio recommendations on March 13th, 2024. So always read the ALL-SET bag before mixing it.
Mixing thin-set properly is also important, for both KERDI and KERDI shower pans.
I mix ALL-SET for 5 minutes, let it sit for 10 minutes, and mix again for 3 minutes.
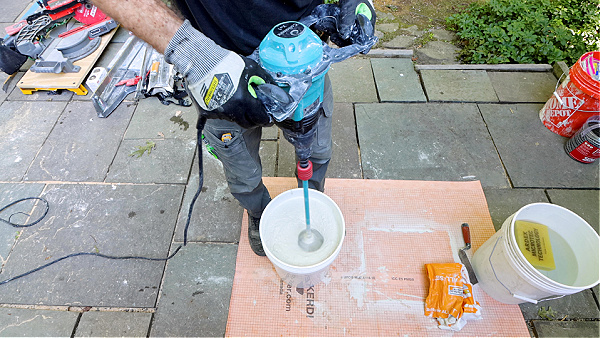
Admittedly, this is time-consuming.
But the process ensures all the polymers are mixed cohesively with Portland cement and sand; and that the ALL-SET has strong bond strength.
Here’s a big tip,
Only use cold, clean water.
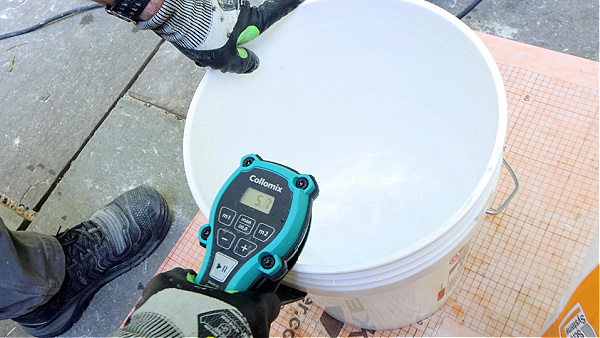
Cold water extends the working time of thin-set.
And that’s helpful when waterproofing big showers.
Remember that once you mix thin-set, the installation game clock starts ticking.
Typically you’ll have 2 to 2-1/2 hours to use ALL-SET for KERDI.
For this reason, I highly recommend cutting your KERDI membrane before mixing ALL-SET. And not wasting time after the thin-set has been mixed.
Thin-Set Application Mistakes
The next big mistake homeowners make has to do with thin-set application.
I always get asked,
How do I install KERDI membrane?
Specifically, should KERDI membrane go over drywall or cement board?
And the answer is both can be used.
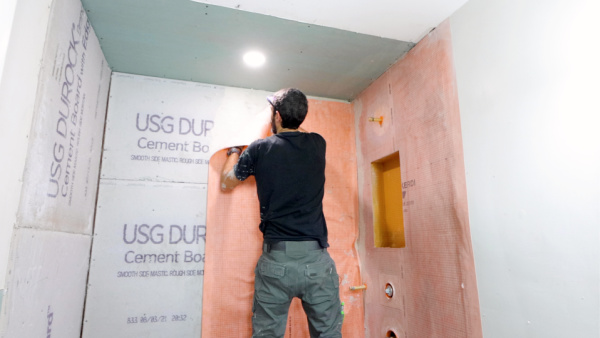
But many people skip this one critical step – the first thing I do before applying thin-set is dampen the cement board or drywall.
I use a sponge to add moisture to the walls.
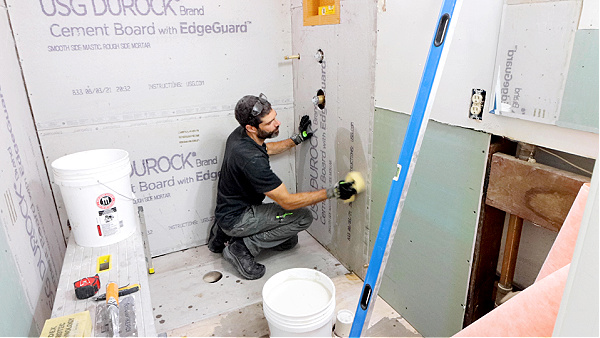
This prevents the cement board and drywall from absorbing the thin-set’s moisture.
And this helps the KERDI membrane bond properly.
I also get the question,
Do I need to tape drywall before KERDI?
No, you don’t have to tape drywall seams before KERDI.
And the same is true for cement boards.
Only the boards have to be installed.
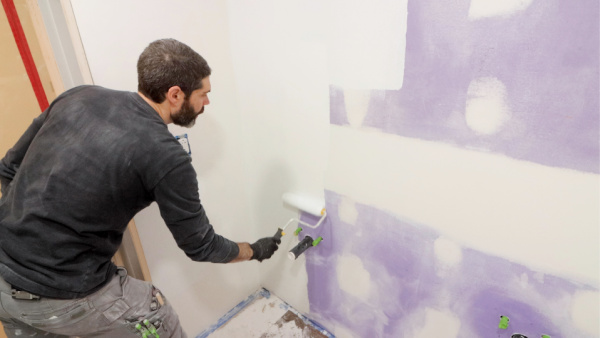
If you taped the drywall seams, here’s a big tip – apply a latex prime, like Sherwin-Williams PrepRite ProBlock, over the taped joints and allow it to dry.
Back to KERDI membrane installation.
I apply a thin coating of ALL-SET to the wall immediately after dampening it.
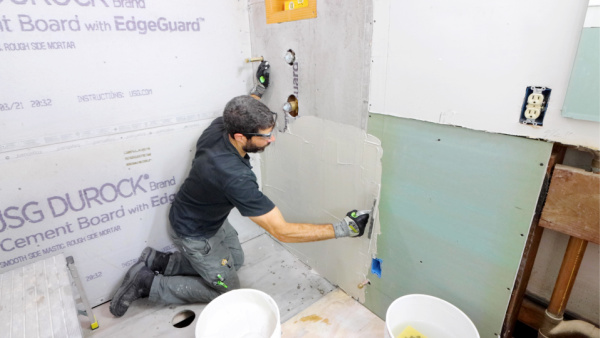
I use the flat side of my KERDI trowel for this step.
Then I apply more ALL-SET with the notched side of my KERDI torwel. I hold the trowel at a 45-degree angle to maximize the notch.
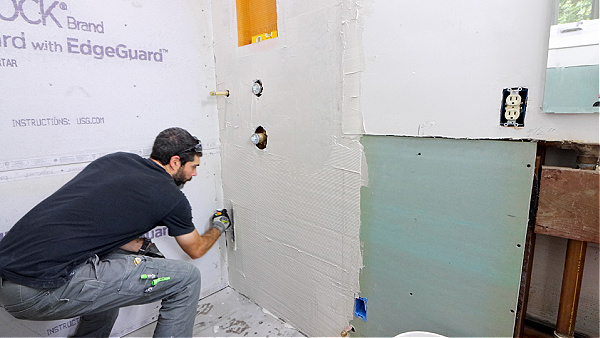
I recommend troweling the ALL-SET so that the ridges are parallel to each other.
This helps the ridges collapse and air to escape when I bond KERDI to the wall.
I overlap drywall transitions and always pull back the KERDI to ensure it’s bonding properly.
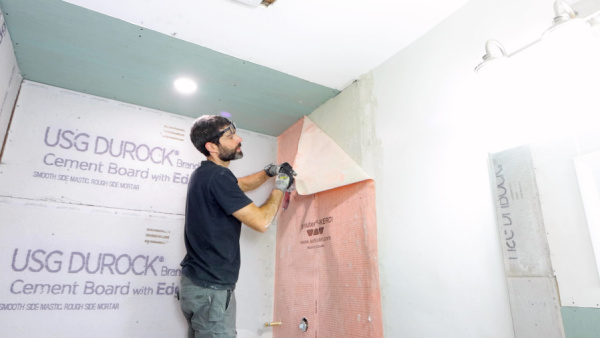
KERDI can be cut back against the perimeter of shower niches, but should extend beyond seams by two inches.
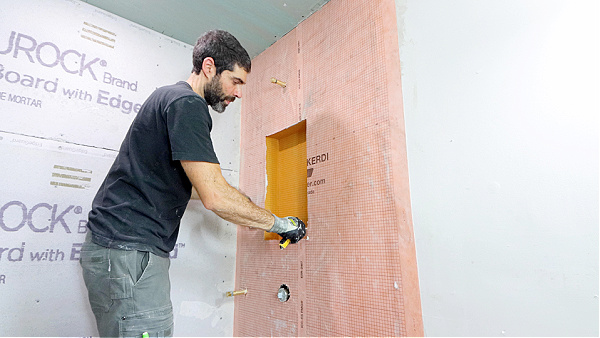
I use mixing valve seals around shower valves.
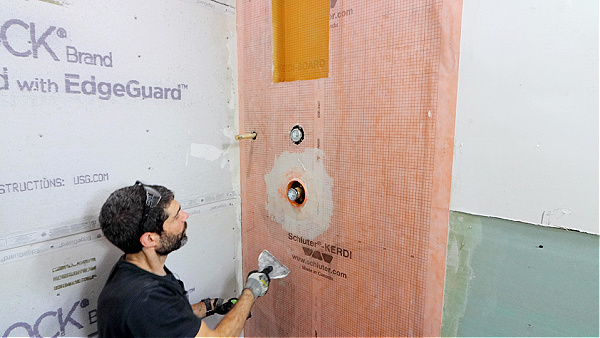
And 3/4-inch pipe seals against pipe pipe nipples for shower wands and shower arms.
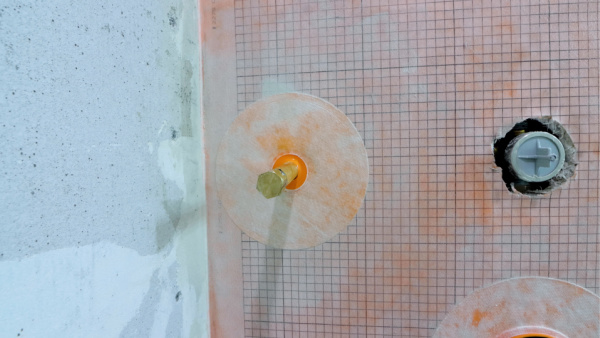
Then I create custom seals for diverter valves using a modified mixing valve seal, KERDI-FIX, and KERDI.
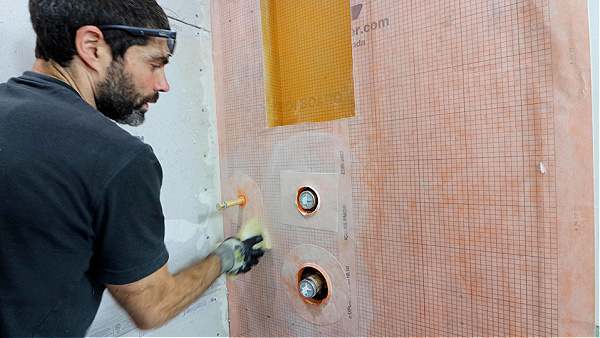
If you have questions about this diverter seal, send me an email at jeff@homerepairtutor.com – I’d be happy to explain it further.
KERDI Membrane Installation
The third biggest mistake homeowners make is with successive sheets of KERDI.
Unfortunately, this causes waterproofing failures.
KERDI membrane has to overlap at least two inches.
I like drawing a line on the wall to indicate where the KERDI will stop.
Then I dampen that section with my sponge.
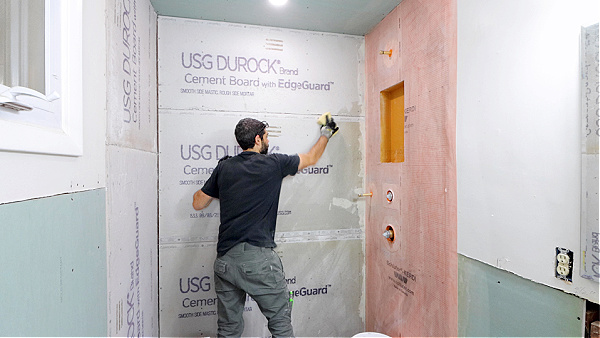
And apply ALL-SET to the first KERDI section followed by the cement board.
I burn ALL-SET into the wall with the flat side of my trowel then add more with the notched side.
When I embed this KERDI sheet, I overlap the prior wall by two inches.
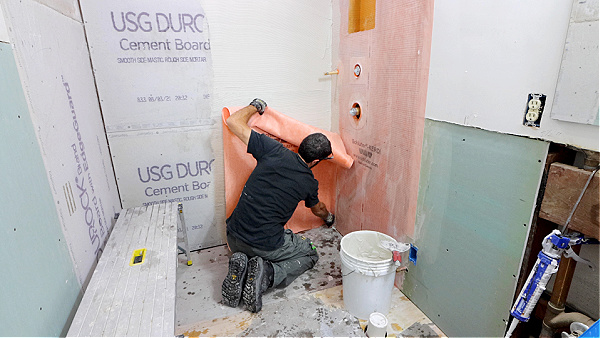
And here’s where the details matter a lot.
First, I use a six-inch joint compound knife to embed the KERDI into the corner.
It’s important to keep the corner square for my tile work.
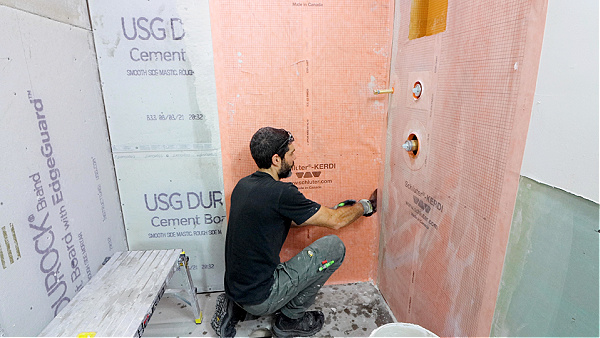
Second, I use that same joint compound knife to remove air pockets.
I lightly compress the KERDI by moving the knife at a 45-degree angle across the wall.
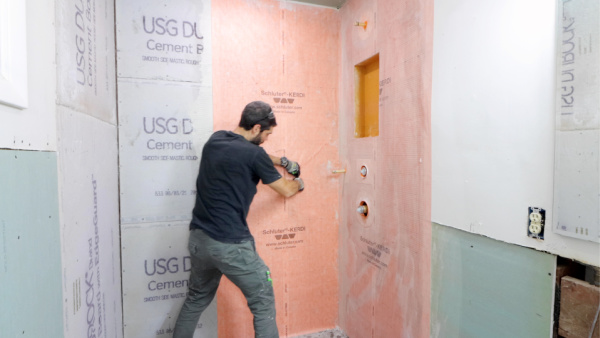
I feel the KERDI with my hand to check for any mixed air pockets.
This ensures the walls be flat and ready for tile.
I continue these procedures for the rest of the shower and wipe off any excess ALL-SET.
What’s Next
Shower waterproofing is just one part of bathroom renovations.
If you’re remodeling a shower and need help or want your bathroom to look awesome in the end, join our Video Library.
I promise the Personal Coaching and over 350 step-by-step tutorials will make your project easier.
Tap the button below to learn more
Cheers,
Jeff


