Recently, our HRT member Tim had to relocate a shower drain.
But he wasn’t sure how to do it. The existing drain was too close to the floor joist.
Fortunately, he’s using the Schluter shower pan and this makes his job easier.
You’ll see several recommendations and learn what mistakes to avoid.
Shower Drain Relocation
Before I start, I want to mention something.
Tim’s plumbing is white PVC. Therefore, I recommend using white PVC and a gray PVC KERDI-DRAIN.
That said, in some of my pictures I show black ABS. And that’s just for referencing plumbing principles.
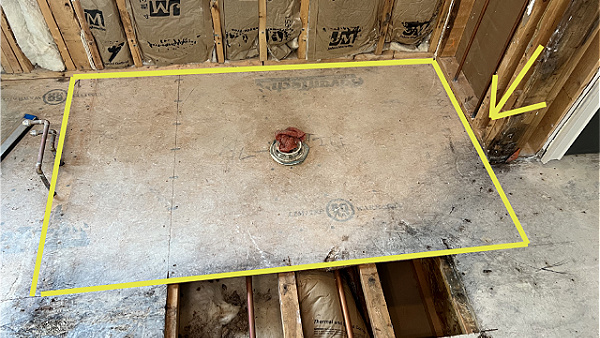
Here’s a picture of Tim’s shower pan footprint.
And here’s the situation he has with the shower drain riser pipe.
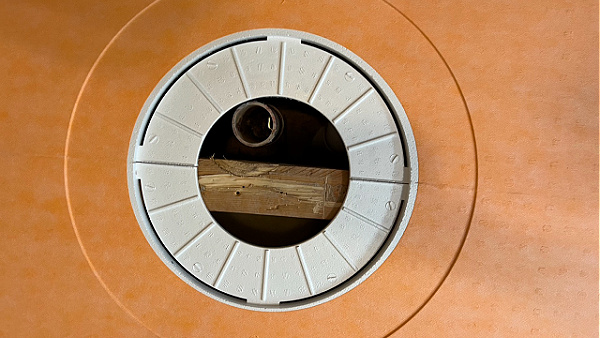
The problem is the riser pipe is very close to the floor joist.
And this won’t work with the Schluter KERDI pan.
Fortunately, we can fix his problem with the following suggestions.
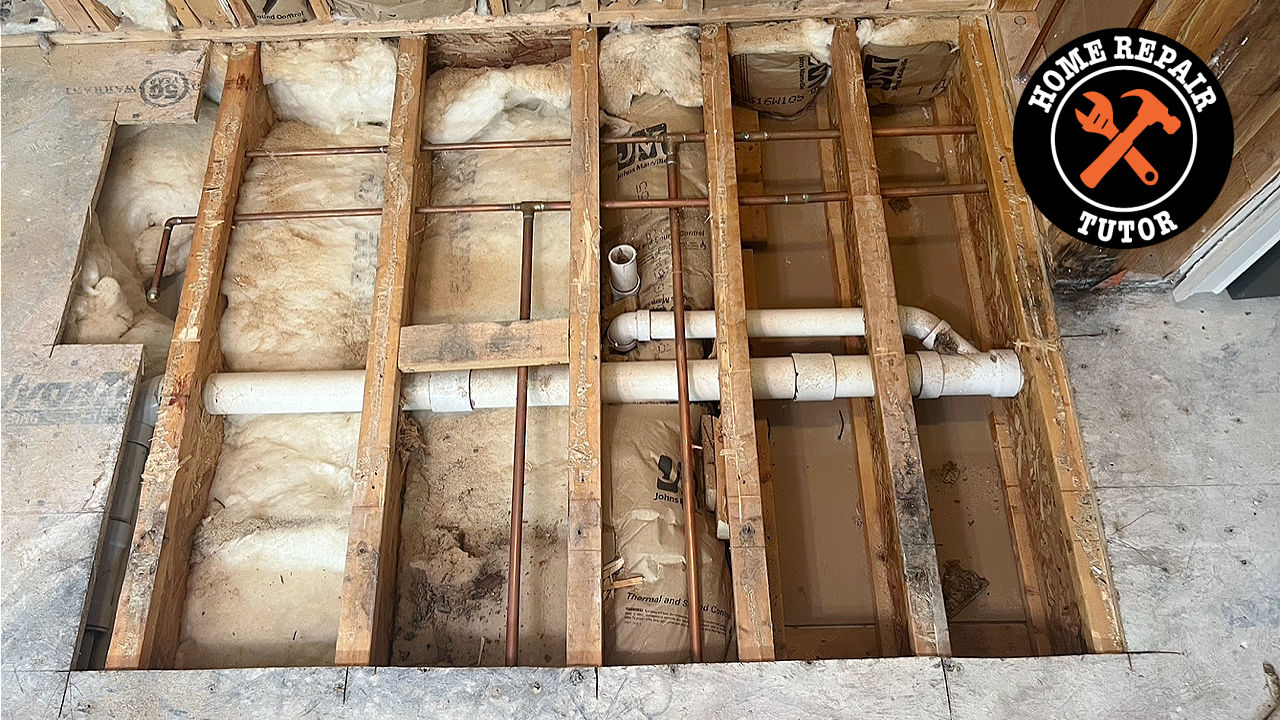
The plumbing layout is below, and the P-Trap ties into a 3x3x2 wye.
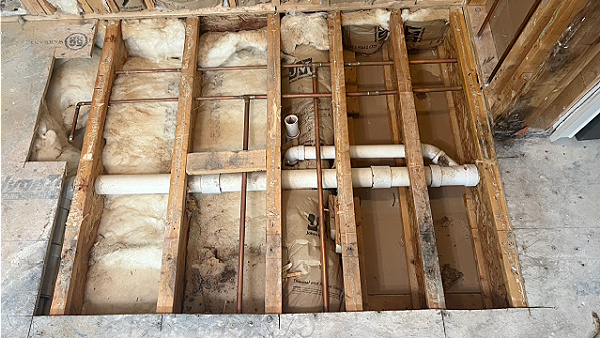
To relocate this shower drain we need to understand a few principles.
First, Schluter shower trays allow a maximum 5-inch hole in the subfloor.
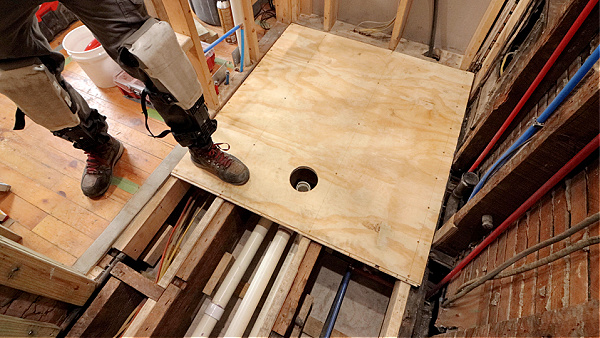
Primarily because this allows the bottom of the KERDI-DRAIN to fit underneath the subfloor.
So that’s the first principle to know
You need a 5-inch hole in the subfloor for the KERDI-DRAIN.
Second, the KERDI-DRAIN has a 2-inch hub.
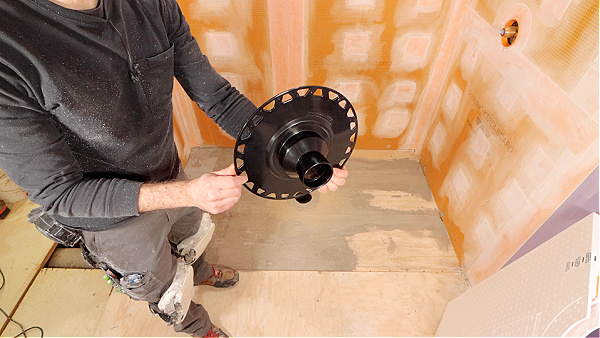
As such, it requires a 2-inch riser pipe and P-Trap.
In Tim’s picture above, that riser pipe is 2 inches, which is good.
But I’m going to digress for just a moment.
If the riser pipe were 1-1/2 inches, he’d have to find where that 1-1/2 inch pipe ties into the house DWV.
For instance, it would be ideal if it connects to a reducer fitting that goes from 1-1/2 inches to 2 inches.
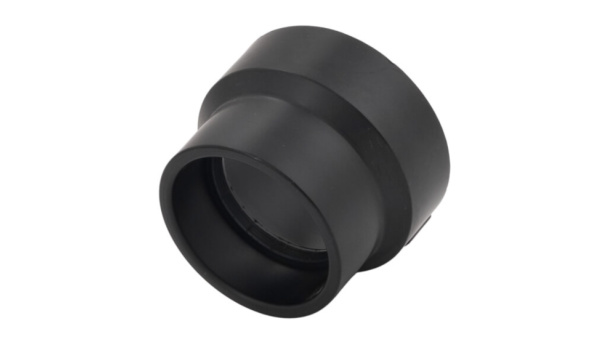
He could cut out the reducer fitting and solvent weld a new 2-inch coupling.
This is typical if you’re converting from a bathtub to a shower.
Okay, back to Tim’s situation.
I’d cut the trap arm with a reciprocating saw or multi-tool to move the riser pipe and P-Trap.
The cut could be in the same joist bay where the 3-inch pipe has a coupling; the orange arrow indicates the cut location.
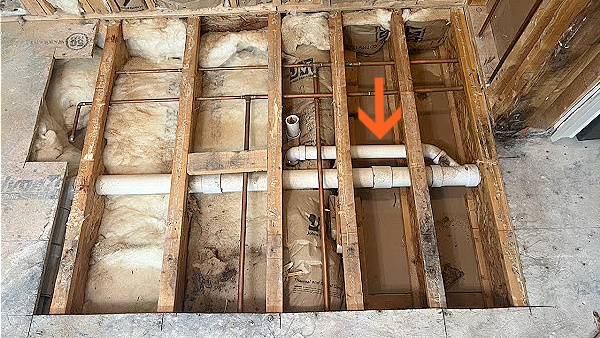
Once the pipe is cut, I’d deburr and chamfer with a DEB4 tool. Then solvent weld a new PVC coupling to the house DWV.
The next steps are critical for the shower to drain properly and for the tile work.
Here’s a shower plumbing principle to remember,
The P-Trap has to be level
If the trap isn’t level, the KERDI-DRAIN won’t be level.
Consequently, water could pool around the drain after the tile installation.
This isn’t ideal and will ultimately cause the grout to discolor.
So, I recommend dry-fitting the new P-Trap, street 90 fitting, and trap arm.
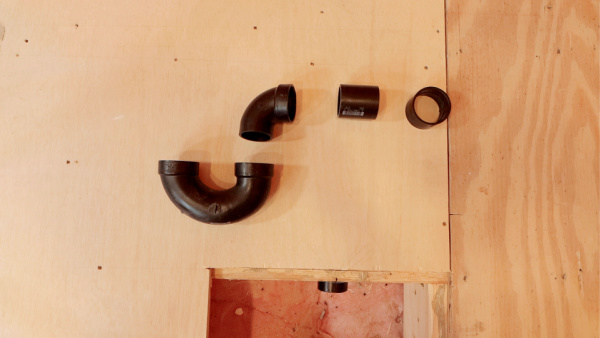
The street 90 fitting is what allows you to get the P-Trap level.
Thus, I rotate it around the trap arm until the hub of the P-Trap is level.
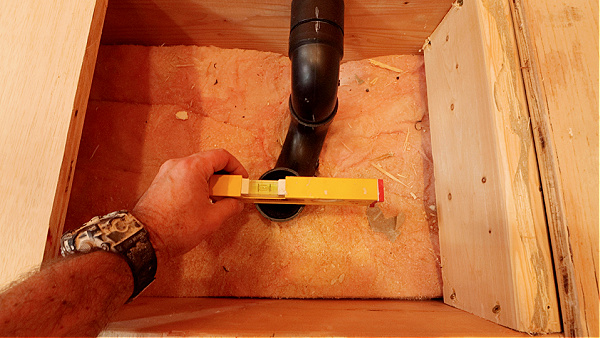
Look closely at the above picture.
You’ll notice white tick marks on the fittings.
I do this for two reasons
- First, my eyesight is bad
- Second, the white marks help solvent weld everything properly
Experienced plumbers might balk at this and say it’s useless.
But to me, it’s invaluable and I highly recommend homeowners do it.
In addition, I’d recommend that Tim keep the trap and riser pipe 3 inches away from the floor joist. That way, the KERDI-DRAIN will fit.
Once everything is dry-fit, I then solvent-weld.
I’d solvent weld everything in this order
- Trap arm to Coupling
- Street 90 to P-Trap
- Street 90 to Trap Arm
In addition, I don’t recommend solvent welding the riser pipe.
Instead, I’d wait to solvent weld it when installing the entire KERDI-DRAIN.
Once the plumbing is done, the subfloor can be installed.
But there’s one additional step that Tim has to take,
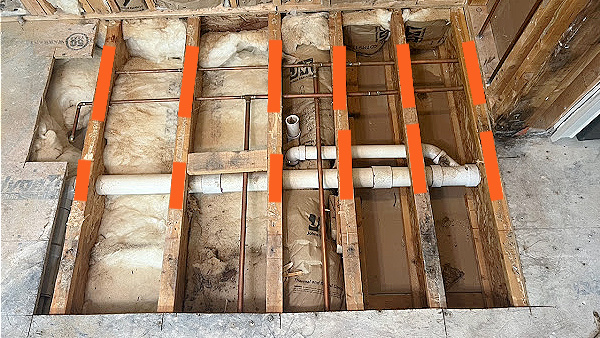
Hammer 16-gauge steel guards on the floor joists where there are plumbing penetrations.
I’ve highlighted the joists in the picture below where these steel guards need to go
Normally, I install 3/4 inch (23/32 inch) tongue and groove APA-rated plywood subfloors over 16-inch on-center floor joists.
I use PL400 or Great Stuff Construction Adhesive (1/2-inch bead) on the joists.
Then add 2-inch construction screws every 12 inches in the field and 4 to 6 inches along the perimeter.
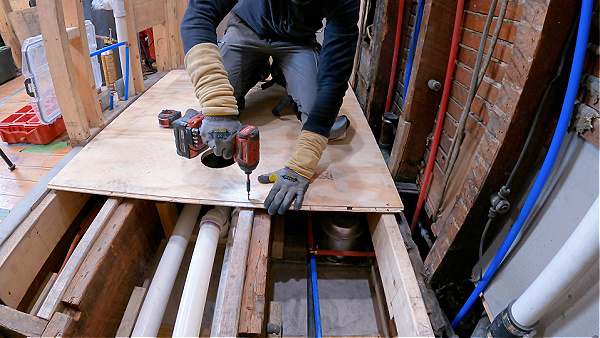
Then I solvent weld my KERDI-DRAIN to the house DWV; the riser pipe is welded first then the KERDI-DRAIN.
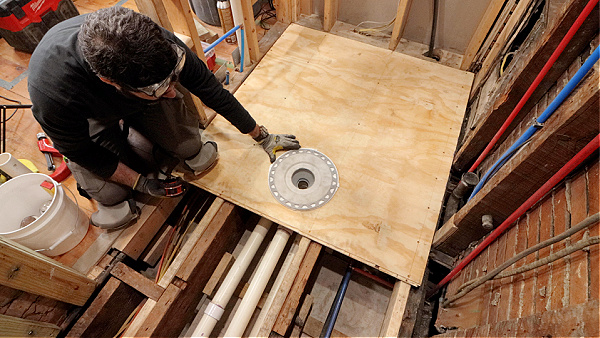
I have a complete tutorial on this inside Home Repair Tutor’s Gold and Platinum Memberships
Okay, that solves most of the shower drain relocation problem.
But what about the Schluter KERDI pan? How do you customize that?
How to Customize KERDI Shower Pan
The main reason I like Schluter products is they can be customized.
For example, if I were Tim, I’d cut 3-3/4 inches off the shower pan’s right side.
But I’d do it in this order,
Cut the first 3/4 inch off the perimeter of the shower pan.
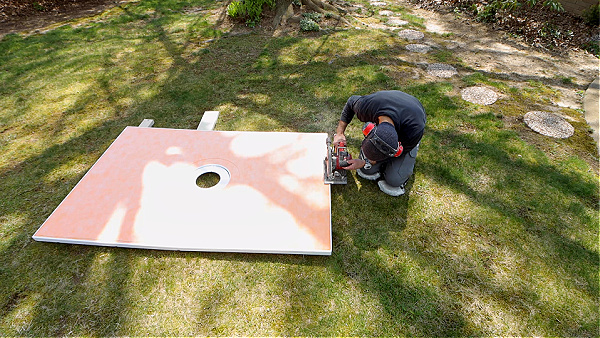
Then cut off the next 3-inches, circular saws are perfect for this.
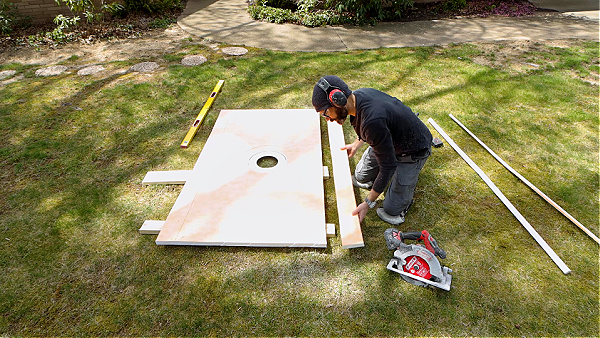
Here’s why, that first 3/4 inch piece is flat.
And because it’s flat, that will help keep the wall tile flat against the tile shower floor.
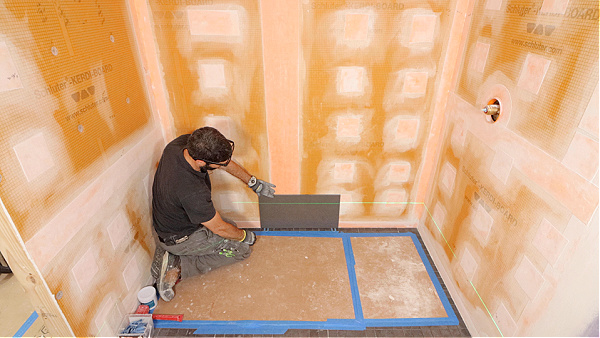
Therefore, when Tim installs the KERDI shower pan, I’d recommend setting the 3/4 inch perimeter against the wall.
And then setting the shower tray.
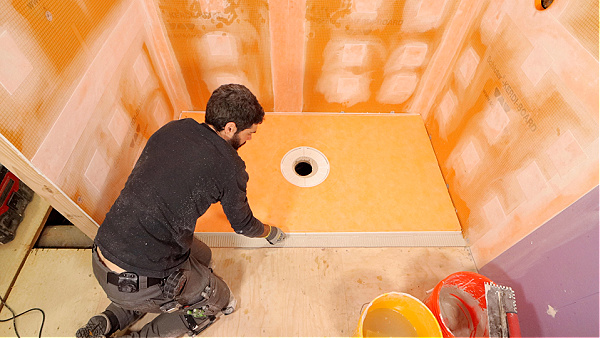
By the way, I install the KERDI-BOARD walls first then the shower pan.
This makes setting that small 3/4-inch piece super easy.
Now because Tim cut 3 inches off the shower tray and shifted it to the right, he’ll be left with a 3-inch void on the left side.
This isn’t a problem.
He can extend the Schluter shower pan with Mapei 4-to-1 Mud Bed Mix (AKA Dry Pack).
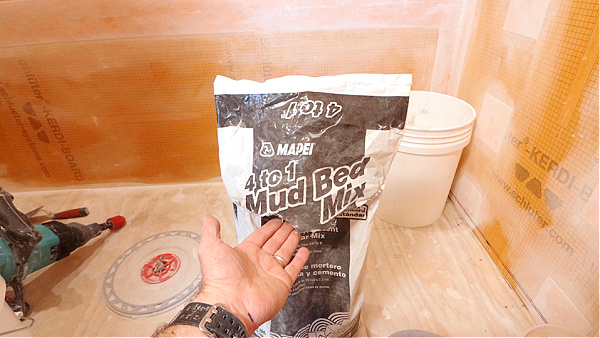
Here’s a mistake some folks make,
They don’t add the Mud Bed Mix to the wet thin-set mortar.
That Mud Bed Mix needs the thin-set mortar to bond to the shower subfloor.
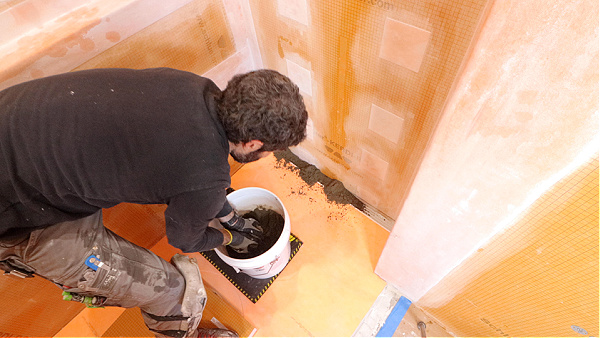
I’d use Schluter ALL-SET with a 1/4-inch by 3/8-inch square notched trowel for the KERDI shower pan.
Since only 3 inches of Mud Bed Mix is needed, that corresponds to roughly 1/16 inch of rise from the edge of the KERDI shower pan to the KERDI-BOARD wall.
The shower pan height at the perimeter is 1-1/4 inch. Thus, I’d draw a line at 1-5/16 to 1-3/8 on the KERDI-BOARD.
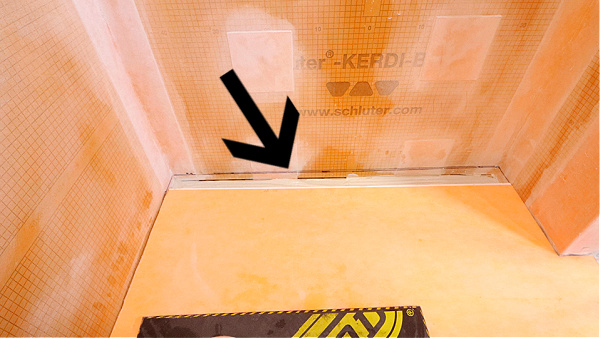
Then add my Mud Bed Mix, tamp it, and use a steel finishing trowel to smooth it.
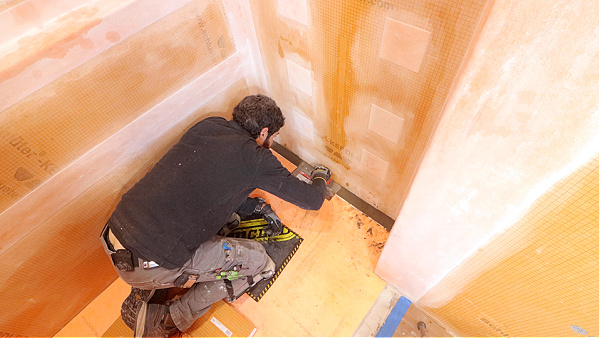
Side note, this Mud Bed Mix has to cure for two days then be waterproofed with KERDI-BAND or KERDI membrane with two inches of overlap on the KERDI-BOARD and KERDI shower pan.
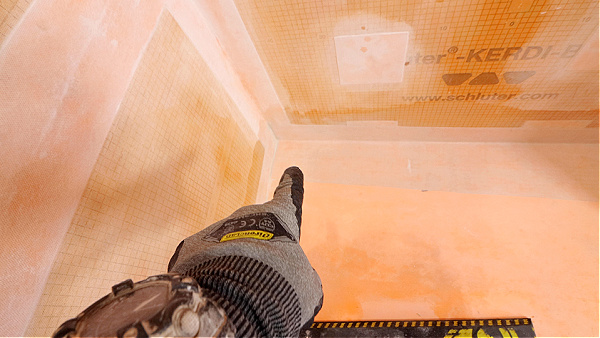
So that’s how you customize a Schluter shower pan.
Final Thoughts
Solving problems like this can be difficult for homeowners.
And that’s why I enjoy helping our members think through these situations.
If you’re remodeling your bathroom like Tim and need help, join our Platinum Membership.
I promise you’ll love the personal coaching and step-by-step tutorials.
Tap the button below to learn more
Cheers,
Jeff

P.S. If you’re already a Platinum Member, I recommend these videos inside the Video Library


