Sadly, many homeowners make shower drain plumbing mistakes.
The consequences are water leaks and smelly bathrooms.
But it doesn’t have to be that if you follow a simple plan.
And the good news is these concepts apply to other plumbing projects.
Let’s dive in.
Shower Drain Pipe Size and Other Basics
Most plumbing mistakes boil down to three things
- Pipe and fitting prep
- Choosing the correct cement
- Cement application
If you can do the prep correctly, choose the right cement, and apply it properly – you’ll be successful.
If you do any one of these wrong, you run the risk of having a water leak.
One big mistake with the fittings is choosing the wrong type and wrong size.
For instance, some homeowners install threaded P-Traps.
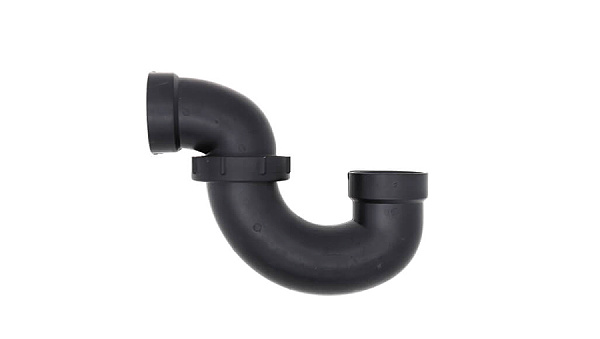
Normally, this is not allowed for showers because the trap isn’t accessible.
Even if the trap were accessible, I recommend solvent welding it to the home DWV.
Here’s why,
Unlike sinks (that have threaded fittings), shower plumbing isn’t inspected that much.
Most of the time it’s enclosed in a ceiling above the kitchen or elsewhere.
Another big mistake is choosing the wrong pipe and fitting size.
For example, most shower drains require a 2-inch riser pipe. As such, the trap and all subsequent fitting have to be 2-inches. One additional tip, if your house DWV isn’t flexible you might want to consider a Fernco coupling – this is especially helpful if you’re working on 3-inch or 4-inch drain pipes.
Now that you know some basics, let’s tackle the pipe and fitting prep.
How to Cut ABS and PVC Pipe
There are many ways to cut ABS and PVC pipes.
For instance,
- Miter saw
- Circular saw
- Reciprocating saw
- Manual tube cutter
No matter which method you choose, the cut must be square.
That way you can be sure the pipe will fit evenly into the fitting.
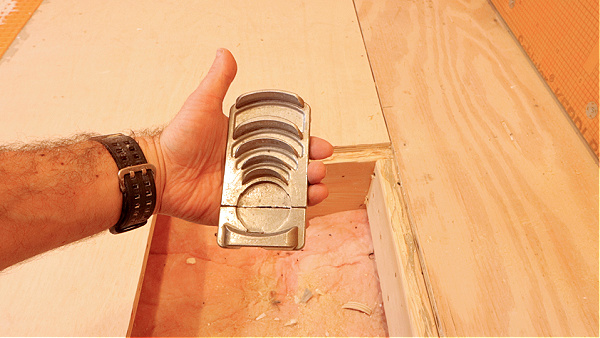
I prefer the Reed Quick Release Tubing Cutter.
It’s quick and makes square cuts every time.
Once the pipe is cut, the next step is to deburr it.
Typically I use a utility knife to deburr the outside and inside of the pipe.
The other benefit of a tubing cutter is that it doesn’t create a lot of burrs.
Finally, I recommend chamfering the ABS or PVC pipe with the DEB4.
This creates a 15-degree bevel on the pipe and helps it slide into the fitting.
In addition, the bevel reduces the likelihood of snowplowing.
This is when the pipe pushes all the cement to the far end of the fitting.
As a result, the solvent weld is incomplete, and water can leak from the fitting/pipe connection.
So the proper prep is critical for shower drain plumbing.
Another big mistake homeowners make is choosing the incorrect cement.
ABS vs PVC Cement
This principle is very easy,
always choose the cement that’s labeled for your pipe.
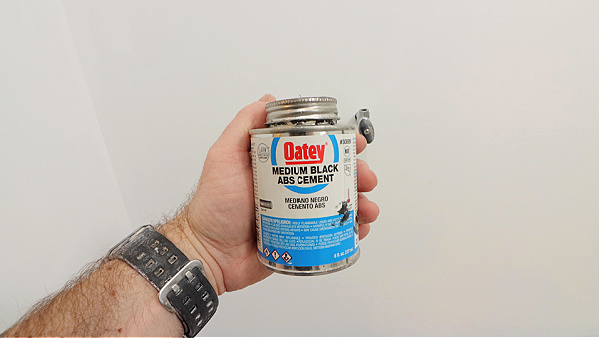
For example, use ABS medium black cement for 2-inch shower drains.
If you’re using PVC pipes and fittings, use PVC cement and primer.
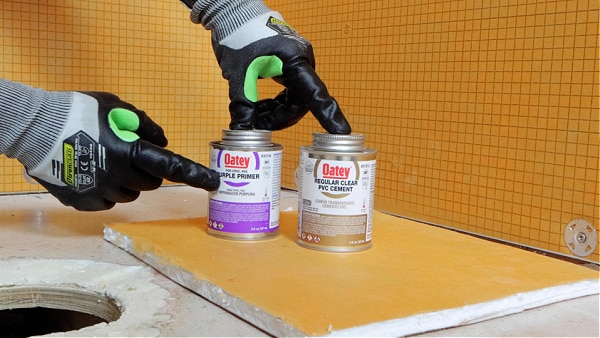
Oatey does make clear PVC primer. So don’t be surprised to see that as an option.
Now here’s the deal,
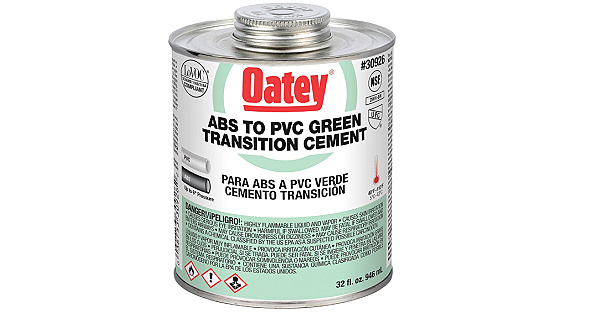
Sometimes you have to transition between ABS and PVC.
In that case, use green transition cement.
Cement application is another critical principle to understand.
Oatey recommends 4-5 revolutions of cement on the fitting, then the pipe, and then the fitting again.
This ensures the cement is covering the surface area of the pipe and fitting that will be solvent welded together.
And if you’re using primer for PVC, you should apply the primer in the same manner.
On top of that, the solvent weld has to be made within 5 minutes of the primer application.
So you can’t apply the primer and take a lunch break.
This one concept will save you a ton of heartache in the form of water leaks.
How do you put all this information together to avoid shower drain plumbing mistakes?
I’ll show you.
Shower Drain Plumbing Rough In
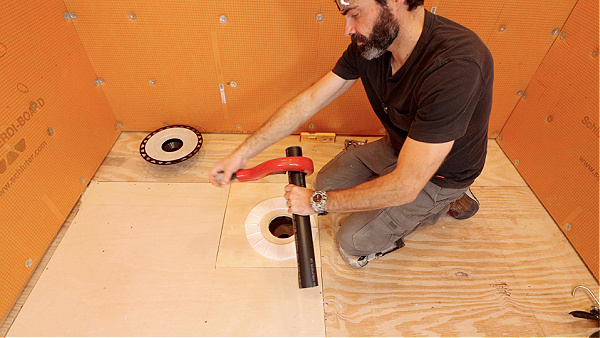
Now that you know important shower drain plumbing principles, it’s time to install the drain.
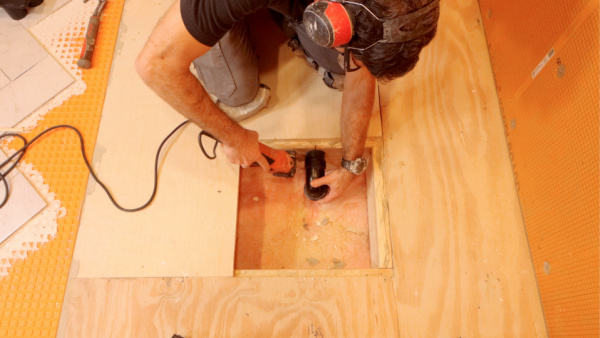
Remember, cut the existing pipe square.
I use an oscillating multi-tool and BIM blade for this.
From there, I deburr and chamfer the pipe.
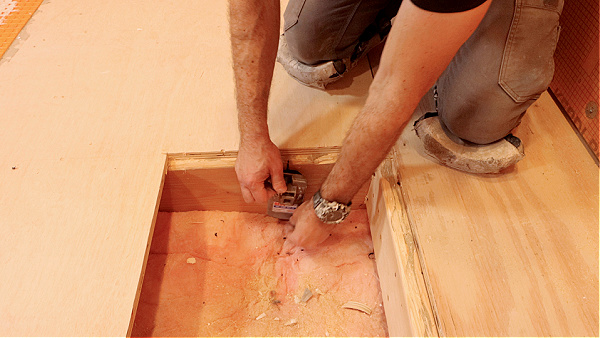
And solvent weld a 2-inch coupling to the pipe.
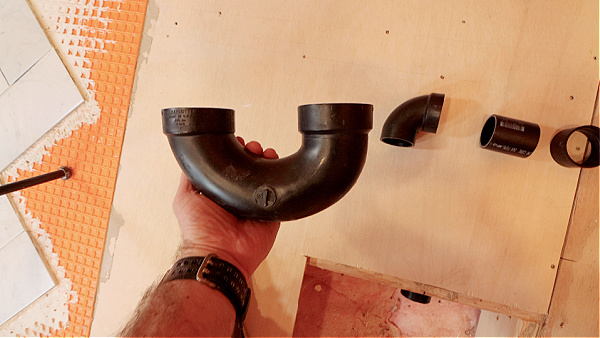
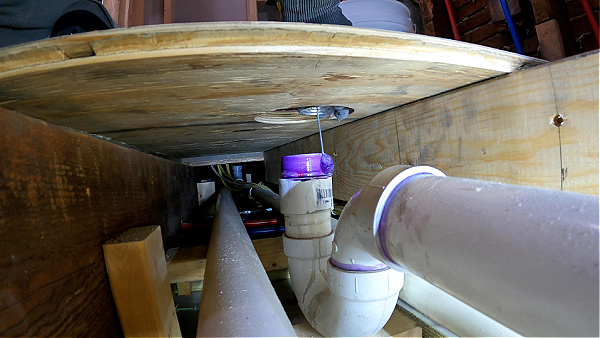
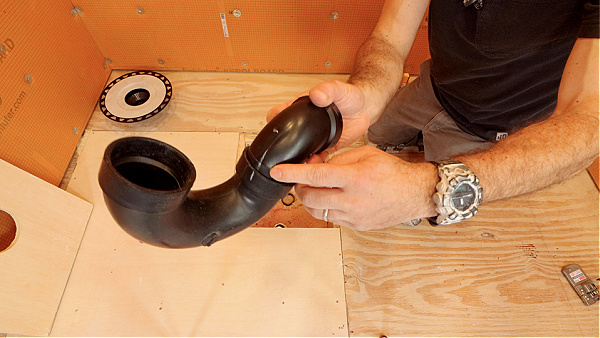
I then use a 2-inch P-Trap, street 90, and trap arm (2-inch pipe) to connect to the house DWV at the coupling.
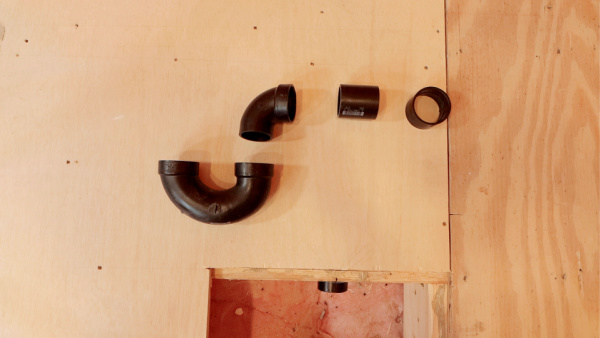
The first important concept is to cut the trap arm to the right size. Then rotate the P-Trap to the shower drain location.
I dry-fit a riser pipe to help with this step.
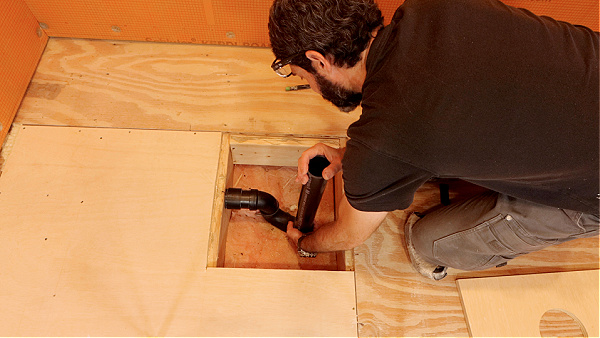
Once I’m certain the shower drain plumbing is in the correct configuration, I mark all the fittings with a white Pica Dry pencil.
Then I go to work on solvent welding everything together.
Here’s my sequence,
- Solvent weld coupling to house DWV
- Solvent weld street 90 to P-Trap
- Solvent weld street 90 to coupling
- Quickly make P-Trap level
If the P-Trap is level it will keep water in the trap and prevent sewer gas.
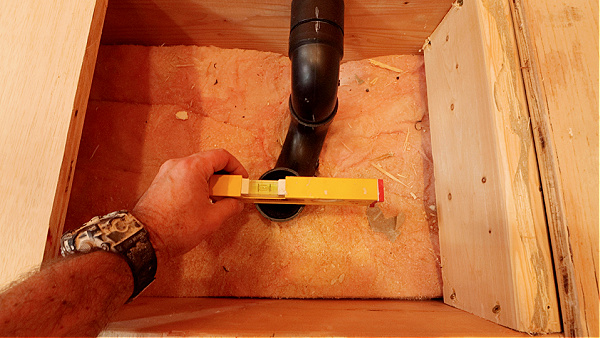
In addition, it will allow the new shower drain to be level.
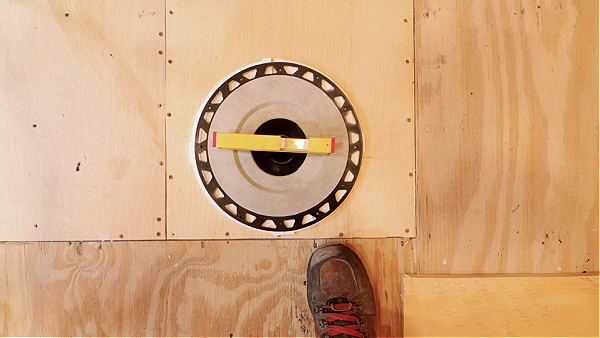
I’m using a Schluter KERDI-DRAIN for this shower.
Having a plan like this one removes a lot of anxiety from any shower drain plumbing project.
And it makes the process easier, even for someone completely new to bathroom remodeling.
What’s Next
Plumbing is just one aspect of bathroom renovations.
If you want to unlock all my bathroom remodeling videos, courses, and personal coaching, join Home Repair Tutor today – it’s one of the best online resources for anyone renovating a bathroom. Tap the button below to learn more
Jeff