The easiest shower drain installation is also the safest.
Showers are notorious for leaking, especially at the drain.
So today you’ll see how to install the Schluter KERDI-DRAIN and do it the right way.
Let’s dive in!
Easiest Shower Drain Installation Supplies
Here are the supplies used to install the KERDI-DRAIN
- Schluter KERDI-DRAIN (PVC) – https://amzn.to/3z3nmK5
- Reed Pipe Cutting Tool – https://amzn.to/3enUHaS
- Reed DEB4 Chamfering Tool – https://amzn.to/3B8R81S
- Wheeler-Rex Internal Pipe Cutter – https://amzn.to/3klqoVN
- Oatey PVC Primer and Cement – https://amzn.to/3enzIVC
- Schluter ALL-SET – https://amzn.to/3wK4oqc
- Margin Trowel – https://amzn.to/3eova0U
- These are Amazon affiliate links and help support HRT!!
Do you need all the fancy cutters?
They’re not totally necessary, but I highly recommend them because they make the installation easier and better. I also use them for the shower drain P-Trap installation.
If you’re a first-time DIYer, keep this in mind: you can always buy these tools and sell them later.
If you’re a professional, keep these tools – they’ll make your jobs a breeze.
How to Use Spacers with KERDI-DRAIN
Schluter’s KERDI-DRAIN is awesome for many reasons.
First, you can install it before purchasing the shower tray. For example, plumbers can install the drain ahead of the tray by using the spacers that come with the drain kit.

That said, the thickness of the shower tray needs to be known so the appropriate spacer can be used.
Alternatively, if the shower tray is on-site, cut out the white foam support and use that instead of the spacers.

The shower drain installation method in this tutorial is for when the installer has no access to the plumbing, e.g. second-floor bathroom above kitchens!
How to Cut Shower Drain Pipes
It can be difficult to cut shower drain pipes to the right depth.
However, there are awesome tools that make this much easier.
In this example, the 2-inch drain pipe was already solvent-welded in place.
I cut off the extra pipe with the Reed pipe cutting tool to make the total length about 4-5 inches above the floor. This tool also makes square cuts, which is imperative for shower drains.

Then the top of the cut pipe was chamfered. This is important because it allows the pipe to fit inside the KERDI-DRAIN up to the stop.
Chamfering also prevents ‘snowplowing’ of PVC solvent, which can cause improper solvent-welding.
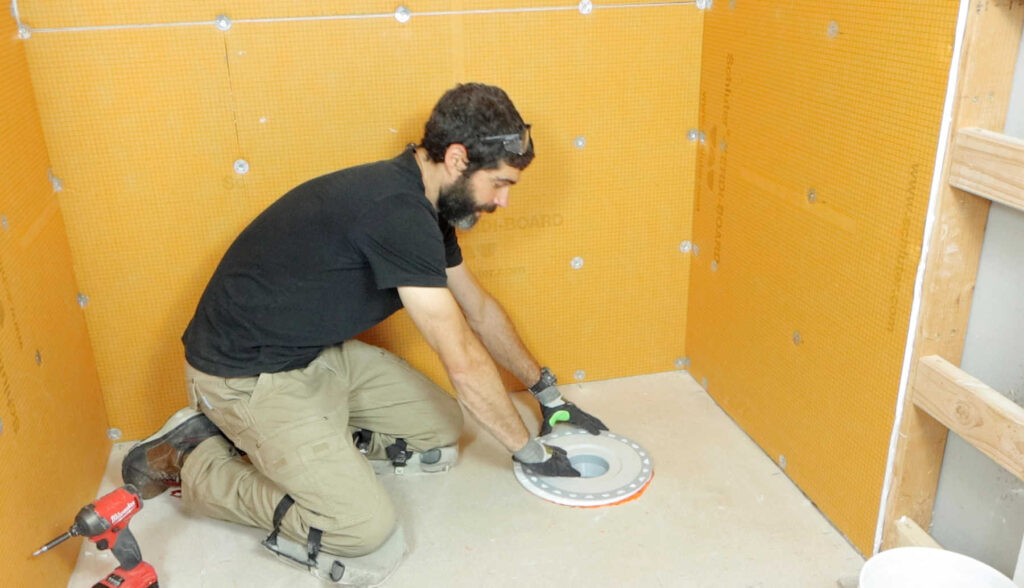
At this point, I placed the foam support on the floor and dry-fit the KERDI-DRAIN. Then took a measurement between the foam and the bottom of the drain support flange.
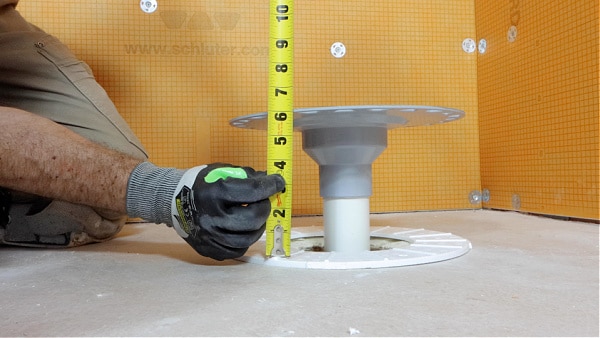
This measurement was 6-1/8″ and is the amount of pipe that needs to be cut off.
From there, I used the Wheeler-REX inside pipe cutter and made a precise cut.

The drain fits perfectly due to all these steps.
How to Install KERDI-DRAIN for Heated Showers
Read these tips if you’re installing a heated Schluter Shower.
You’ll need to cut out a DITRA-HEAT mat donut that matches the shape of the shower tray foam support.

This DITRA-HEAT mat donut has to be bonded to the substrate or subfloor with thin-set before the foam support.
The purpose of the DITRA-HEAT mat donut is to raise the KERDI-DRAIN.
Then, when the Schluter shower tray is installed, the DITRA-HEAT mat will be bonded to the surface.
Raising the KERDI-DRAIN with the DITRA-HEAT mat donut ensures the shower tray tile will be at the right height. And it prevents a depression in the shower tray.
So don’t forget these steps if you’re installing DITRA-HEAT inside a shower.
How to Install Schluter KERDI-DRAIN
The second reason I love the Schluter KERDI-DRAIN is that it’s solvent-welded to PVC or ABS.
There’s no messing around with rubber gaskets, which always leak!
I used Oatey PVC Primer and Cement for this project, but it might be different in your area.
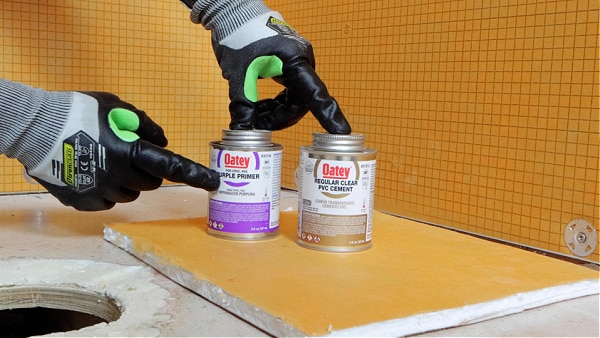
Here’s a hot tip: Apply primer to the fitting, then the pipe, and then the fitting again. Then immediately apply PVC cement to the pipe, then the fitting, and then the pipe.
If you forget to apply the PVC cement due to a phone call or emergency bathroom break, you have 5 minutes to apply the PVC cement after priming (this is per Oatey’s training).
Immediately, solvent-weld the KERDI-DRAIN to the pipe and check its level.
Watch this short tutorial to see all these steps in action. I guarantee it’ll be very helpful
What’s Next
Plumbing is just one aspect of bathroom renovations.
If you want to unlock all my bathroom remodeling videos, courses, and personal coaching, join Home Repair Tutor today – it’s one of the best online resources for anyone renovating a bathroom. Tap the button below to learn more
Cheers,
Jeff