Shower wall wet shimming is a great way to fix stud walls.
This is especially helpful if your stud wall is bowed and causing backer boards to deflect.
There are tons of tips that’ll make your project easier, so let’s dive in!
Shower Wall Wet Shimming Supplies
Here are the supplies used in this project:
- Schluter ALL-SET mortar
- Schluter KERDI-BOARD
- Margin Trowel
- KERDI Trowel
- 4-Foot Level
- 6-Foot Level
Don’t worry, you’ll see how to use all these supplies.
How to Mix Thin-Set to Wet Shim Shower Walls
There are many ways to fix stud walls. Studs can be shaved down using an electric planer, shimmed, or sistered with new dimensional lumber.
But frankly, the easiest way to fix wonky studs is to wet-shim.
This involves applying thin-set to the face of the stud. Then the backer board is lightly pressed into the thin-set/stud and made plumb with a level.
However, not every backer board can be wet-shimmed. For example, Wedi doesn’t (for now) allow wet shimming of their building panels.
Schluter, on the other hand, allows their KERDI-BOARD to be wet-shimmed all day long.
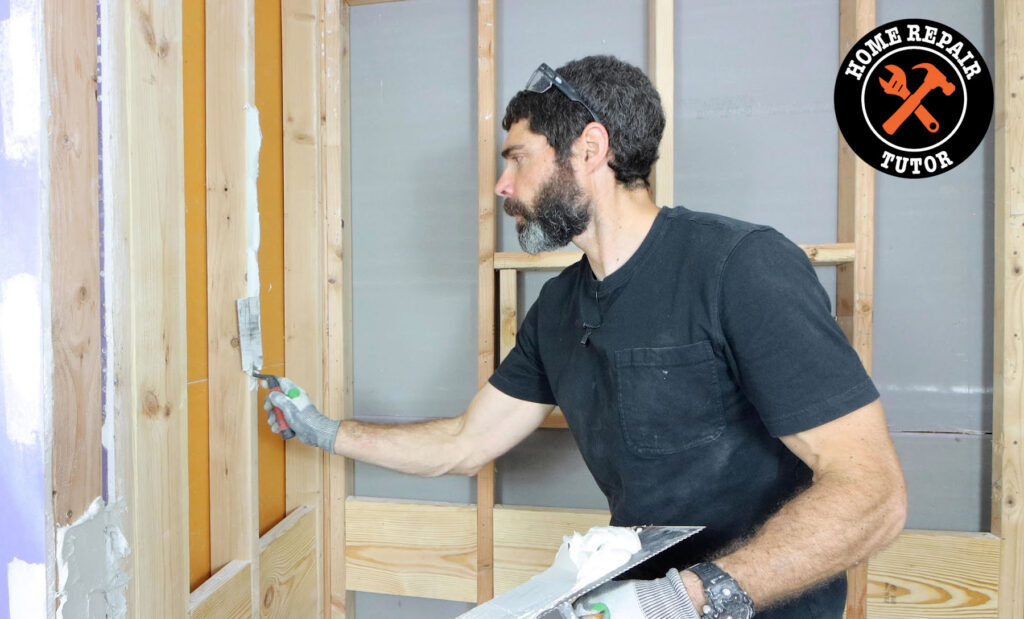
The first step is to mix thin-set mortar to a thick consistency. This can be done with a margin trowel, water, and a bucket.
Add a small amount of water to a bucket, then add thin-set. Mix this to a consistency that barely falls off the margin trowel.

Now you’re ready to mark all the stud locations that need to be wet-shimmed.
How to Inspect Shower Stud Walls
I recommend placing a 6-foot level vertically on every stud. Then inspect the face of the level and see if it sits flush with the stud.

If the stud bows inward, that’s a spot that can be wet-shimmed with thin-set.
Simply mark the location with a pencil.
Yep, it’s that easy.
Furthermore, place the level diagonally across all the studs.
That’ll give you a better idea of whether the studs are all even with each other.
Again, identify any bowed areas that can be wet shimmed.
How to Wet Shim Stud Walls with Thin-Set
I like to apply thin-set to my KERDI trowel and use the margin trowel to apply the mortar to studs.

It’s best practice to make a V-shape on the face of the stud with the thin-set. The V can be relatively thick, anywhere from 1/2″ to 1″, as this will be compressed with the backer board.

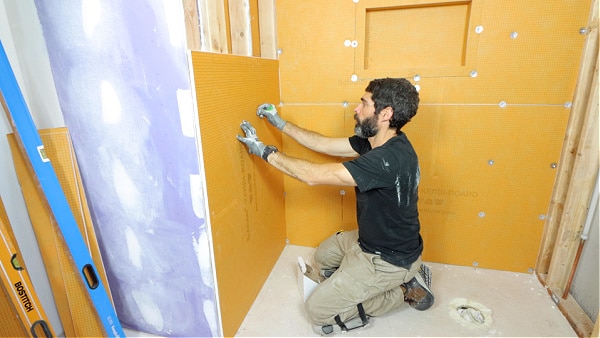
I place the KERDI-BOARD in the thin-set, then check it to see if the boards are plumb.
Once the board is plumb, I then fasten it to the studs with screws and washers, but I only tighten the screw enough to hold the board in place.
This process is important for properly installing vertical shower tiles.
Watch this full tutorial to see all the steps for shower wall wet shimming with KERDI-BOARD
Shower backer board installation is just one part of a shower renovation.
If you want to unlock all my bathroom remodeling videos, courses, and personal coaching, join Home Repair Tutor today – it’s one of the best online resources for anyone renovating a bathroom. Tap the button below to learn more
Jeff