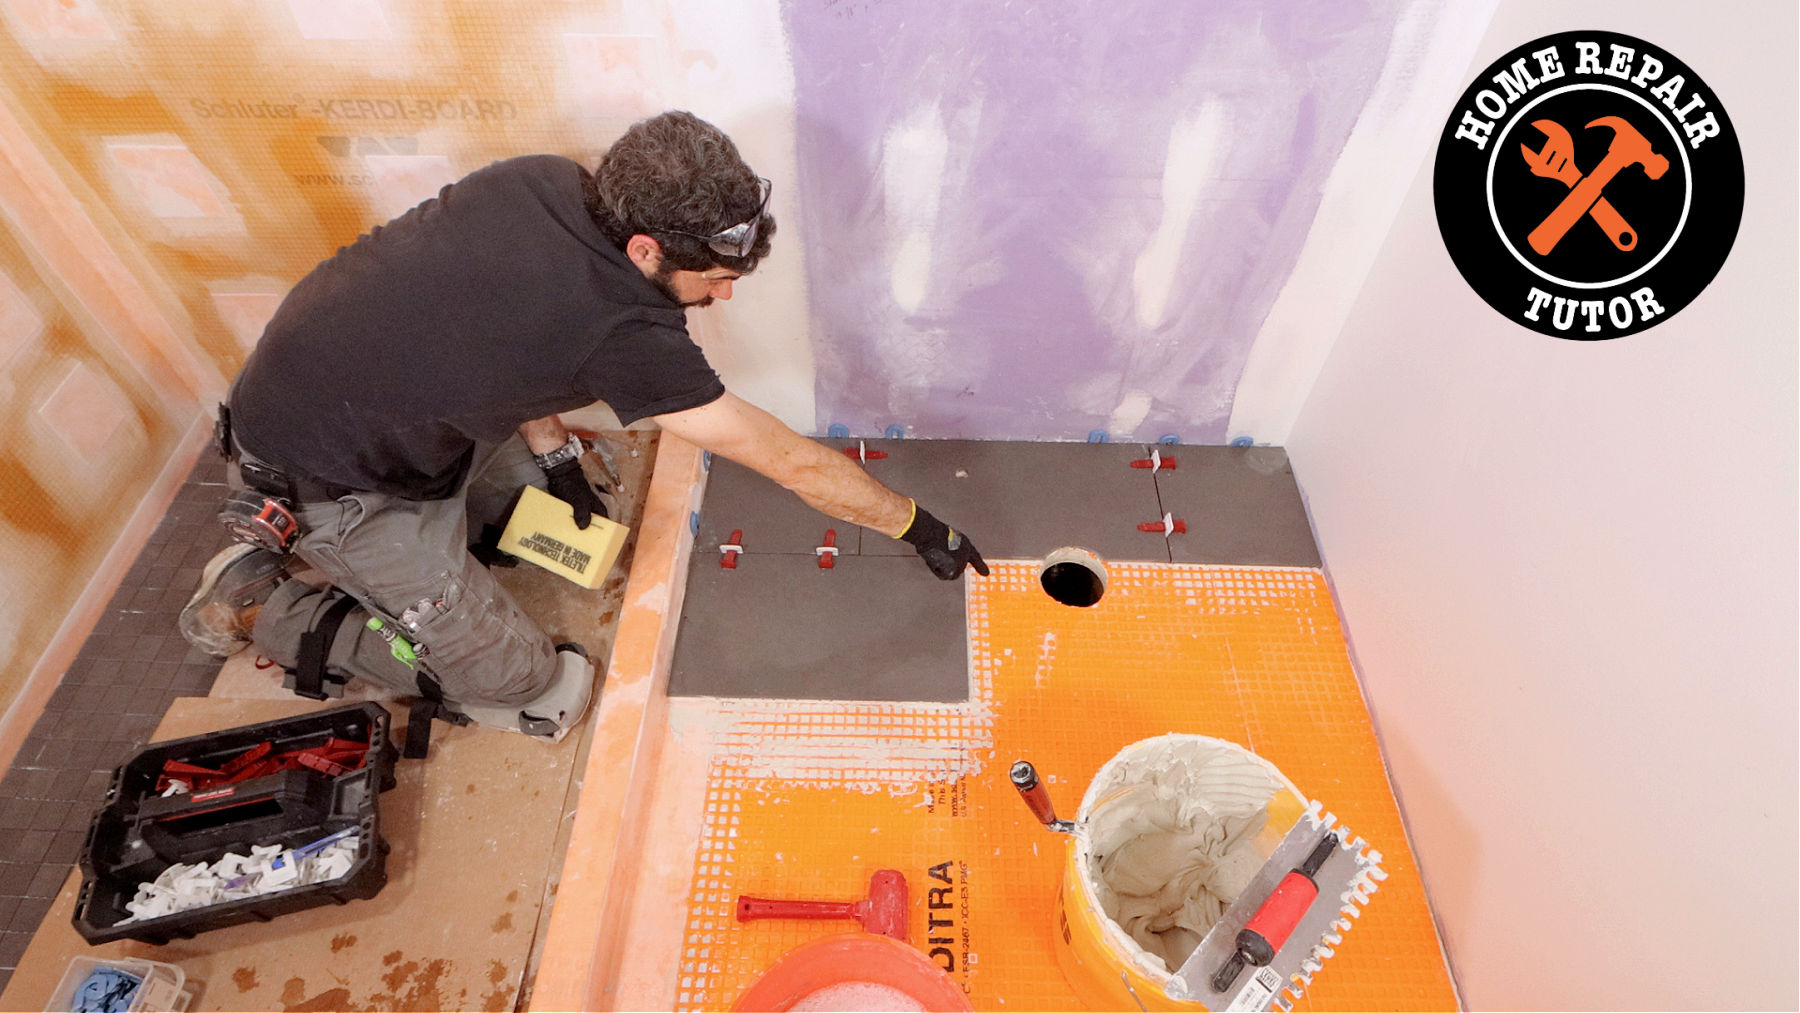
Today you’ll see bathroom floor tile mistakes and how to avoid them.
Sadly, many people install tile floors incorrectly. This causes ugly installations, cracked tiles, and discolored grout.
You’ll learn to avoid common mistakes and get a step-by-step plan that makes your tile installation easy and gives you beautiful results.
How to Prep Bathroom Floors for Tile
The first big mistake homeowners make involves tile floor prep. This is where most homeowners need to start, but don’t.
Before I begin any tile floor installation I do four things.
First, I inspect the wood subfloor and check its thickness. Normally I want 23/32 or 3/4 inch plywood subfloor panels.
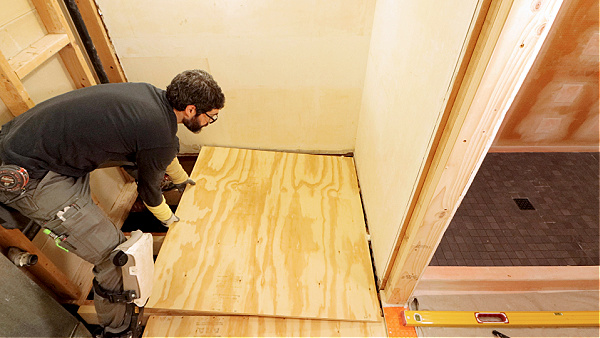
If the plywood isn’t this thick, I remove it with a pry bar. Here’s a tip that you should know before removing plywood:
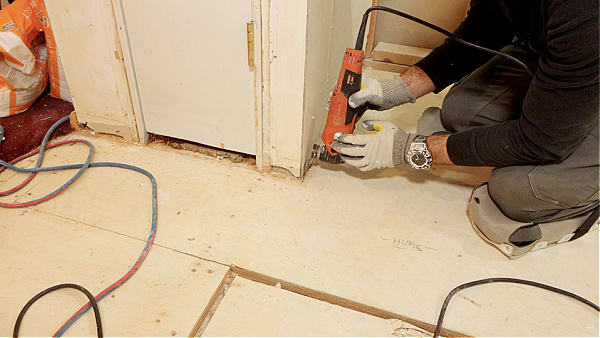
I use an oscillating multi-tool to create relief cuts at the wall. This makes the subfloor demo a lot easier and safer.
Second, I do a thorough inspection of the floor joists.
I find the on-center spacing and look for notches or holes.
For instance, the on-center spacing for these joists is 16 inches.
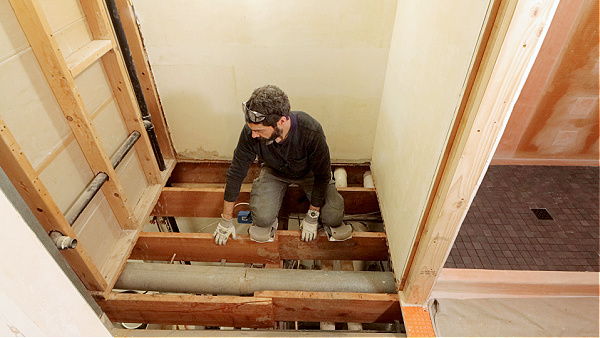
And fortunately, there weren’t any notches or holes that exceeded the code. In addition, I check that the floor joists are level.
If the joists aren’t level I sister either 2x6s or 2x8s to them with 3-inch screws. And this gives me a solid foundation for new plywood subfloors.
More on that in a moment.
The third problem some homeowners overlook is thin-set residue.
If I encounter this issue on plywood or concrete, I remove it with a grinder and a special blade.
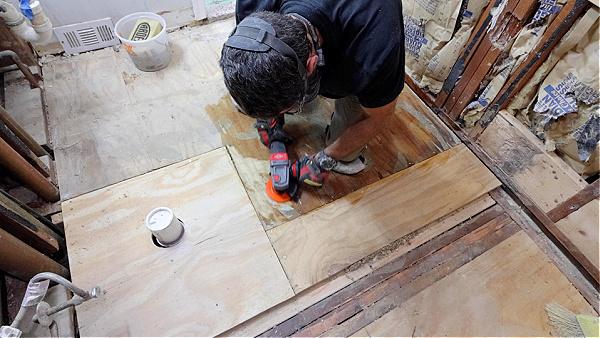
No doubt, this is messy and I recommend sealing off the room. As well as wearing all the necessary protective gear, like a silica dust respirator.
Now back to the plywood subfloor,
Sadly, some homeowners overlook how to install the plywood.
Doing this correctly prevents tile floors from cracking.
I apply a 1/2 inch bead of construction adhesive to the joists. Then I use 2-inch construction screws to sink the plywood to the joists.
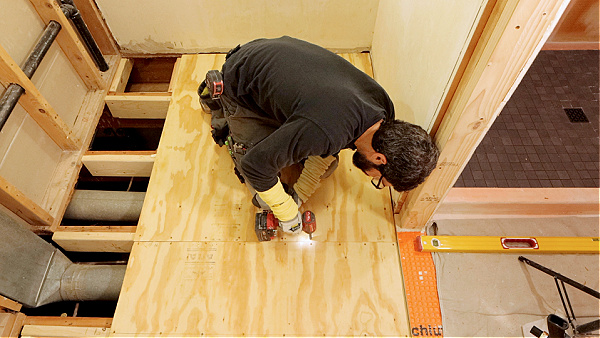
I use screws every 4 to 6 inches along the perimeter. And every 12 inches in the field so the subfloor panel won’t bounce.
The next mistake DIYers make is tiling on top of plywood.
I frequently get asked,
What should you put down before tiling a floor?
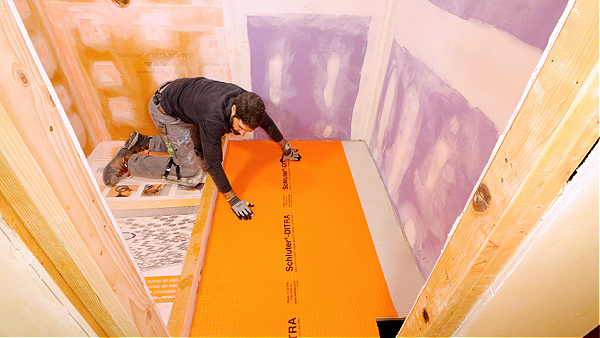
And the answer is an uncoupling membrane. Uncoupling membranes prevent tiles from cracking. I install DITRA because it’s light, very thin, and waterproof.
But here’s the deal,
Using the proper thin-set is very important for DITRA. For instance, I use ALL-SET and mix it to the membrane water ratio.
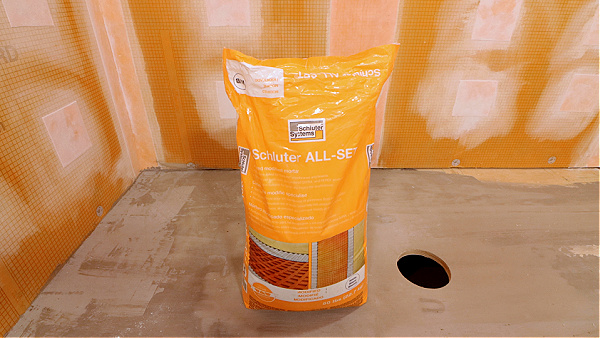
This makes the thin-set mortar thin; It’s thin enough to pour out of a bucket.
I trowel the ALL-SET in one direction using the DITRA trowel. Then embed my DITRA and use a float to compress it.
No doubt, DITRA is an extra step and takes some time. However, using an uncoupling membrane reduces the odds of tile floor failures.
Floor Tile Layout Tips
The second biggest mistake homeowners make is with tile layout.
And there are three big errors you should avoid.
First, some homeowners don’t read the box the tile came in. Before I plan my tile layout, I always read the box. Normally, the manufacturer has suggested tile patterns.
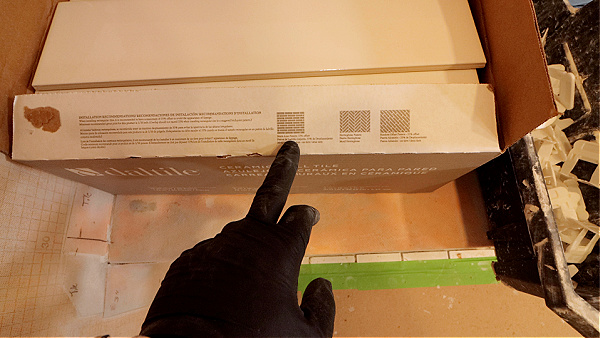
Second, I always get asked,
Where do you start when tiling a bathroom floor?
And the answer is normally at the shower or close to it. The shower attracts your attention when you enter the room. So for that reason, I typically begin my tile floor layout with the shower.
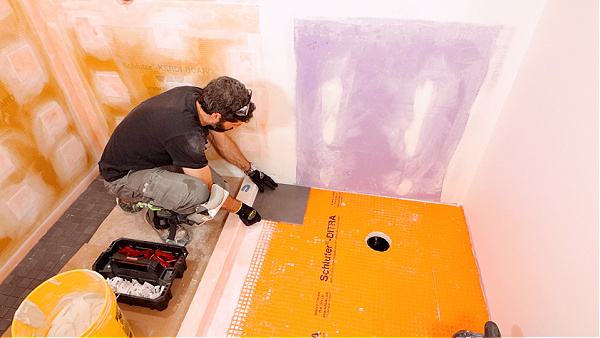
Third, most people don’t take the time to do a dry layout. And this is a big mistake.
I set my tiles against the wall or shower where I need to start. I place horseshoe shims between the tile and the bathroom wall or curb.
This creates an expansion joint which is required for tile floors. Then I place spacers between my tiles and dry-fit one tile after the other.
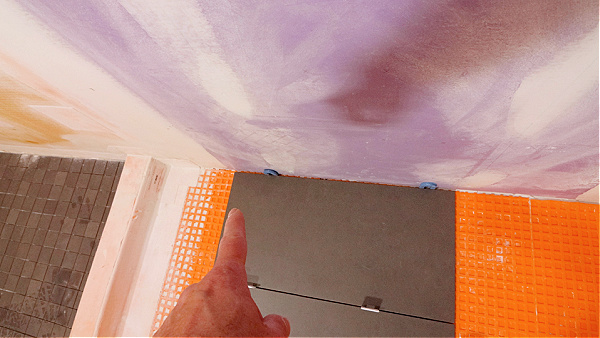
My goal is to spot problems at the shower, doorways, and walls.
Primarily I’m looking for slivers of tile that can make the floor look ugly. But if a vanity cabinet can hide slivers then that’s acceptable.
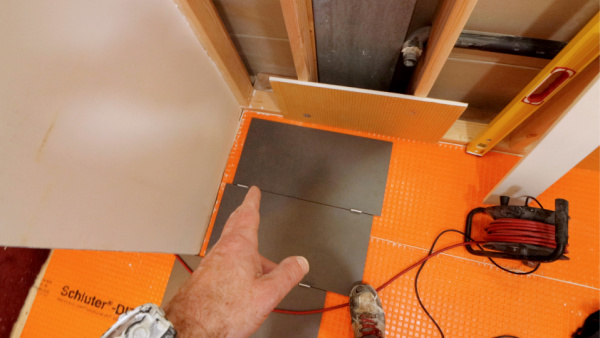
My next step is to stagger the tiles per the manufacturer’s recommendations.
For instance, I’m using a 1/3 offset pattern for these 12×24 tiles. Again, I’m trying to see how tiles will look at the shower, walls, and doorways.
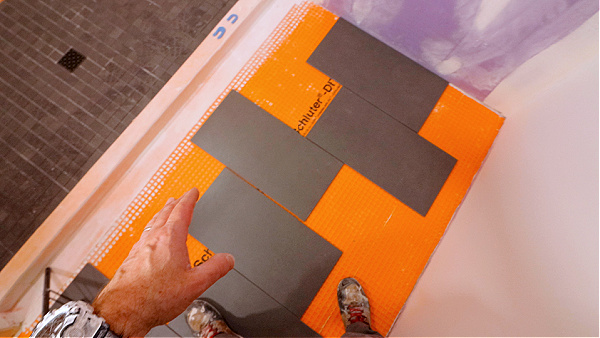
This is critical and allows you to see into the future – which is a superpower.
Based on this information, I cut my first tile to size. And this begins the tile floor installation process.
Tile Floor Installation Tips
The third biggest mistake homeowners make is incorrectly setting tile floors.
And unfortunately, this mistake has many parts to it.
First, homeowners often use the wrong trowel for their tile.
Frequently I get asked,
What trowel should I use for setting tile floors?
The answer is, to use the trowel that gives you 80% or more thin-set mortar coverage. This is specifically for dry areas like bathroom floors.
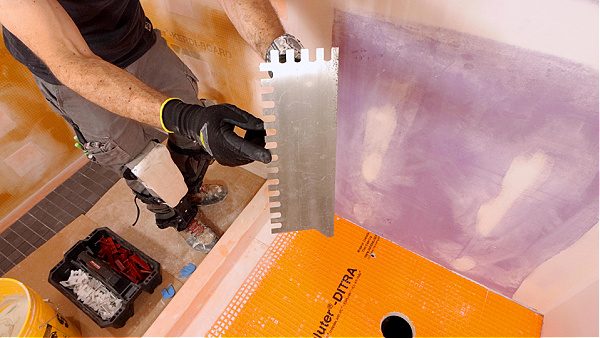
I used this 3/8 inch by 1/2 inch U-shaped trowel for 12×24 porcelain tiles. I did this because I knew it would give me proper thin-set coverage.
Second, many homeowners don’t properly fill DITRA cavities.
I fill the DITRA cutback cavities with thin-set mortar. This mechanically bonds the tile to the DITRA with the thin-set.
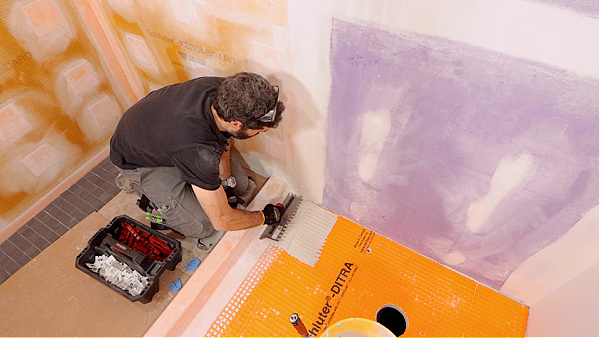
Third, some folks don’t properly trowel thin-set.
It’s not enough to have the correct trowel size. I apply more thin-set over the DITRA and use directional troweling. This means the trowel notches are parallel to each other.
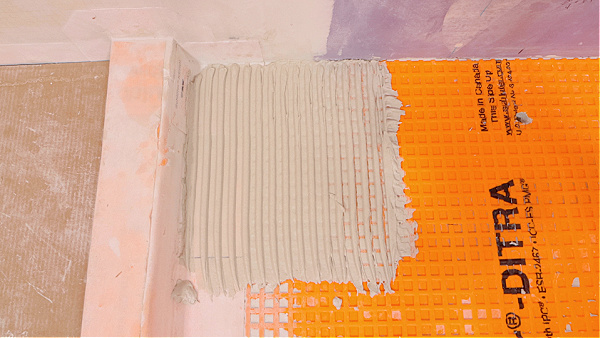
In addition, I hold the trowel at a 45-degree angle while doing this. This maximizes my trowel notch height.
I then back flat trowel large format tiles like this 12×24. I do this with the flat side of my trowel. My goal is to fill the depressions on the back of the tile.
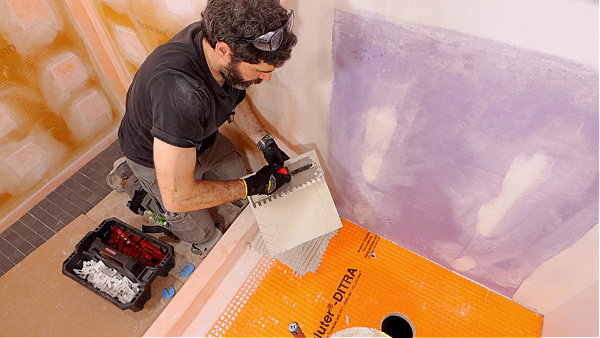
I then set my tile, lightly compress it, and add spacers at the wall.
And here’s a huge tip,
I remove mortar from the edge of the tile before setting the next one. I do this first with my margin trowel. Then I use a square sponge and wipe the edge of the tile.
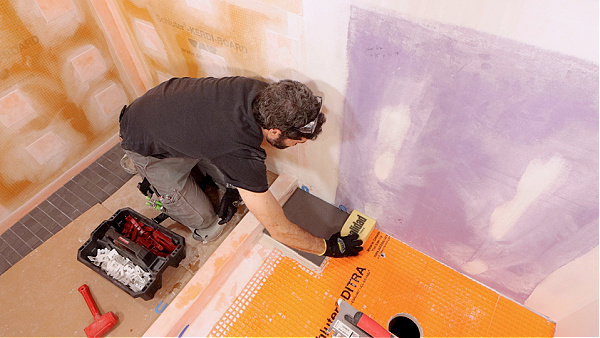
This keeps my tile work clean and less frustrating.
Before I set the next tile, I add my spacers or tile leveling clips. I use all the same methods I just described but with one twist:
I set the next tile by butting its edge against my spacers.
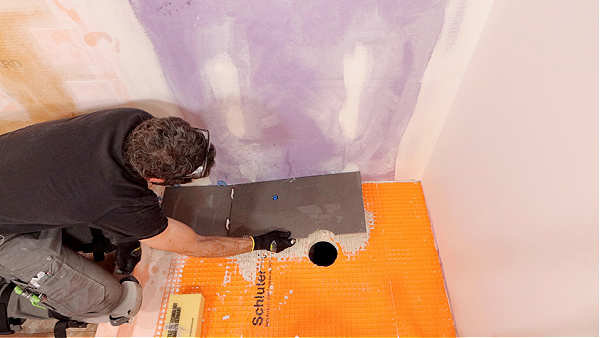
This prevents thin-set from oozing into the grout joint.
I add my horseshoe shims against the wall. Then I tamp the tiles with a rubber mallet.
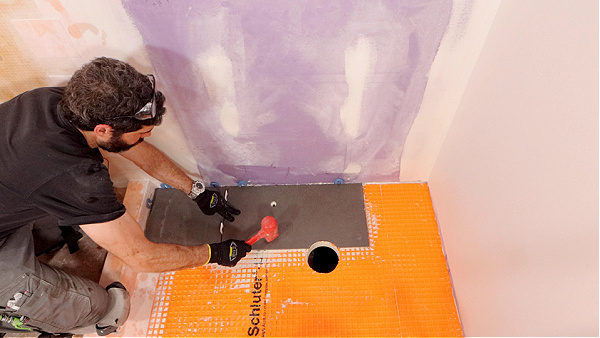
This step is critical for the following reasons:
It collapses the thin-set mortar under the tile. And mechanically bonds the tile to the DITRA uncoupling membrane.
I then add my wedges to the clips to complete my tile leveling system. This keeps my grout joint even and my tiles flat.
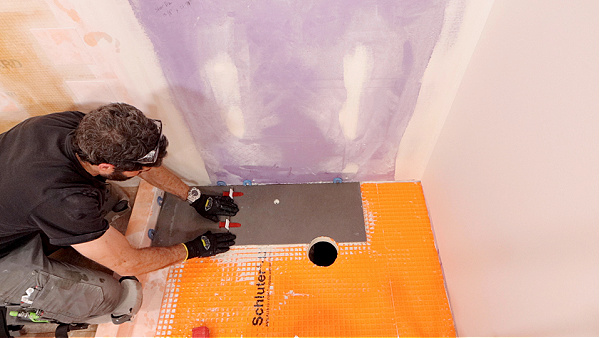
I then remove any mortar on the edge of the tile with my sponge.
Once I’m done with my first row, I do one important step.
I place my level across my doorway. And check that the tiles remained equidistant.
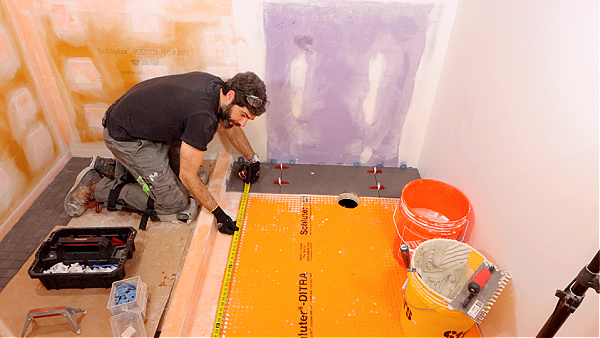
I simply get the distance between my tiles and the doorway.
And if those dimensions are the same, I continue setting tiles.
By the way, if you’re wondering how I do the third offset pattern here it is,
I measure 8 inches to the right of this second 12×24 tile I set. And that’s the dimension of the first tile in my second row.
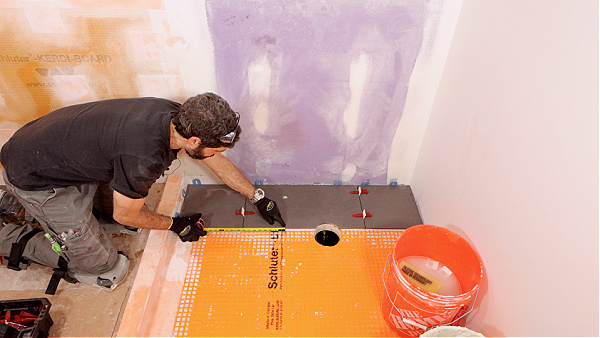
I score and snap that tile on the Masterpiuma – a great tool. Then I set that tile and ensure the cut edge is against my curb.
I always keep my cut edges against the curb or walls, never in the field.
You might be wondering,
Is tiling a bathroom floor easy?
The answer is hell no – this isn’t some warm and fuzzy HGTV show. You’re gonna be sore the next day.
And encounter situations that require some thought. For example, I had to cut a large hole for my toilet closet bend.
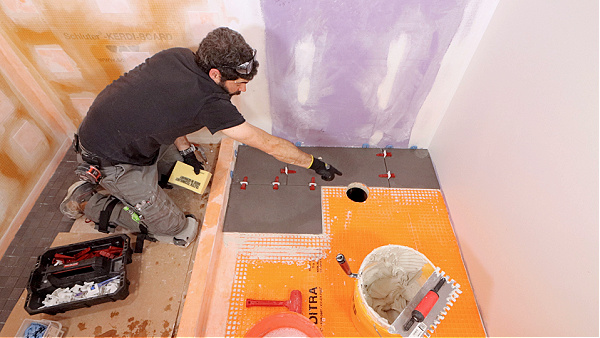
One easy way to do this is with a large diamond hole saw. I used the saw to create a template. I then placed that template over the tile and added water to it.
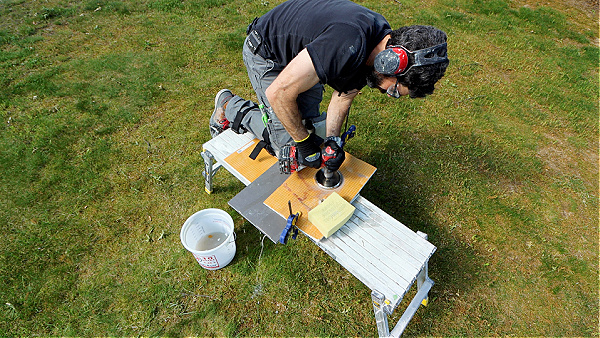
This helps the hole saw stay cool and reduces tile chipping.
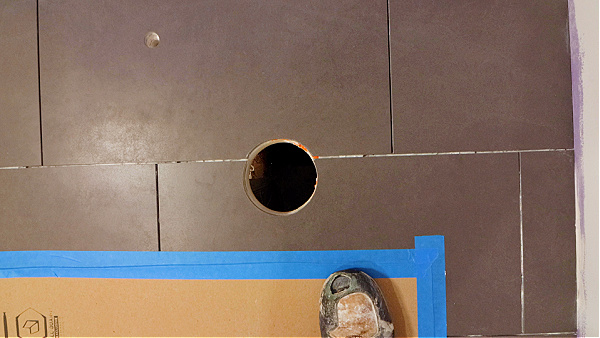
Speaking of chipping,
Don’t forget to protect your tiles in doorways.
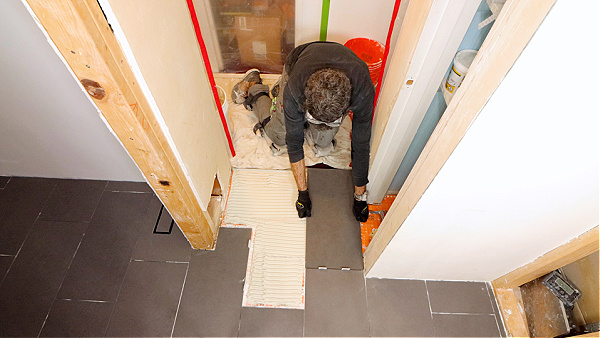
An easy way to do this is by installing a metal profile. I apply thin-set to my DITRA and then embed the metal profile. Then set all my tiles against the profile, which has an integrated spacer.
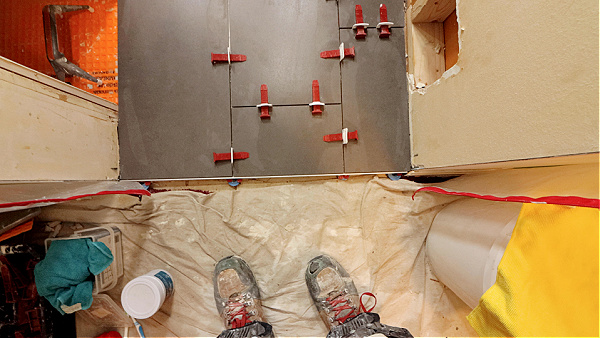
This protects the exposed tile edge and makes your tile work look professional.
How to Grout Floor Tiles
The fourth big mistake homeowners make is with grout.
People always ask,
How do you apply grout to tile?
And there are four big errors you can make during this step.
The first mistake is mixing grout with warm water. I use cold clean water when mixing grout.
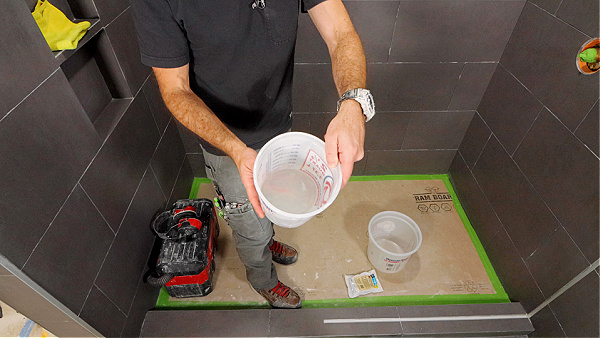
This gives me the longest working time.
Which in turn helps me grout large tile floors.
The second mistake is not reading the manufacturer’s directions.
For example, I used Laticrete Permacolor Select for this bathroom.
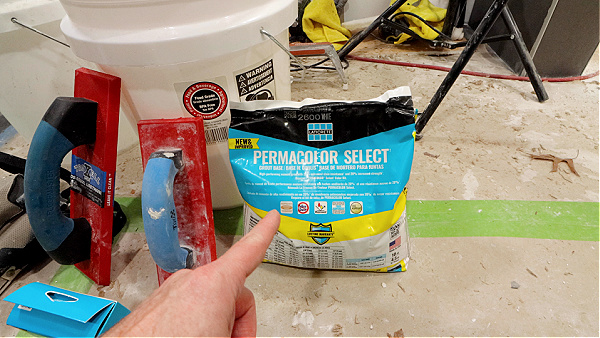
I had to mix the dye packet for a minute. Then add the grout base and mix that for several minutes.
This provides me with a consistent gout color for the entire floor.
The third mistake is not wiping the tile surface with a damp sponge.
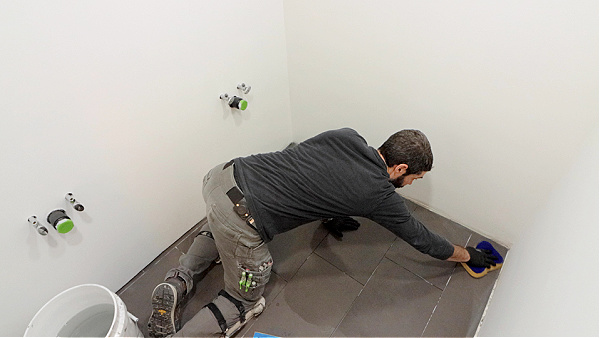
This allows my grout float to glide over the tile. And the grout to be easily tooled into the joints.
You’ll be amazed at how this one step makes grout much easier.
The fourth mistake is not using silicone at changes of plane.
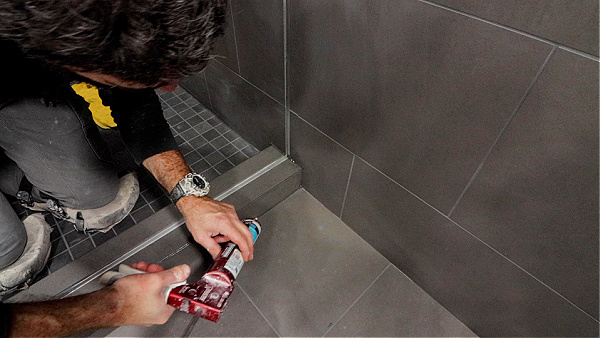
For instance, I only use silicone between the tile and curbs or tile and tub. I apply the silicone, lightly spray it with soapy water, then tool it.
This gives me a nice professional look in the end.
What’s Next
Tile floors are just one part of bathroom renovation.
If you’re remodeling a bathroom and need help, join our Video Library and make your project easier today.
Learn more by tapping the button below
Cheers,
Jeff


