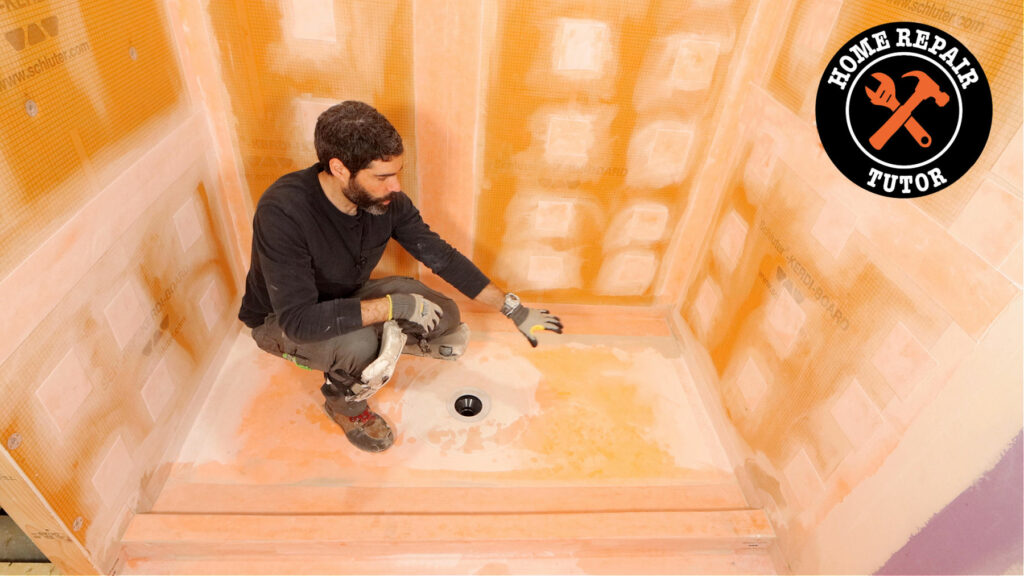
In this tutorial, you’ll see common KERDI shower pan mistakes and how to avoid them
Unfortunately, some homeowners and contractors install shower pans incorrectly.
This causes water leaks, ugly tile installations, and wasted time and money.
Today, you’ll learn how to avoid these common mistakes with a step-by-step plan.
And in the end, your shower pan installation will be easier, waterproof, and ready for tile.
Let’s dive in!
KERDI Shower Pan Framing Mistakes
The first big mistake homeowners make involves framing.
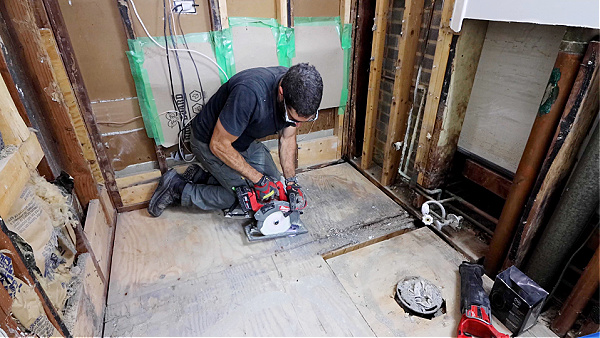
If I see moldy or warped subfloor panels, I remove them. And the best way to do this is with a circular saw and pry bar.
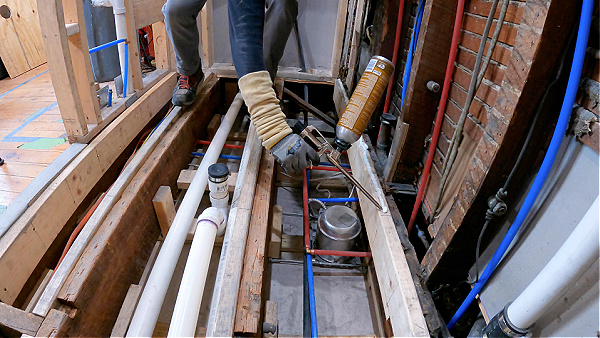
Then I inspect the floor joists. Floor joists should be spaced appropriately.
For example, I normally want the floor joist span to be 16 inches on-center.
And they shouldn’t have excessive holes or notches that reduce their strength.
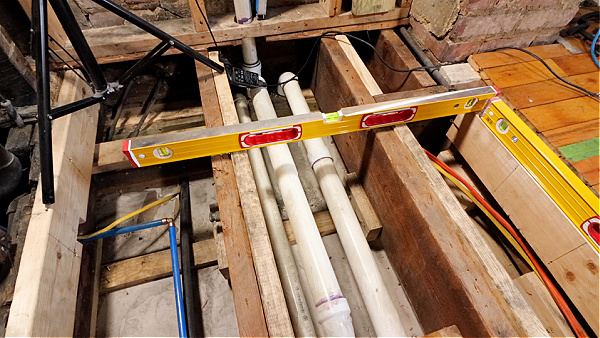
In addition, the floor joists should be level. I use the longest level I have for this.
If the floor joists are not level, you should fix them.
I sister new floor joists using 2x6s or 2x8s and 3-inch construction screws staggered every 8 inches.
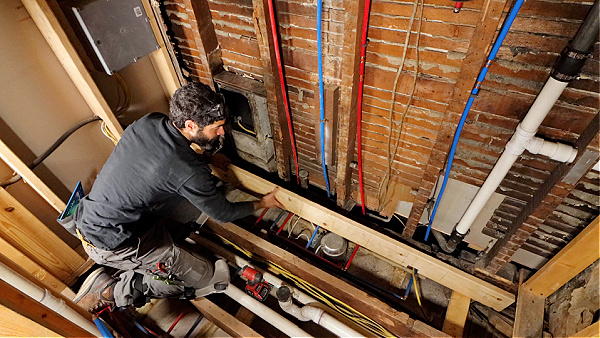
The new joists should be level in every direction. This is critical for any pre-sloped shower pan.
I’ll explain why in a moment.
Using the wrong plywood is another framing mistake homeowners make.
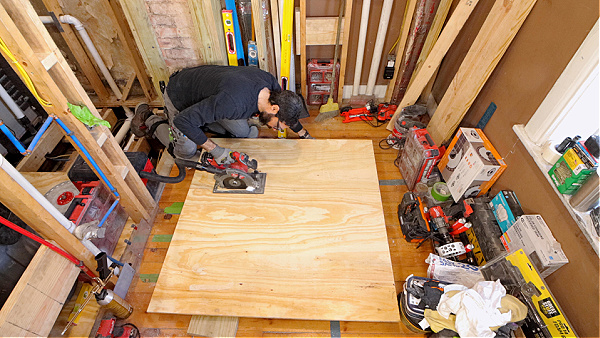
I use 23/32 or 3/4 inch plywood subfloor panels inside showers.
This prevents bathroom subfloor deflection, which can cause KERDI shower pan leaks.
I apply a 1/2 inch bead of construction adhesive to the floor joists.
Then I screw the plywood panels down with 2-inch construction screws.
The screw schedule is important.
I add screws every 4 to 6 inches along the perimeter per the American Plywood Association.
And 12 inches in the field, so the subfloor panel won’t deflect.
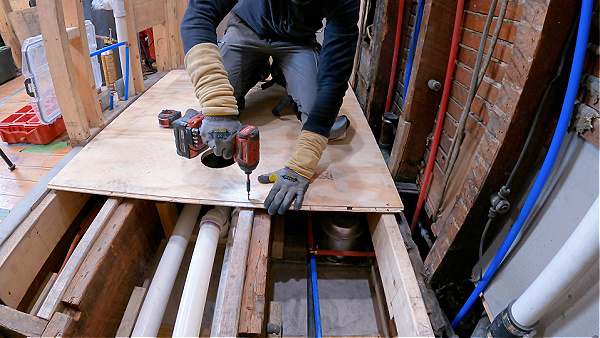
Then I double-check that the subfloor is level in every direction.
This is critical because pre-sloped shower trays need a level subfloor to drain water.
Shower Pan Customization Mistakes
The next big mistake homeowners make has to do with customization.
I always get asked,
Can you cut the KERDI shower pan to fit?
And the answer is Yes, KERDI shower pans can be cut to any size within reason.
But most people don’t do this one critical step.
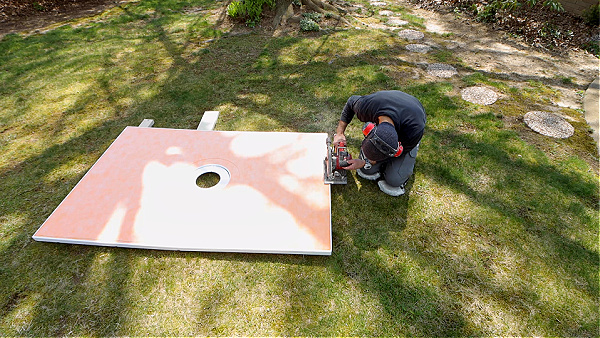
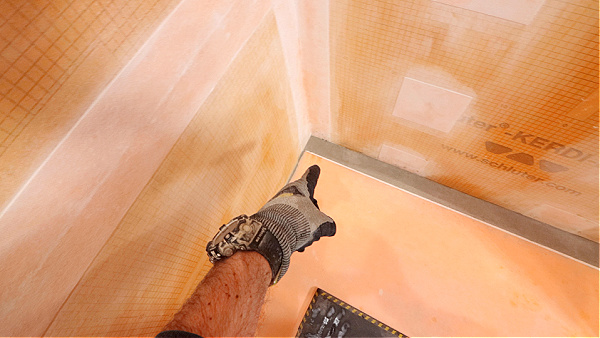
The first thing I do when customizing KERDI pans is cut off the perimeter.
Specifically, I cut the first 3/4 inch of the perimeter off the shower pan.
Here’s the reason why:
The perimeter is flat.
I’ll repeat that, the first 3/4 inch of the KERDI pan is flat.
And this helps with both the shower wall tile and shower floor tile, I’ll explain the importance of this in a moment.
Once I cut off the perimeter, I reduced the shower tray size accordingly.
For instance, I have a 48-inch wide shower pan that has to be 38 inches.
I cut off both sides of the perimeter, 3/4 inch on the left and 3/4 on the right.
Now I need to get the pan down to 36.5 inches in total.
So I cut off 5 inches of the pan on the left and 5 inches on the right.
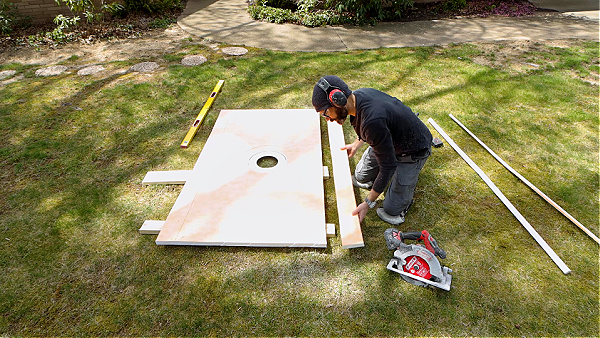
This takes the shower pan from 46.5 inches down to 36.5 inches.
When I reinstall the 3/4 inch perimeter, the KERDI pan is 38 inches wide.
Here’s why this is important,
This increases the odds of the perimeter being flat and level.
As a consequence, it makes cutting the first row of wall tile easy.
Ideally, you can score and snap the tile and set it against the floor tile with spacers.
And reduces the likelihood of having to scribe cut the tiles.
Which increases your frustration and time tiling shower walls.
Shower Tray Extension Mistakes
The second customization mistake has to do with extending the KERDI pan.
I frequently get asked, How do you extend Schluter Shower pans?
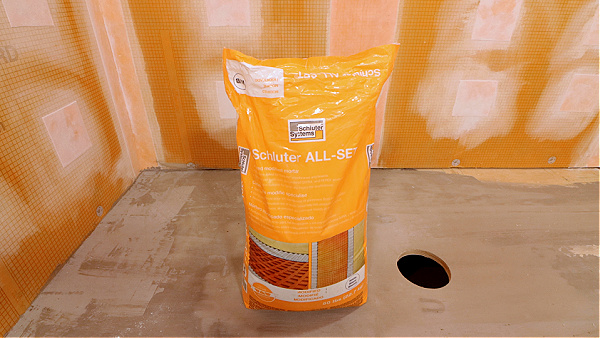
Schluter Shower pans are extended with dry-pack mortar.
For example, Mapei 4-to-1 Mud Bed Mix.
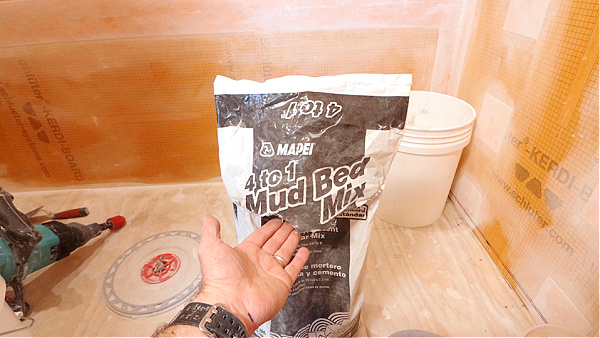
I recommend mixing the Mud Bed Mix before setting the KERDI shower pan.
I then mix Schluter ALL-SET, install the KERDI shower pan and immediately add the Mud Bed Mix over the wet thin-set mortar.
That last step is frequently forgotten by homeowners.
The sequence is important because the modified thin-set will bond to the wood or concrete substrate.
In turn, the Mud Bed Mix will bond to the thin-set.
As a result, the Mud Bed Mix and ALL-SET combination provide a strong method for extending the Schluter Shower pan.
Here’s a bonus tip,
Always allow the Mud Bed Mix to fully cure.
But if you don’t allow the Mud Bed Mix to cure it could cause the waterproofing to fail.
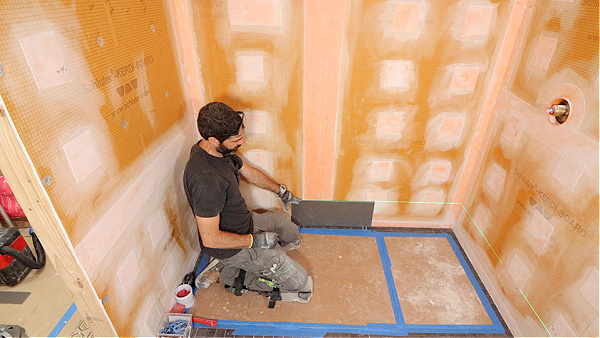
Thin-Set Mortar Mistakes
The third biggest mistake homeowners make is with thin-set mortar.
Unfortunately, this is probably the most common mistake.
Invariably, I get asked,
Can I use Schluter ALL-SET for the shower pan?
Yes, Schluter ALL-SET can be used for KERDI shower pans.
In fact, I use it exclusively for setting KERDI shower pans.
And here’s where the details matter, a lot!!
First, homeowners frequently mix ALL-SET to the wrong consistency.
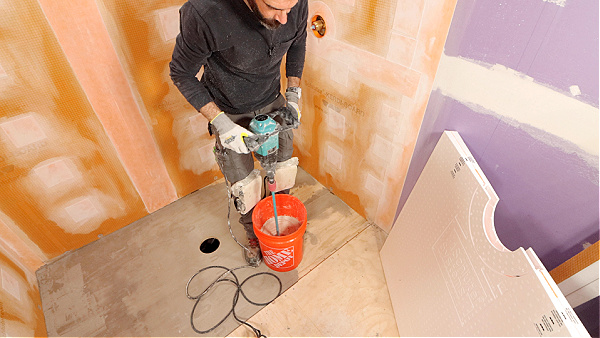
I always use the mixing instructions for setting membranes.
For example,
Schluter recommends 7.5 to 8.5 quarts of water for a 50lb bag of ALL-SET
When you use these instructions, the mortar has the consistency of a Wendy’s Frosty
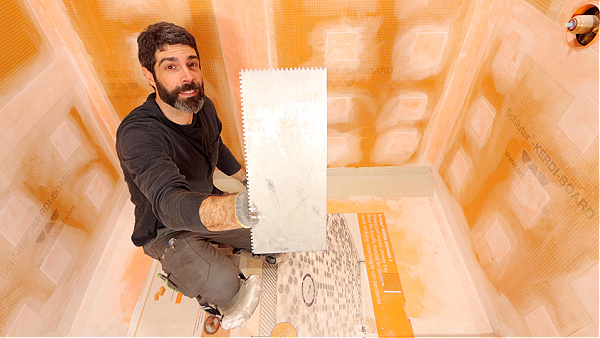
Second, many homeowners use the wrong trowel size.
Do Not use the KERDI trowel. Do Not use the DITRA trowel.
Schluter recommends using a 1/4” x 3/8” square or u-notched trowel.
Third, some folks forget to wipe down wood or concrete substrates.
I do this with a damp sponge. This hydrates the surface.
And prevents it from absorbing the moisture from the thin-set mortar.
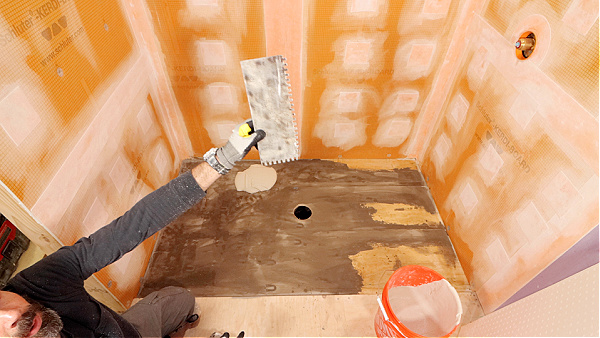
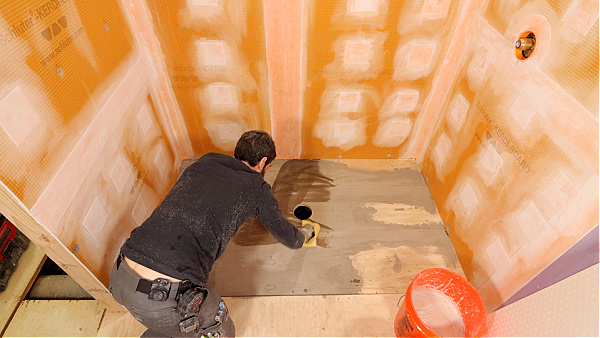
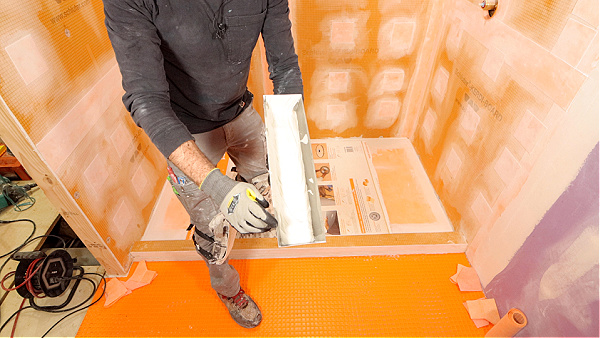
I immediately apply ALL-SET with the flat side of the trowel.
Then I apply more thin-set with the notched side of the trowel.
And here’s a huge tip,
I hold the trowel at a 45-degree angle to maximize the notch size.
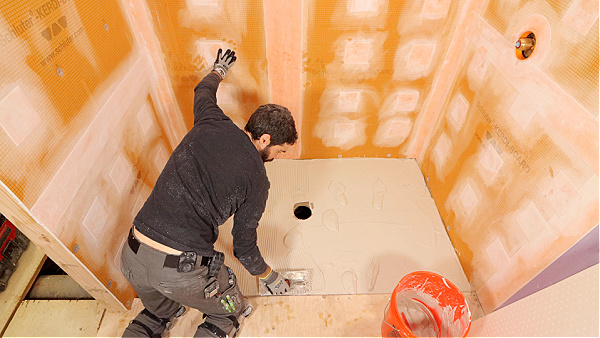
It’s best practice to apply the thin-set parallel with the shortest side of the shower pan.
This method allows the thin-set notches to collapse,
And air to escape via the shortest route.
As a result,
The mortar will collapse and provide a solid supporting bed for the shower pan.
The final step I take when setting the KERDI pan is to add cardboard on it.
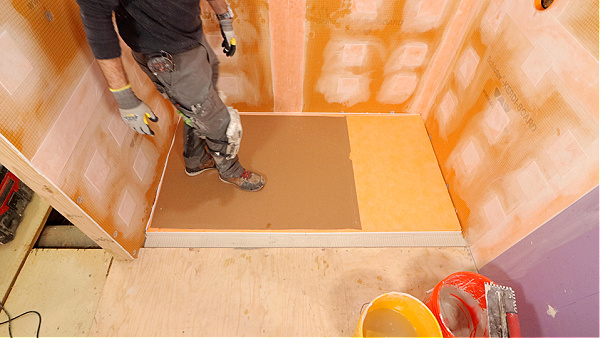
And then I walk across the span to fully embed the pan in the ALL-SET mortar.
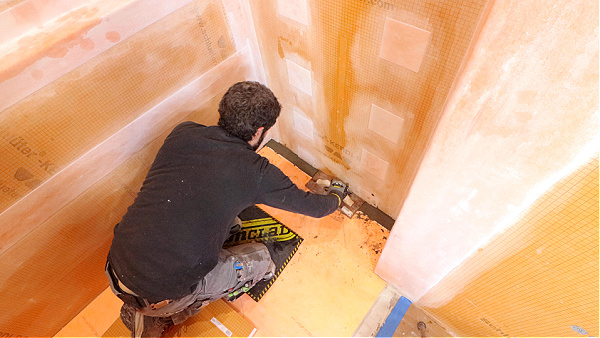
By the way, I use the trowel and thin-set to install the Schluter shower curb.
Schluter Waterproofing Mistakes
The fourth big mistake homeowners make with KERDI shower pans is waterproofing.
It’s revealing that people ask,
Do you need to waterproof a Schluter Shower pan?
Yes, the shower pan has to be waterproofed against the walls, curb, or bench.
And there are four big errors you can make during this step.
The first mistake is using the wrong thin-set mortar.
I use either Schluter ALL-SET or unmodified thin-set mortar to bond KERDI-BAND.
This ensures my mortar will bond to the fleece on the pan, walls, and banding.
The second mistake is mixing the thin-set mortar to the wrong consistency.
I mentioned this earlier when I was setting the KERDI pan.
Well, I also use the mixing instructions for setting membranes for the waterproofing.
This keeps my thin-set hydrated so that it will bond to the fleece of the Schluter system.
The third mistake is using the wrong trowel.
I use the Schluter KERDI trowel when applying thin-set mortar.
This is specifically recommended by Schluter because it sets the trowel notch depth.
If the trowel notch is too small or too big, my banding won’t waterproof properly.
The KERDI trowel size is a 1/8 inch by 1/8 inch square notch.
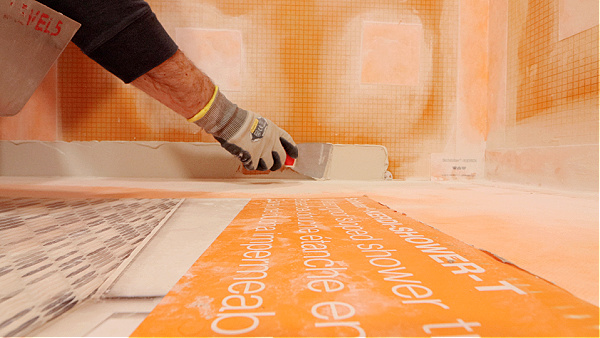
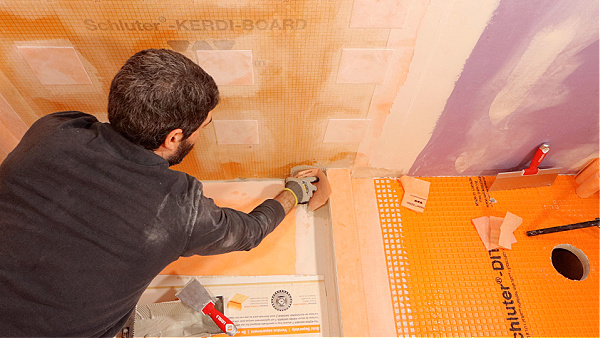
I embed the banding and compress it with a 6 inch drywall knife
And the resulting thin-set layer between the banding and pan has the right thickness
Consequently, it will gain strength over time
And ensure the watertight performance of my KERDI shower pan system.
The fourth mistake installers make is not using prefab corners.
I use KERDI-KERECK inside and outside corners.
I normally add thin-set to the pan and wall
Then I add my KERDI-KERECK inside corners
And then I add my KERDI-BAND so that it overlaps the corner by at least two inches.
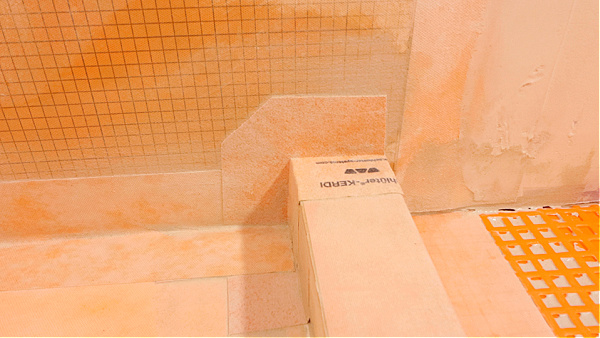
I then use outside corners to waterproof the Schluter shower curb to the KERDI pan.
The main point of my tutorial is that you can avoid KERDI shower pan mistakes with a step-by-step plan.
And the same principle applies to every part of a bathroom renovation.
If you want to unlock all my bathroom remodeling videos, courses, and personal coaching, join Home Repair Tutor today – it’s one of the best online resources for anyone renovating a bathroom. Tap the button below to learn more
Cheers,