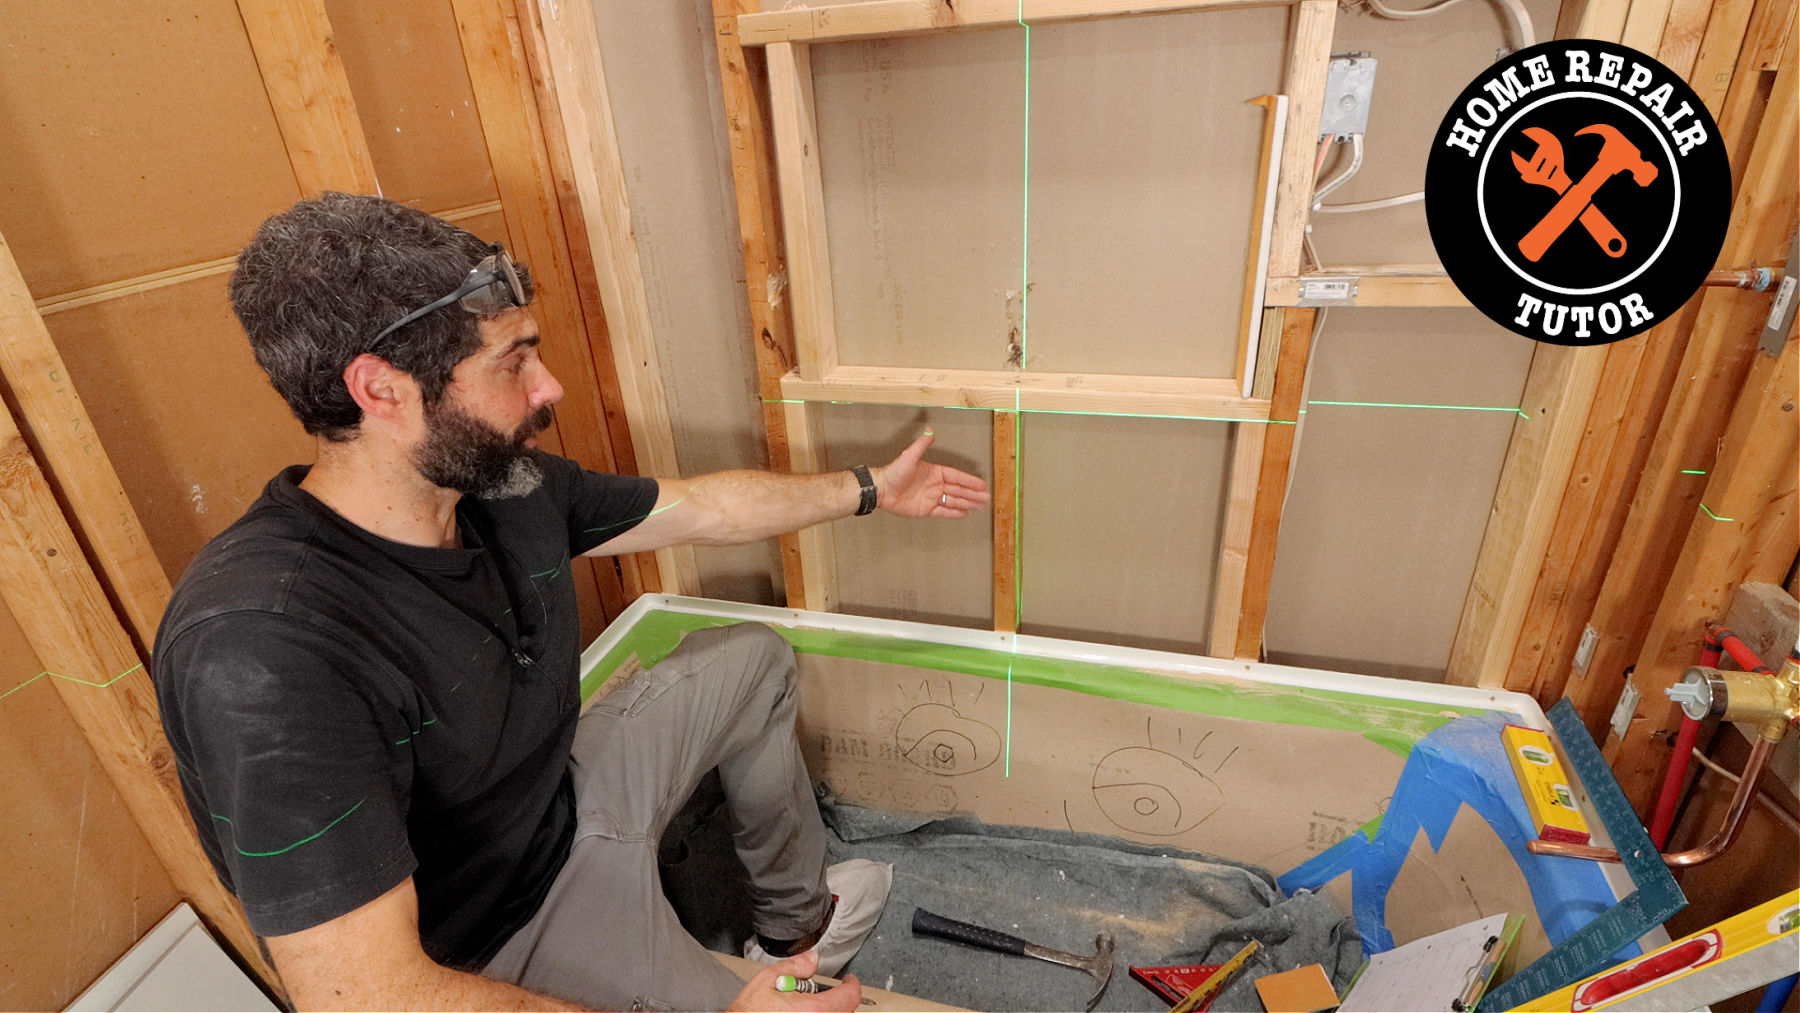
Do you need to frame a shower niche?
If so, you’re in the right place – even if you’re completely new to shower renovation.
This tutorial outlines all the steps needed to make your shower niche framing much easier.
And by the end, I guarantee you’ll be way more prepared to frame any shower niche from scratch.
Let’s dive in.
Don’t Make These Custom Shower Niche Mistakes
Here’s the biggest mistake DIYers make when building a custom shower niche:
They don’t have the shower tile on hand.
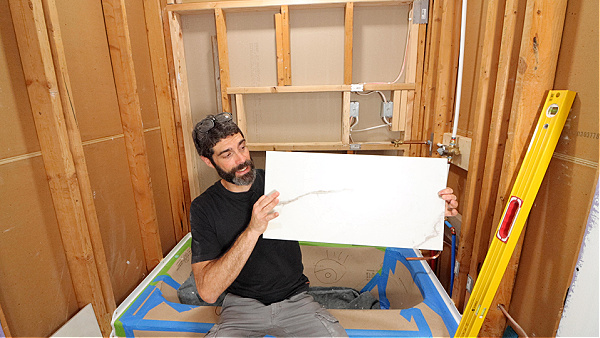
Without the tile, you won’t be able to plan the niche location.
Furthermore, I plan the tile layout before framing the niche.
This is like planning your road trip before getting in the car. Would you start driving without knowing your destination?
Probably not, unless it’s Sunday and you’re on a casual jaunt around town!
The tile layout will help you avoid slivers of tile at the niche and elsewhere.
Usually, I draw the tile layout by hand on graph paper.
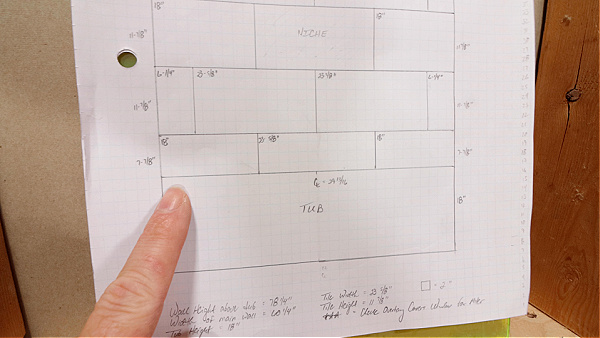
In addition, I determine how the shower niche will be finished, e.g. metal profiles, pencil trim, miters, etc.
What is my favorite option?
Miters of course – I’ll explain why…
Mitered tiles were used in this shower. And I feel like they make the tile work look seamless. Notice how the veining wraps into the niche on the right.
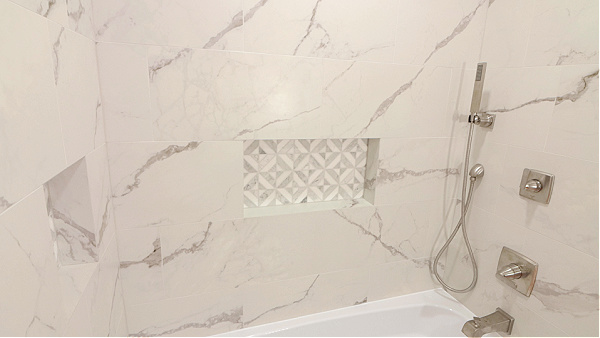
Frankly, I love mitered tiles because they don’t require additional material. And mitered tile edges make it easier to end the shower niche on full tiles.
Yes, it takes some special tools and extra time to bevel tiles.
But in the end, the custom niche looks terrific. And you’ll be immensely proud of your work if you pull off the mitered shower niche…and I’m confident you can do it!
To reiterate, here’s what you should do for custom shower niches
- Have the tile on hand
- Plan the tile layout on paper
- Determine how the perimeter will be finished
And if you’re looking for shower niche ideas here’s a great blog post – I always enjoy seeing what other designers have done.
How to Build a Shower Niche
I think it’s important to address how to build a shower niche from start to finish.
That way, you’ll have a mental map while building the shower. In addition, this map will reduce your stress down to Bob Ross level – which if you didn’t know is super chill.
First, as mentioned above, draw the tile layout. You’ll have a physical plan to work from.
Second, frame the shower niche to purposely avoid slivers of tile.
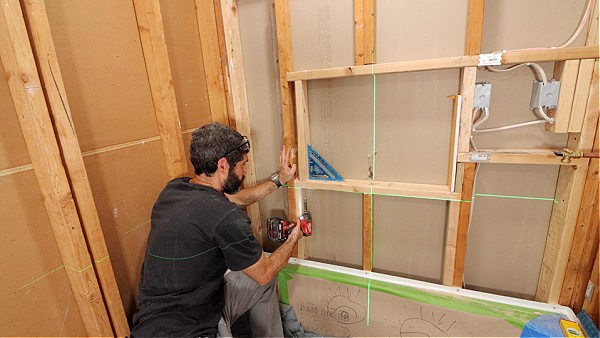
Sometimes I’ll spend 4 to 6 hours drawing a custom tile layout for my clients.
Then, I show them the layout to get approval and explain any necessary tradeoffs. This helps everyone be on the same page.
Is this crazy?
Nope.
I think it’s time well spent.
Btw, I do the same thing when discussing shower floor tile – I always share the pros and cons with my clients.
And it’ll save you lots of aggravation.
Once the framing is done the next step is to waterproof the walls.
In some situations, I’ll install KERDI-BOARD over the niche framing.
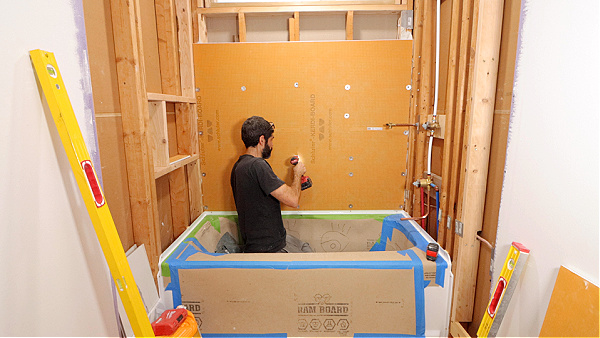
And I’ll start the first row – or several rows of tile – before waterproofing the niche.
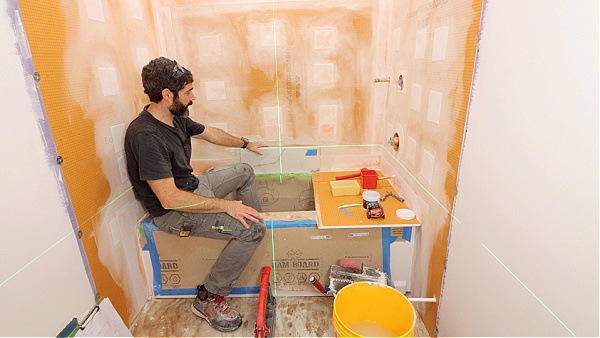
I build the shower niche this way if I have to add wood-blocking after starting the tile work.
This sequence allows me to build the waterproofed portion of the niche based on the tile layout.
As a side note, very rarely am I using prefab shower niches. And if I do use a prefab niche I’m modifying it to fit the tile dimensions.
Typically I build custom shower niches using scrap pieces of KERDI-BOARD, which is cost-effective for my customers.
Who doesn’t love saving money?
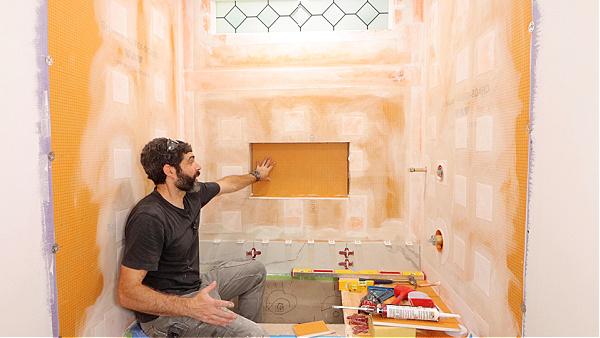
So again, the steps for how to build a shower niche are
- Draw tile layout
- Frame shower niche
- Waterproof walls
- Build waterproof niche
But let’s clarify the shower niche framing to make it crystal clear!
What You Should Know About Shower Niche Framing
Here’s the deal,
Shower niche framing is installed to service tile work.
In fact, the framing and waterproofing both should be done with the tile in mind.
If you mess up framing, it’s really hard to fix it later on.
So I always pay careful attention to the framing and how it works with the waterproofing to make the finished tile look terrific.
One basic question to constantly ask is:
How will this affect my tile work?
If you remember this one question I’m willing to bet your tile work will look better than average – and way beyond your expectations if you’re one of our Platinum Members
Vertical shower niches are easier to build than horizontal ones.
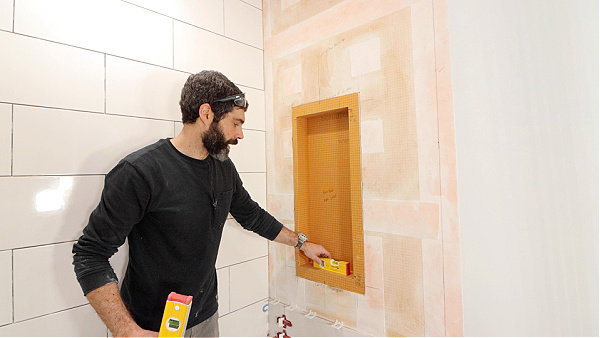
If the niche is vertical, this is one instance where you could easily use a prefab option.
But again, that depends on the prefab niche dimensions and how those work with the tile layout.
Here’s a Pro Tip,
You can make any shower niche smaller or bigger. Simply add pieces of foam backer board to the top, bottom or sides using something like KERDI-FIX.
NOTE: Do not use Liquid Nails for this step because it can ruin the waterproofing!
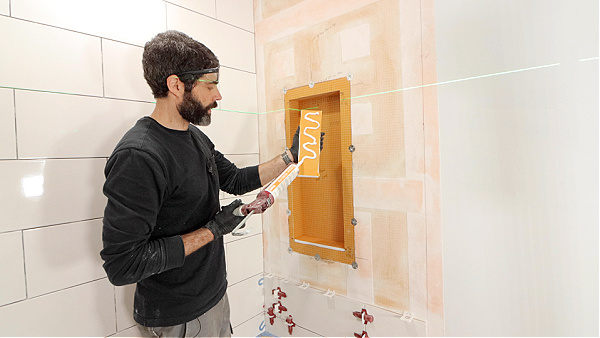
Keep in mind, in this scenario I still had to waterproof the exposed foam boards. I used Schluter KERDI-BAND and KERDI-KERECK prefab corners.
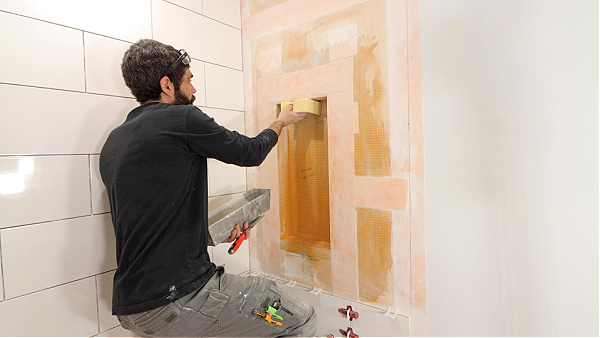
But this Pro Tip is worth remembering.
So, how do you frame a shower niche?
And do it without making mistakes?
The Nuts and Bolts of Shower Niche Framing
Framing is needed to support the prefab niche or custom backer board configuration.
As an example, Schluter requires KERDI-BOARD to be screwed to framing every 12 inches.
Thus, if the niche is 20 inches wide, you’ll need 2×4 blocking on the bottom and top of the niche.
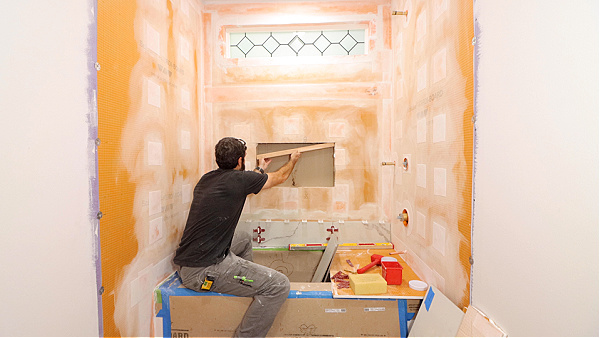
Most of the time I’ll add vertical 2x4s inside the shower wall BEFORE waterproofing.
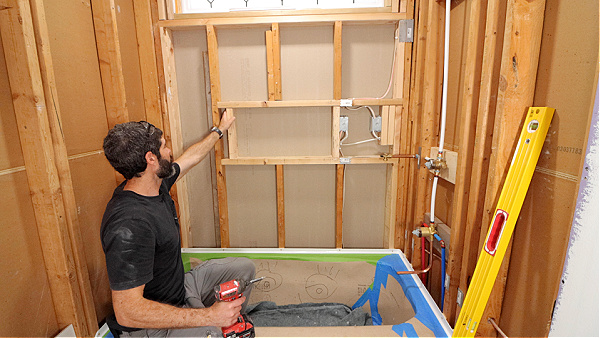
If I’m installing the niche on the first wall being tiled, I’ll wait to add 2x4s for the sill and top plate.
That way I give myself some wiggle room for the tile layout. And I can be sure the waterproofing will work with the tile configuration.
If the shower niche is going to have miters, the framing can be a little off, meaning it doesn’t have to be perfectly plumb or level.
However, if the shower niche uses metal profiles, bullnose, pencil trim, etc. – the framing has to be plumb and as level as possible.
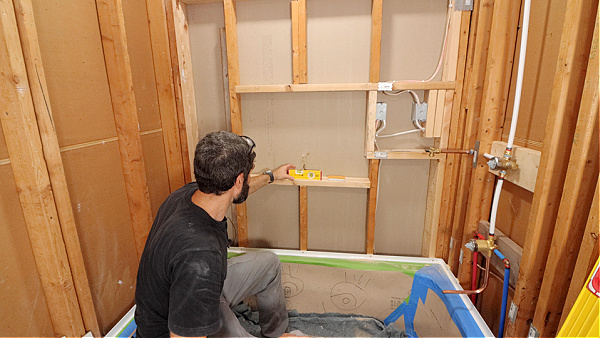
I use 3-inch construction screws to screw 2x4s to the existing studs.
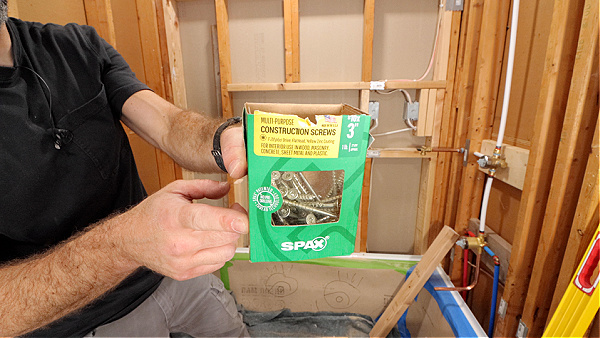
Two screws for each side of the new 2×4 provide more than enough stability.
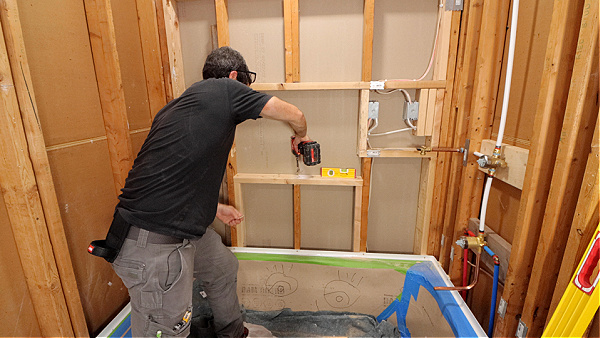
Then I double-check the framing to ensure it’s level and plumb.
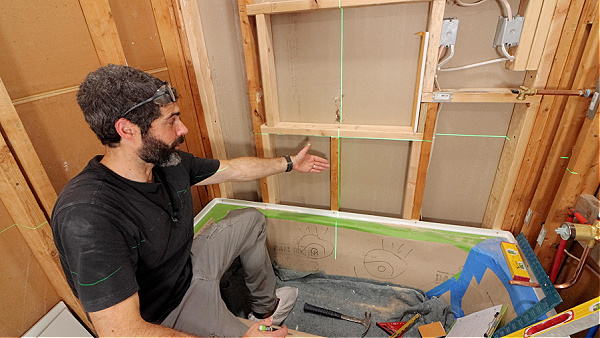
At this point, I’ll look at my tile layout to see if the framing works with my drawings. If it doesn’t work, I can modify it. But once the waterproofing goes up, it’s really hard to change any 2×4 configuration.
Once the framing is done it’s time to move on with the shower niche waterproofing.
What’s Next
Shower niche framing is just one aspect of building showers.
With some patience, attention to detail, and a little luck it’s not too difficult.
That said, do you feel stressed by your bathroom remodel?
Do you need help with framing, plumbing, or design?
Our Platinum Membership has over 375 step-by-step tutorials and Personal Coaching to make your project easier.
Tap the button below to learn more
Cheers,
Jeff


