Cracked floor tiles are bad.
There’s a simple solution: Schluter DITRA
DITRA can be installed on wood or concrete subfloors.
Then, the tile can be set on top of the DITRA.
Today, I’ll show you how to install DITRA on wood subfloors and explain common installation mistakes.
Why Use Schluter DITRA
Properly installed tile floors look beautiful.
But broken tiles don’t look great. And they can be difficult to repair.

Cracked tiles are an issue when the substrate isn’t prepared properly.
Check three things before setting tile floors:
- The joist span, e.g. 16″ on-center
- The subfloor thickness, e.g. 5/8″ or 3/4″ are good
- The DITRA Handbook
The DITRA Handbook has specific tips for subfloor thickness based on the joist span and tile species.
It’s an excellent source of information and should always be read before setting tiles.
The best part is that anyone can read the DITRA Handbook and, for the most part, understand it.
The Benefits of DITRA
DITRA is easier to install than cement board.
First, it’s light.
Second, it stops tile and grout from cracking.
Third, it can waterproof the wood subfloor.
DITRA can prevent mold and mildew from forming on wood subfloors.
I will show you how to install DITRA today and make it 100% waterproof.
Here are the supplies you need
- Schluter DITRA
- Trowel for Schluter DITRA
- Schluter KERDI-BAND
- KERDI-FIX
- Caulking Gun
- Utility Knife
- 1/2″ Drill
- QEP Super Grout Mixer
- Rubber Grout Float
- Five-Gallon Bucket
- Nitrile Gloves
- Modified Thin-set (Ardex X5 or Mapei Kerabond/Keralastic)
- Unmodified Thin-set (Mapei Kerabond)
So what’s the first step when installing DITRA?
Know the Framing of Your Home
The first step is to read the DITRA Handbook

Then follow this checklist:
- Find the floor joist spacing, e.g. 16 inches on-center
- Determine the subfloor thickness, e.g. 3/4-inch
- Know the type of tile being installed, e.g. porcelain or stone
- Finally, refer to the appropriate section in the DITRA Handbook
This will tell you all the requirements for the subfloor based on the joist span and tile being used.
For example, here are the subfloor requirements for ceramic or porcelain tile
- 16-inch on-center joist spacing with single-layer OSB or plywood subfloors
- 19.2-inch on-center joist spacing with single-layer OSB or plywood subfloors
- 24-inch on-center joist spacing with double-layer OSB or plywood subfloors
- 24-inch on-center joist spacing with single-layer OSB or plywood subfloors
It’s important to install the correct subfloor. Otherwise, the floor will deflect (aka bounce) and cause the tiles to crack.
DITRA can be installed over the following surfaces
- plywood
- existing vinyl floors
- structural plank subfloors
- concrete
- and heated floors.
This tutorial is just for wood subfloors.
All the specifics for DITRA installation are in the handbook or on Schluter’s site.
IN GENERAL:
I ensure subfloor panels are flat and properly fastened to the joists. I explain subfloor screw schedules in this tutorial.
In addition, I Inspect the floor for protruding nails or screws and fix squeaks before moving forward.
Subfloors should have a 1/8″ gap between wood panels.
Tight subfloor seams don’t allow space for expansion and contraction.
If the subfloor lacks an expansion joint, it can tent. That tenting can cause tiles to crack.
Install Schluter DITRA Over Wood Subfloors
DITRA can be installed over plywood or OSB.
Schluter recommends using a modified thin-set over wood subfloors.
Schluter ALL-SET is a modified thin-set and a great option for setting DITRA
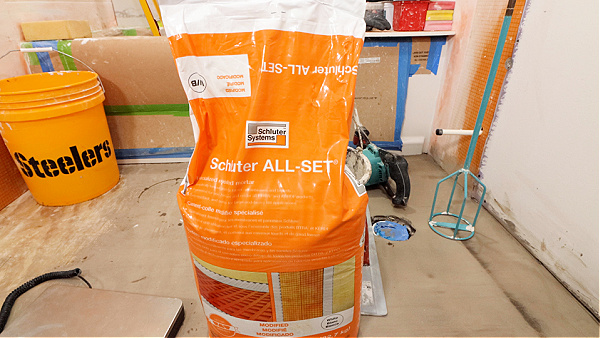
This thin-set tip is important:
I mix ALL-SET according to the membrane water ratio.
The ALL-SET should hold a notch but still be fairly fluid.
If I don’t use Schluter ALL-SET, I look on the bag for ANSI A118.1 and that’s an indicator that the thin-set is modified.
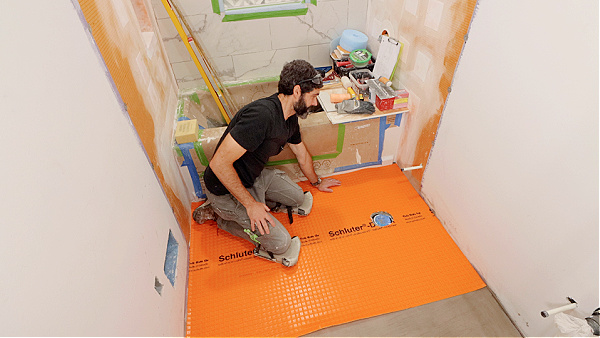
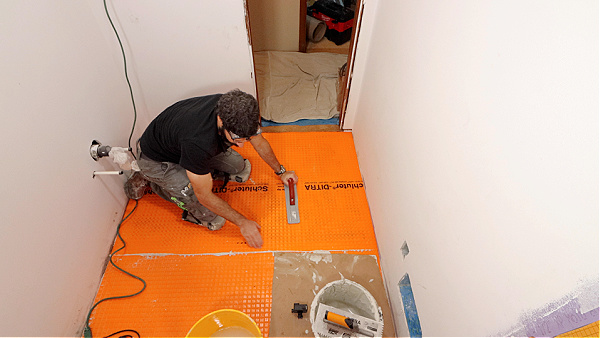
I measure the floor dimensions and cut my DITRA with a utility knife.
Then I dry fit the DITRA
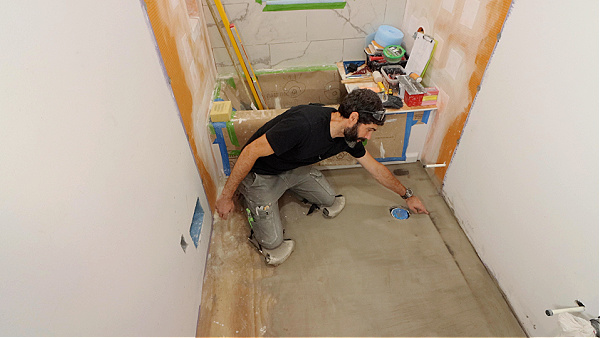
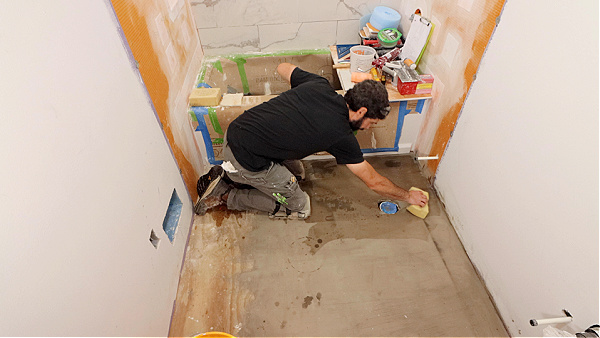
And I clean and dampen the wood subfloor.
This step is very important because it prevents the wood from sucking the moisture from the thin-set mortar.
This creates a solid bond between the thin-set and DITRA.
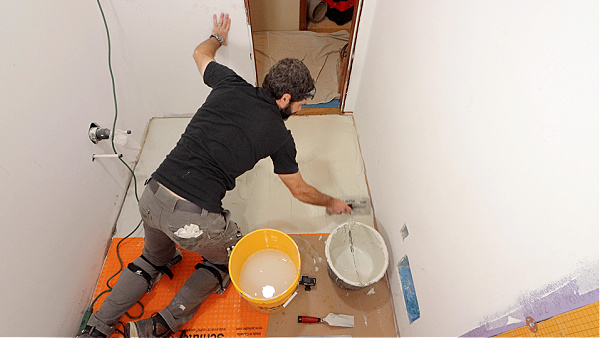
I use the KERDI trowel to apply thin-set to the subfloor for DITRA.
Here are the trowel sizes that can be used to set DITRA
- 1/4″ x 3/16″ V-notched or
- 5/16″ x 5/16″ V-notched trowel or
- DITRA trowel which features a 11/64″ x 11/64″ square-notched design
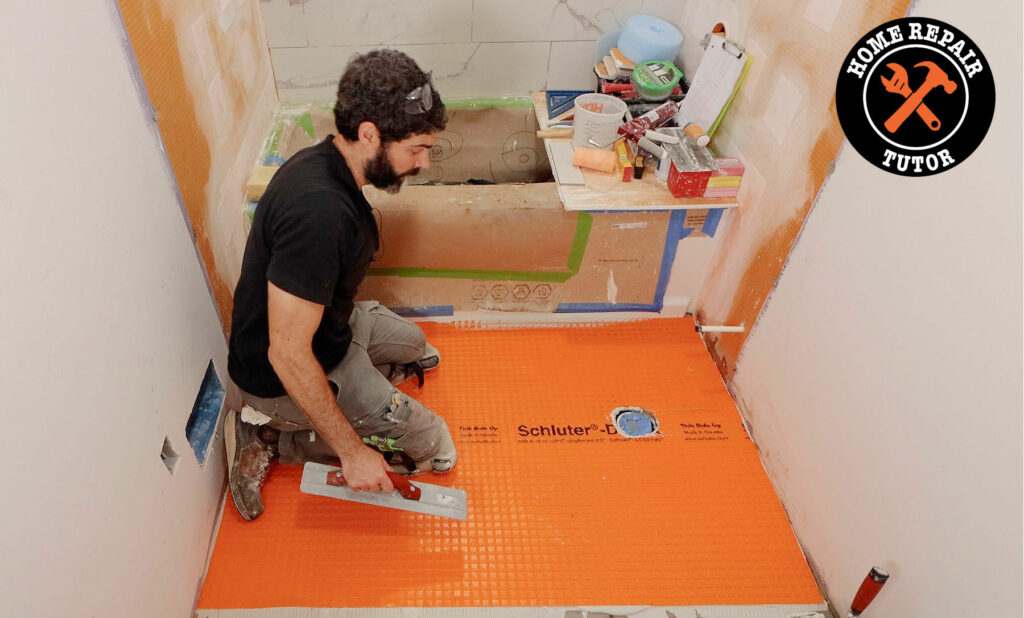
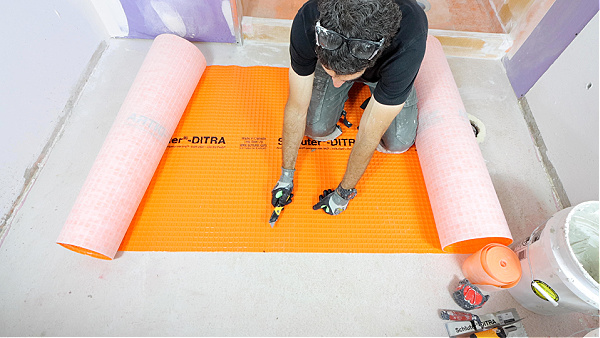
I apply the thin-set to the wood subfloor and make the trowel notches all run in the same direction.
Then I embed the fleece side of the DITRA in the thin-set, leave a 1/4″ gap between walls and membrane, and use a float to push the DITRA into the thin-set
I lift up a corner of the DITRA to check for thin-set coverage.
The goal should be 100% coverage.
How to Make DITRA Waterproof
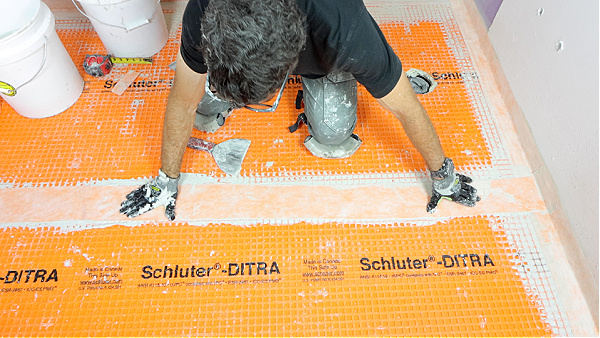
I fill the cavities with unmodified thin-set mortar or Schluter ALL-SET
Then I comb additional thin-set over the joint using an approved trowel, e.g., the KERDI trowel.
Finally, I center the 5-inch wide KERDI-BAND over the joint and use the flat side of a joint compound knife to press the banding into the mortar.
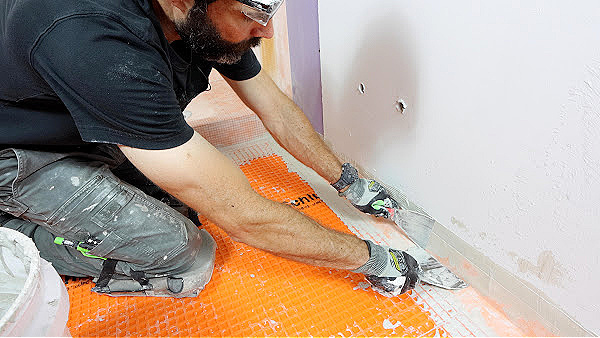
I use this method where DITRA meets drywall and other sheets of DITRA.
The gap between the bathtub and the tile floor is notorious for water leaks.
I fill the 1/4 inch gap between the DITRA and tub with KERDI-FIX.
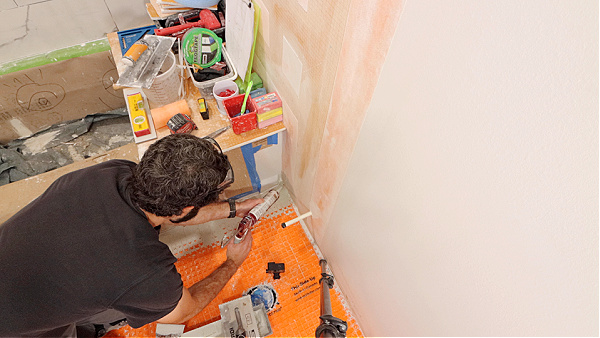
Then I fill in the cavities with ALL-SET and embed the 5-inch wide KERDI-BAND.

Waterproofing against tubs is critical, and using KERDI-BAND makes this installation rock solid for years.
Knowing the right tile installation principles is critical and just one piece of any bathroom renovation.
If you want to unlock all my bathroom remodeling videos, courses, and personal coaching, join Home Repair Tutor today – it’s one of the best online resources for anyone renovating a bathroom. Tap the button below to learn more
Cheers,
Jeff