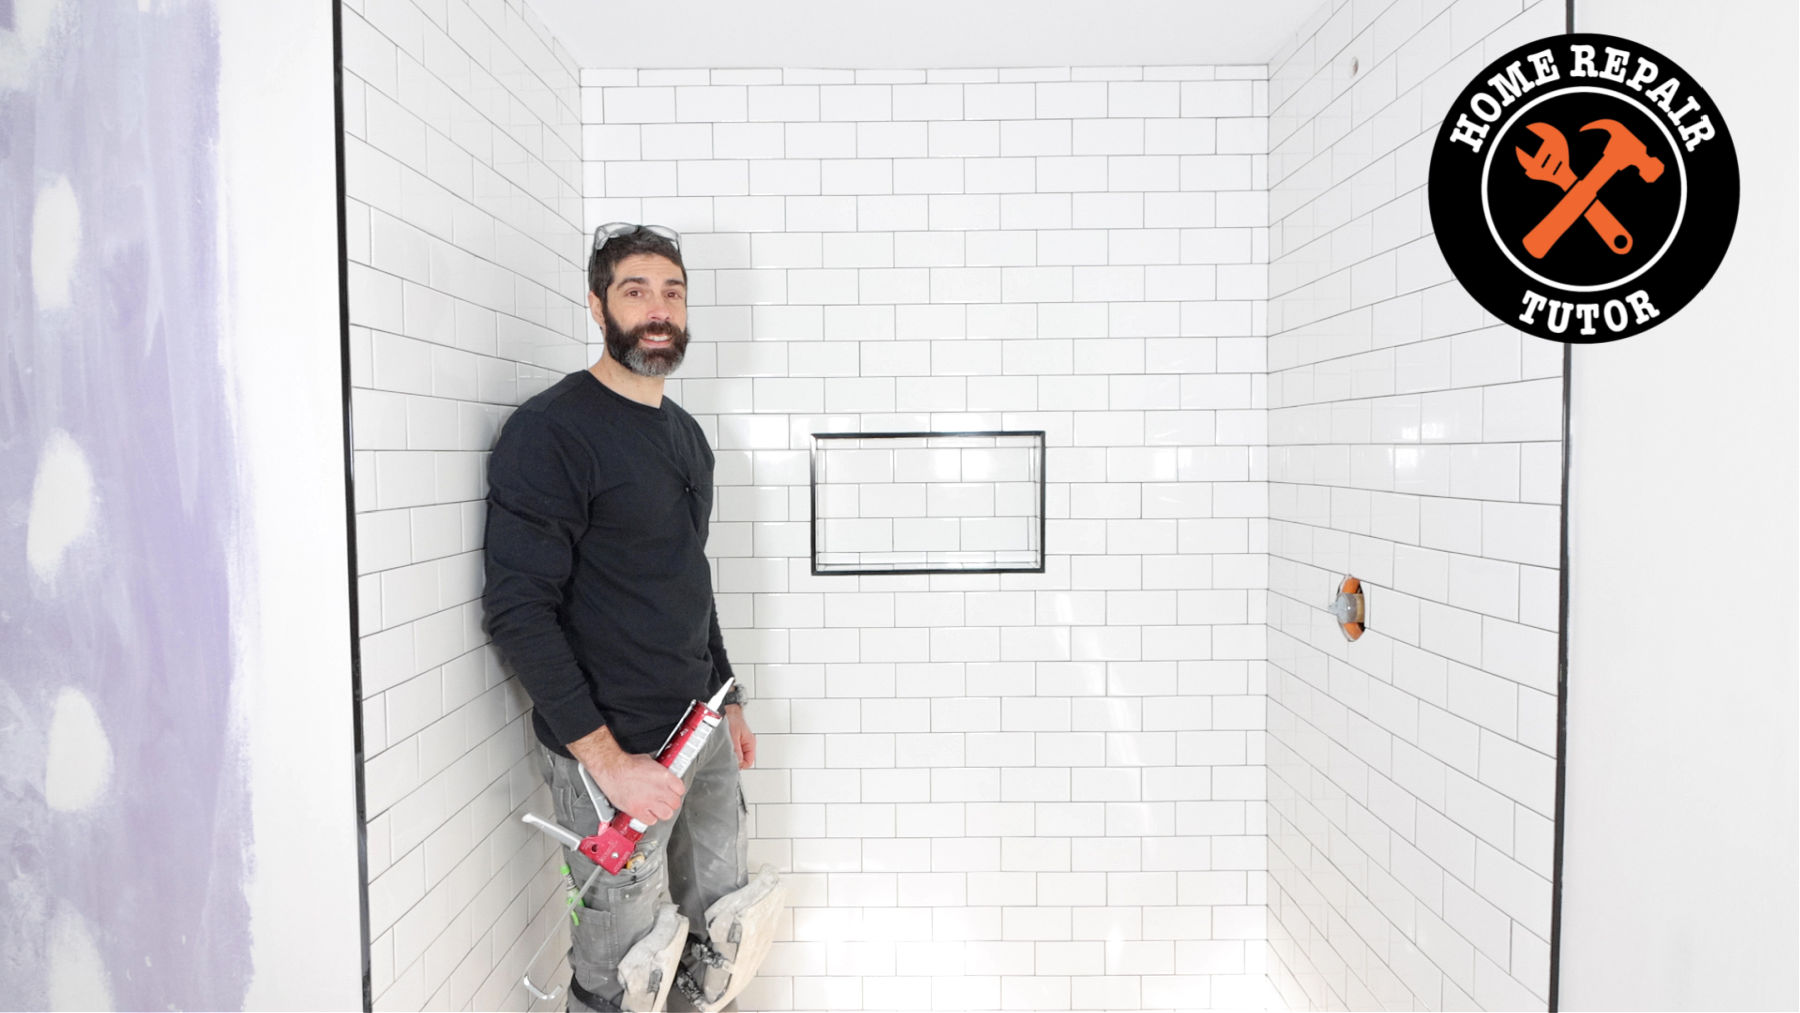
How do you build a subway tile shower niche?
More importantly, how do you get that tiled niche to look terrific?
This tutorial shares several tips that’ll make your project easier and look spectacular.
Let’s dive in!
Subway Tile Shower Niche Planning
The first step to any beautiful shower niche is planning…and lots of it.
I recommend having your tile before the planning process.
For example, this shower was built with 3×6 subway tile and I used a story pole to get an accurate tile layout.
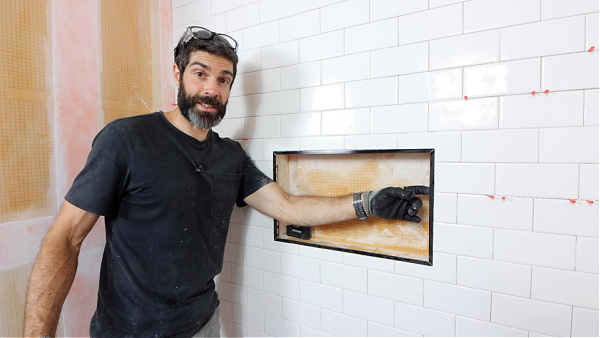
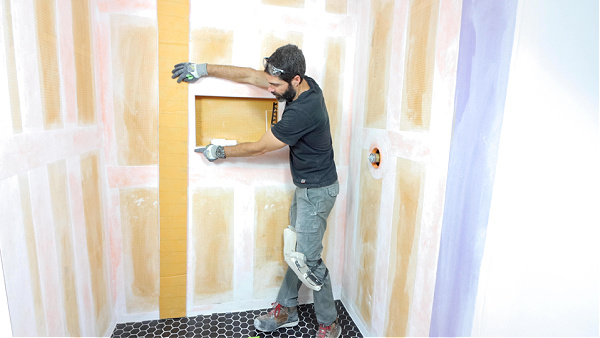
Story poles are super simple and show how the tile will look at the floor, the bottom of the niche, top of niche, and ceiling.
Drywall, scrap pieces of backer board, plywood, or even cardboard make great story poles.
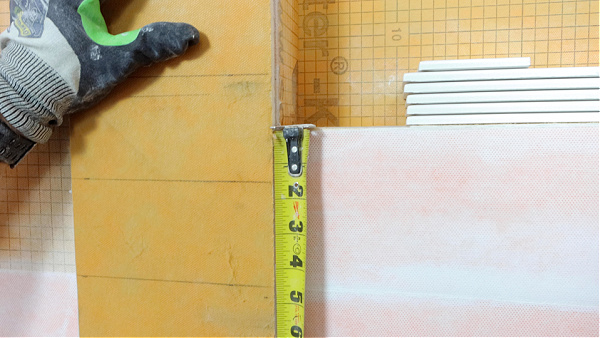
Factor in a 1/16″ to 1/8″ expansion joint (not grout joint) between the shower floor tile (for walk-in showers) or tub. Same for the drywall ceiling.
Any change of plane for tile requires this expansion joint per the Tile Council of North America.
Also, most subway tiles have lugs or integrated spacers. This makes stacking the tiles on the story pole and drawing reference lines very straightforward.
If your subway tiles don’t have lugs, I recommend using 1/16″ horseshoe shims to accurately depict the story pole.
Use this story pole to frame the wall for the niche and follow shower niche manufacturer recommendations for proper 2×4 spacing.
For example, Schluter prefab niches require studs at 16″ on-center spacing, and that goes for vertical or horizontal studs.
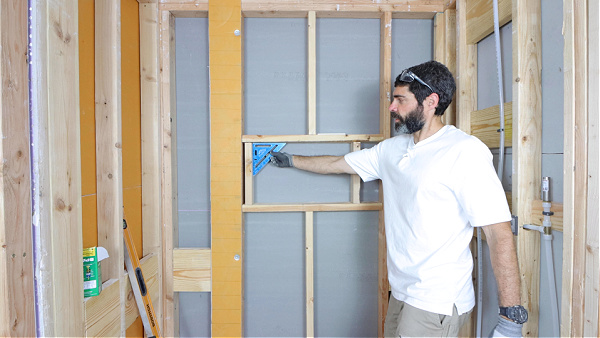
It’s very easy to make framing mistakes. So I highly recommend reading this shower niche framing tutorial when you have the time.
Subway Tile Shower Tips
After the shower has been waterproofed – and by the way, you should waterproof shower walls – it’s time to set tile.
Setting the first row of tiles up to the niche is fairly easy. With one exception: the first row.
This will make or break any subway tile shower niche because there’s not a lot of wiggle room with small tiles.
So it’s critical to make the first row as level as possible.
And I recommend using a laser level to accomplish this. In addition, use spacers between the first row of tile and your shower tile floor.
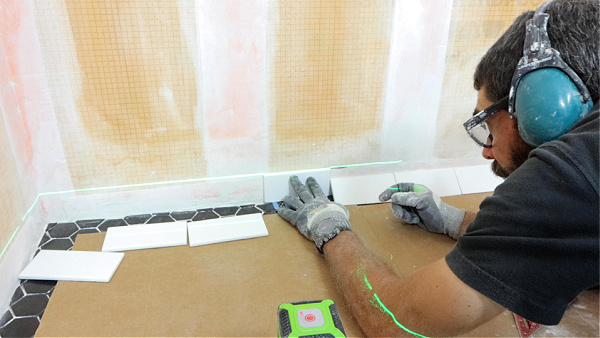
The reason for the spacers is to provide an expansion joint. I like using 1/16″ horseshoe shims or Barwalt tile wedges between the first row of tile and shower tray tile.
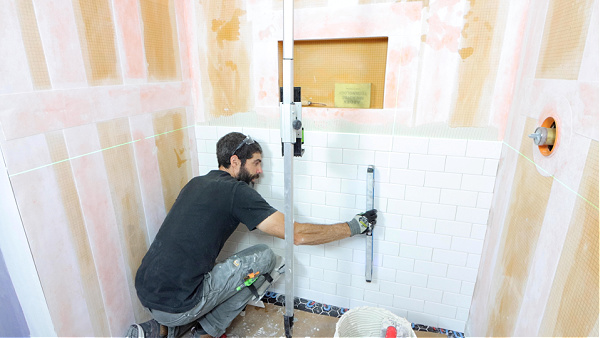
Once the first row is set, the subway tile can be thin-setted in place up to the bottom of the niche. It never hurts to check the walls with a level to ensure all the tiles are even and plumb.
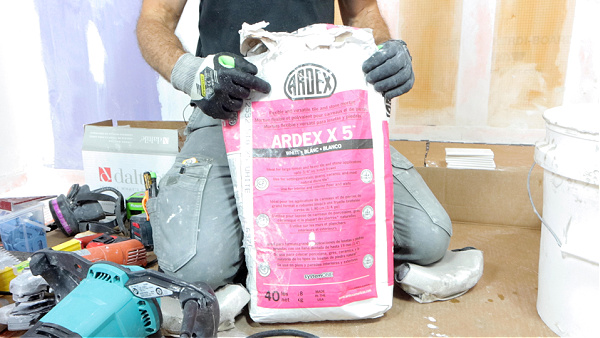
For this project, I used Ardex X5 modified thin-set along with a 1/4″ x 1/4″ square-notched trowel. Seasoned tile setters will notice that I said Ardex X5 is modified and that Schluter doesn’t recommend modified thin-set over their substrates.
But here’s the deal:
Ardex will warranty the bonding of tile to Schluter fleece.
Meaning, that you can confidently use Ardex modified thin-set over Schluter KERDI or KERDI-BOARD.
Shower Tile Ideas
If you’re new to tile setting here are a few more tips.
Hold trowels at a 45-degree angle in relation to the substrate. This maximizes the notch size and improves bonding.
Furthermore, use directional troweling. This means the trowel notches should be parallel to the short side of the tile.
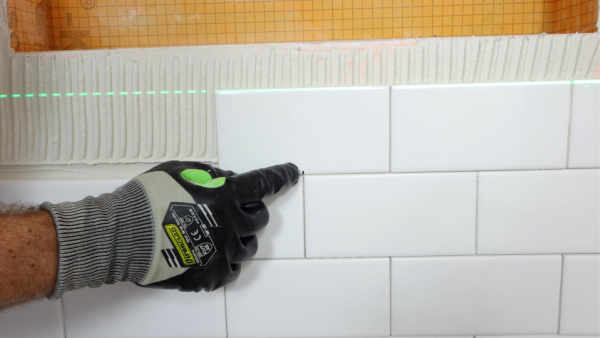
Thin-set notches parallel to the short side of the 3×6 allows air to escape through the shortest route. And again, this promotes proper bonding.
Finally, the Tile Council of North America recommends that tiles have 95% thin-set coverage on the back in wet areas, like showers. If you find this hard to achieve, you can flat back-trowel the tiles with the trowel.
All these tile setting tips can be used for any tile larger than subway tile, too.
How to Build a Subway Tile Niche
Any subway tile niche begins with the same basic steps. Here’s how I recommend tiling subway niches:
- Set the sill – either solid surface or subway tile
- Set the back wall
- Set the top
- Set the sides
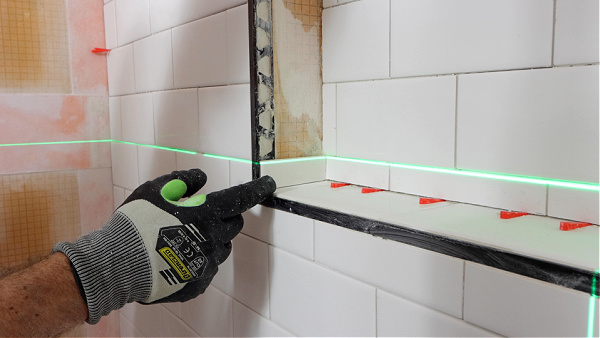
Remember, the sill has to be slightly pitched toward the shower. The picture below doesn’t represent the final pitch, it’s overexaggerated on purpose.
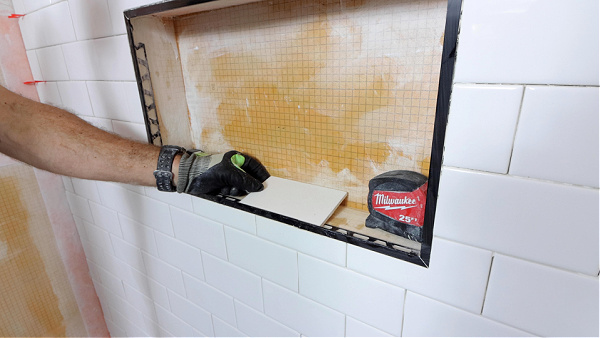
Pitching the sill allows water to drain off the subway tile niche and back into the shower.
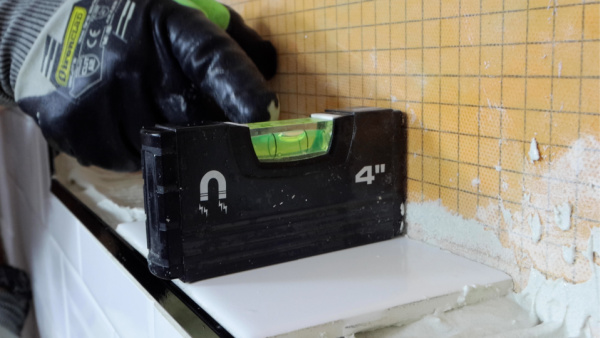
Also, if subway tile is used for the back wall, try to continue the subway tile pattern.
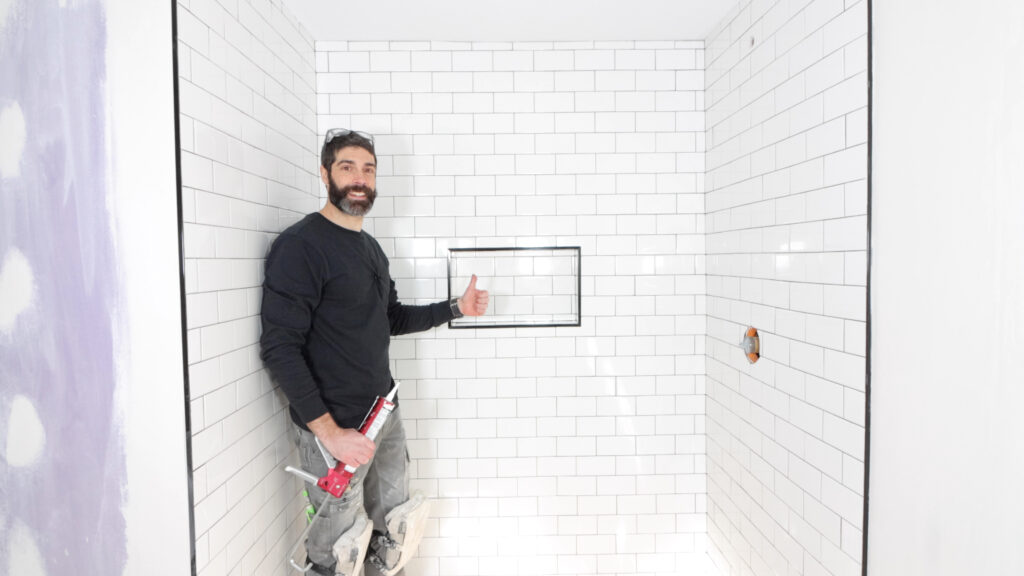
Notice how the subway tile pattern continues from the main shower wall into the subway tile niche.
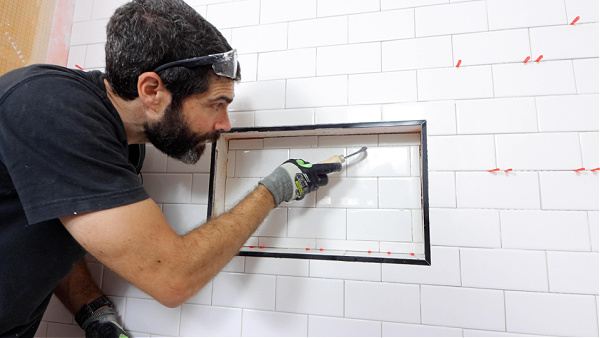
The top of the subway niche can be propped up with scrap pieces of backer board.
But I recommend flat or notch back-troweling them with thin-set to improve the bond.
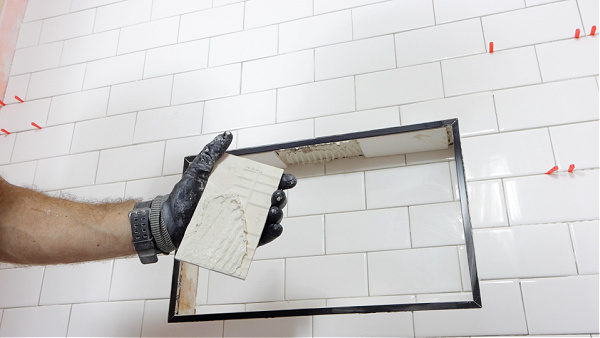
Since the sill is slightly pitched this will require the bottom of the first side tile to be scribe cut at an angle. This can be accomplished with a grinder and diamond blade or wet saw.
Finally, use a diamond hand polishing pad on all cut edges of the subway tile.
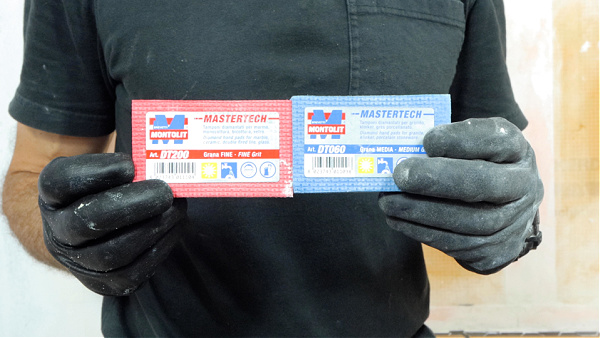
Polishing cut edges will make your subway tile shower niche look spectacular, especially if you’re using dark grout.
Build Subway Tile Showers
Do you need help with your bathroom remodel?
Join our Platinum Membership and make your project easier with over 375 step-by-step tutorials and Personal Coaching.
Tap the button below to learn more
Cheers,
Jeff


