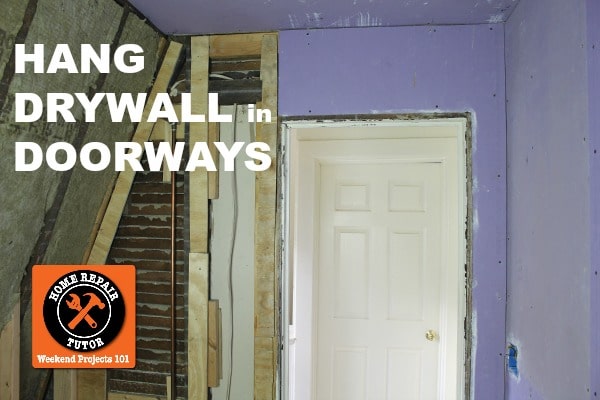
Learning how to hang drywall in a bathroom doorway is easy.
But if you choose to ignore the advice in today’s tutorial you could be in for a bad surprise.
Today you’ll get a secret tip that’ll prevent cracks above doors.
Here’s the deal: drywall seams above a door or window will crack over time.
Why?
Doors are repeatedly closed (or slammed, depending on your kid’s age) and outside walls expand and contract.
This all leads to stress on drywall.
After you read and watch our tutorial you won’t ever have a crack above your doorway.
Getting Started
Here’s the game plan: we’re gonna hang one piece of drywall over the door.
Then cut out the portion of drywall that’s in the doorway.
This eliminates a seam above the door and the potential for cracked walls down the road.
Anyone can do this!! Yes, even a complete beginner.
Here’s your supply list
- RotoZip
- Utility Knife
- T-Square
- Measuring Tape
- Chalk Line
- Safety Glasses
- Ear Protection
- Respirator
- Step Stool
- Super Bar
- Pencil
- The Home Depot Links above help support Home Repair Tutor…muchos gracias!
The first step is to get some measurements at the door.
How to Hang Drywall Over a Bathroom Doorway…Getting Measurements
Now the doorway we’re working on isn’t special. In fact, you might have a similar setup in your house.
But the bathroom is old, real old…like 1890s old.
So nothing is square or plumb.
The door is between the bathtub on the left and a small 8 inch wall on the right.
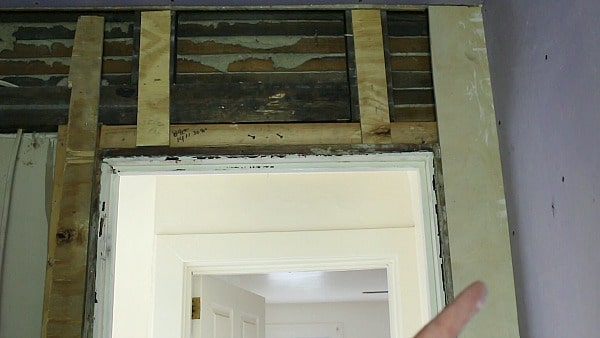
It’s super tempting to cut two pieces of drywall and slap them on the framing.
That would be a BIG mistake though because a crack would form over time right where the two pieces meet.
Our first measurement was at the top of the door. We grabbed the dimension from the wall to the top left corner of the doorway.
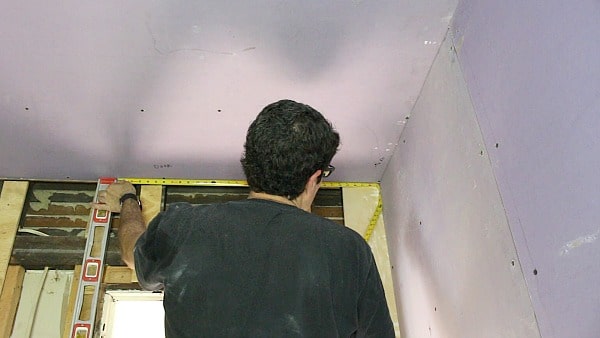
Then did the same thing at the ceiling and the bottom of the doorway.
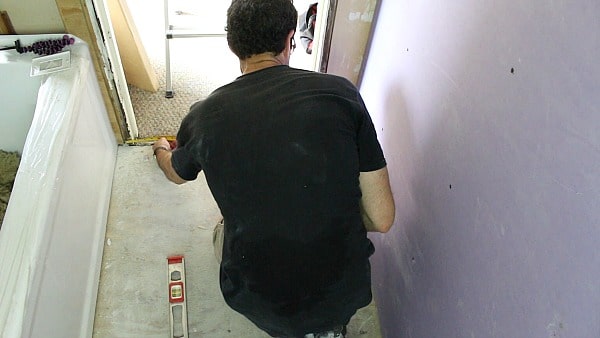
Reason?
Like I said, nothing is plumb in this bathroom. So it was best to get these three measurements to ensure the new drywall would fit properly.
And as you’ll see in the video, our bottom measurement for the drywall was 32 3/4″ wide. The top measurement was 33″ wide.
So, it’s always good to get multiple measurements.
By the way, the total height of this drywall piece was 94 3/4″ but we took off 1/2″ so there’d be a 1/2″ gap between the drywall and subfloor.
This drywall will also butt against the waterproofing panels in the bathtub. We’re using KERDI-BOARD because well, it’s pretty awesome.
Both the KERDI-BOARD and drywall are 1/2” thick, which makes for a nice transition.
But the tricky part in this setup is making the drywall run plumb with the doorway.
Having all these dimensions will help immensely when cutting the drywall.
Cutting the Drywall for the Bathroom Doorway
Always have a cutting “station” for your drywall.
In this tutorial, we’re working on a rental home and made the master bedroom a cutting station.
You’ll see in the video how messy it got in that bedroom, we wouldn’t do this in somebody else’s home but alas, it’s my rental.
Lay your drywall flat on the floor.
Label the ‘right’, ‘left’, ‘top’ and ‘bottom’ sides of your drywall.
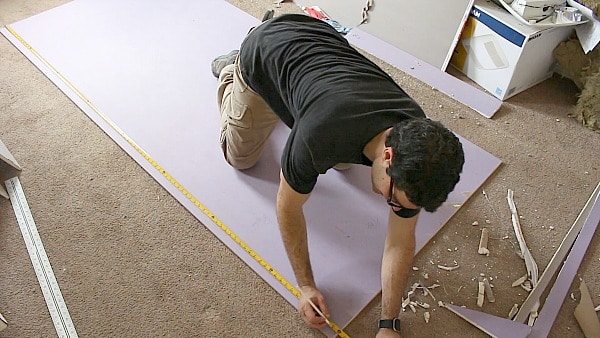
We like to cut the drywall to the correct height first.
Simply use a utility knife and t-square to score the top of the drywall.
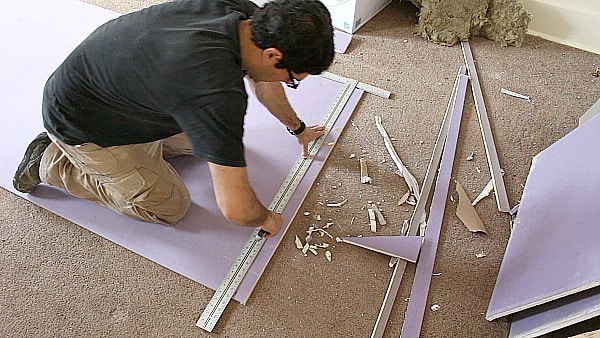
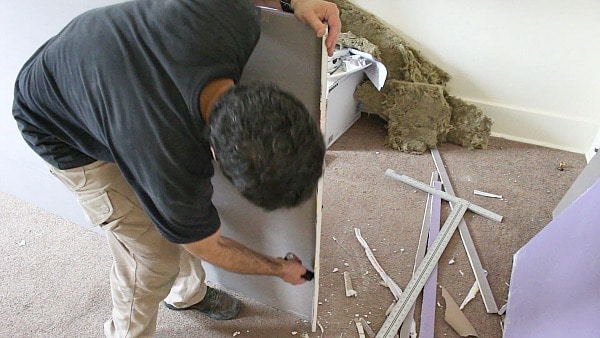
Snap the drywall and score the other side.
On the top of the drywall, we measured over 33″ and made a pencil mark.
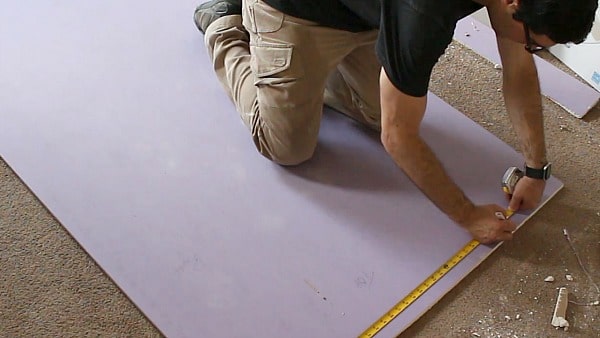
And on the bottom of the drywall, we measured over 32 3/4″ and made a pencil mark.
We then snapped a chalk line from the 33″ mark to the 32 3/4″ mark.
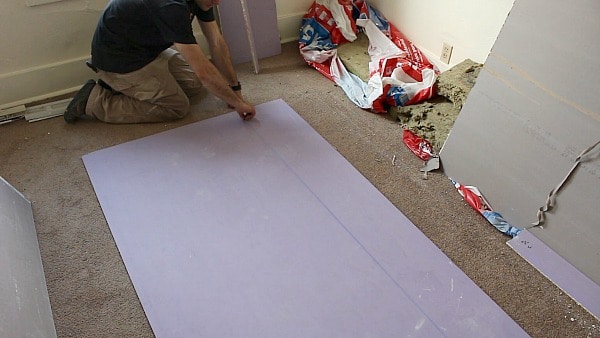
Place your t-square on the chalk line and cut the drywall with a utility knife.
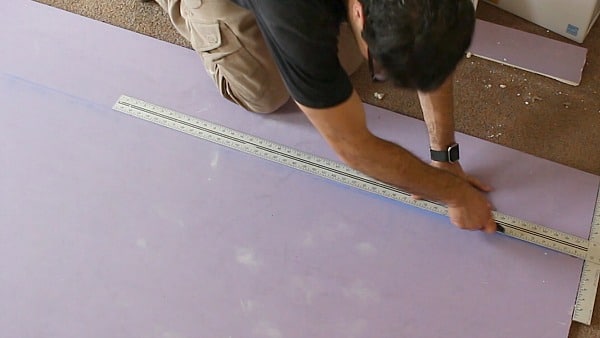
Bottom line: wonky cuts are easy when you use a chalk line!!
Mounting the Drywall in the Doorway
Remove the striker plate in the doorway before mounting the drywall.
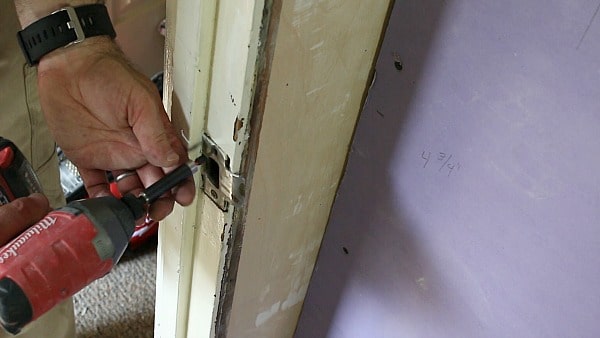
Why?
The plate will prevent the drywall from sitting flush with the door jamb.
Also, check the framing for any screws or nails as these will stop the drywall from sitting flush with the studs.
PRO TIP: If you want to easily raise the drywall piece up to the ceiling, pry it up off the floor with a Super Bar and slide a scrap piece of drywall or wood under it.
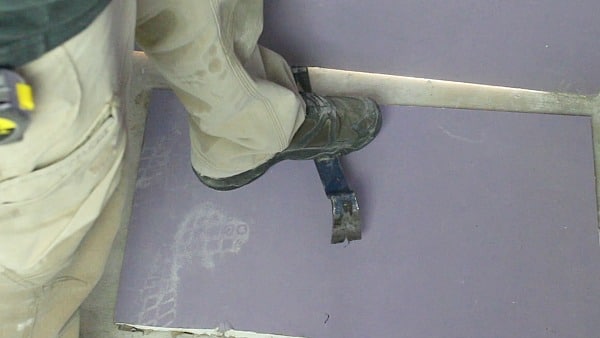
Then place a drywall screw in the corner of the new drywall piece.
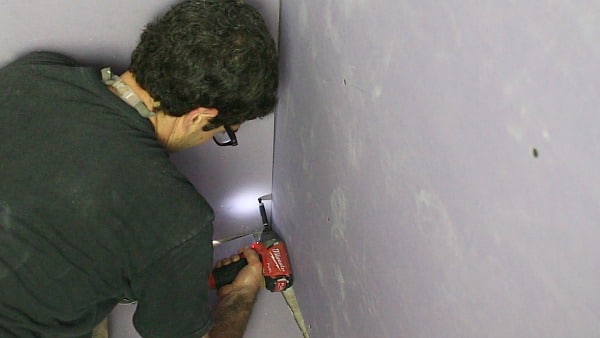
We also placed a screw halfway up the small skinny wall, and two more at the top where the drywall met up with the ceiling.
These screws are meant to just tack the drywall in place.
In the video you’ll see that we put pencil marks on the ceiling to indicate the stud location in the walls. This makes drywall installation a bit easier.
Using the RotoZip to Cut Out the Doorway (Awesome Sauce!!)
If you’ve seen our other drywall videos you know the RotoZip is awesome.
This little tool can cut through drywall like a hot knife through butter…yah, a cheesy analogy but you get the point.
The key to using the RotoZip for a doorway is to find the jamb.
We set the depth of the RotoZip’s bit to 1″ because the drywall is 1/2″ thick and it’s sitting a bit proud of the jamb.
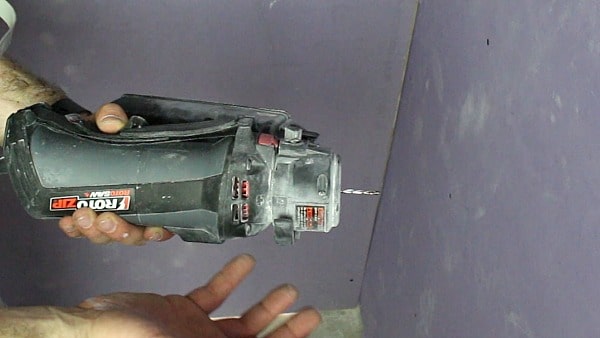
So that 1″ is ensuring the bit will come in contact with the door jamb.
Here’s the plan, we’re going to plunge the RotoZip into the drywall just to the right of the door jamb.
Then run the RotoZip up the jamb in a counterclockwise fashion until we cut out the doorway.
The RotoZip’s bit is touching the door jamb the entire time, and that is what’s allowing us to cut out drywall.
PRO TIP: Get all the supplies you need into the bathroom before you mount the drywall on the doorway…watch my video to see why this is so darn important!!
What’s Next?
If you’re doing a bathroom remodel and need help, join one of our online courses – they’ll make your bathroom renovation much easier!
Let me know if you have any questions and I’ll do my best to help.
Cheers,
Jeff


