Some folks make costly and unnecessary Schluter shower curb mistakes.
This tutorial will show you how to avoid them.
And you’ll see what to do instead.
Let’s dive in.
The Schluter Shower Curb Explained
I’ve organized this tutorial into the following sections:
- Thin-Set Mortar
- Shower Curb Height
- Uneven Curb Spacing
- Shower Curb Pitch
- Inside and Outside Corners
- Schluter Curb Waterproofing
- Waterproofing Outside Shower
You can tap the above links, which’ll take you to the specific part.
Also, you might want to grab a pen and paper. That way, you can take some notes.
Thin-Set Mortar
The first mistake beginners make is not mixing the mortar to the correct consistency.
I always use Schluter ALL-SET mortar when installing Schluter shower curbs.
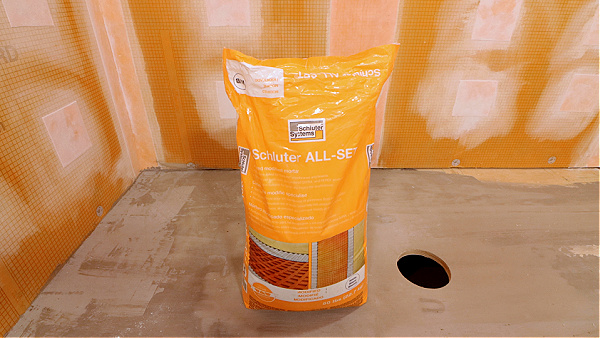
As such, I mix it using the water ratio for membranes.
This makes the mortar thinner than that used for tile shower floors or tile shower walls.
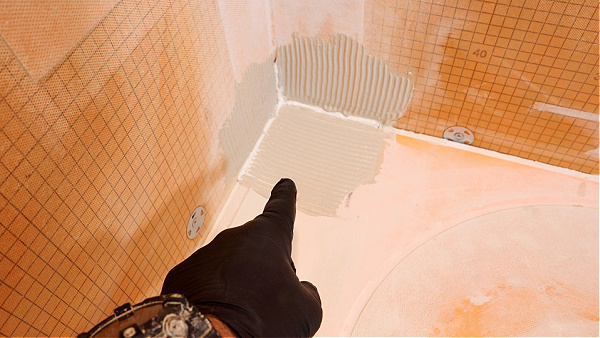
In addition, trowel selection is critical.
I use a 1/4 inch by 3/8 inch square notched trowel to set the curb.
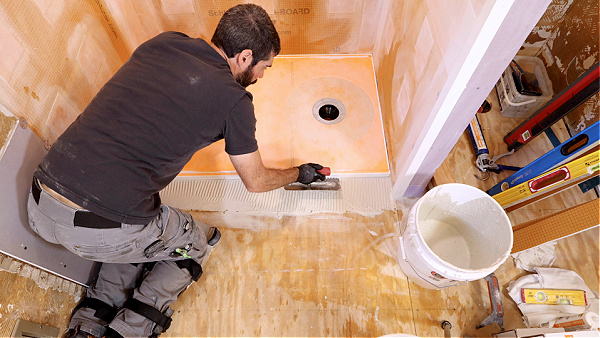
Also, the trowel notches are parallel to each other.
Mortar should be applied to the floor, side of the shower pan, and walls.
When the curb is set in the mortar properly, it will not move, even before the waterproofing.
Shower Curb Height
Schluter shower curb height is important for many reasons.
First, the curb height should meet local plumbing code.
Most of the time, the top of the finished curb should be at least 2 inches from the shower drain.
But again, this depends on local plumbing codes.
Second, the curb height should not adversely affect the shower wall tile.
For instance, there should not be any tile slivers where the curb meets the wall.
Here’s a Pro Tip,
Use Schluter KERDI-BOARD to build custom curbs.
I love 2-inch KERDI-BOARD because it’s strong, easy to cut, and can support any glass shower door.
Furthermore, additional pieces of KERDI-BOARD can be bonded to it using ALL-SET mortar.
And this means I can build a Schluter shower curb to any dimension.
Uneven Curb Spacing
The third mistake beginners make is not making the curb equidistant from the shower wall.
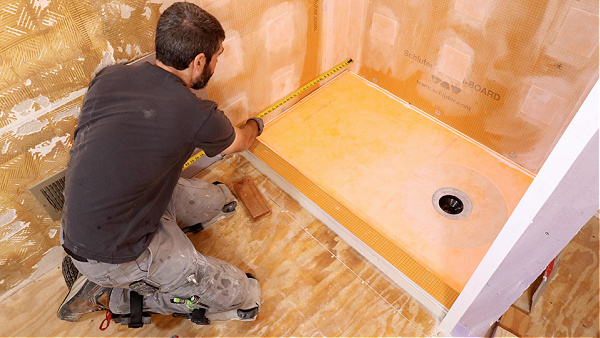
Shower curbs can move a fraction of an inch or more when thin-setted in place.
As a result, this can cause the shower floor tile to look asymmetric.
The solution is simple.
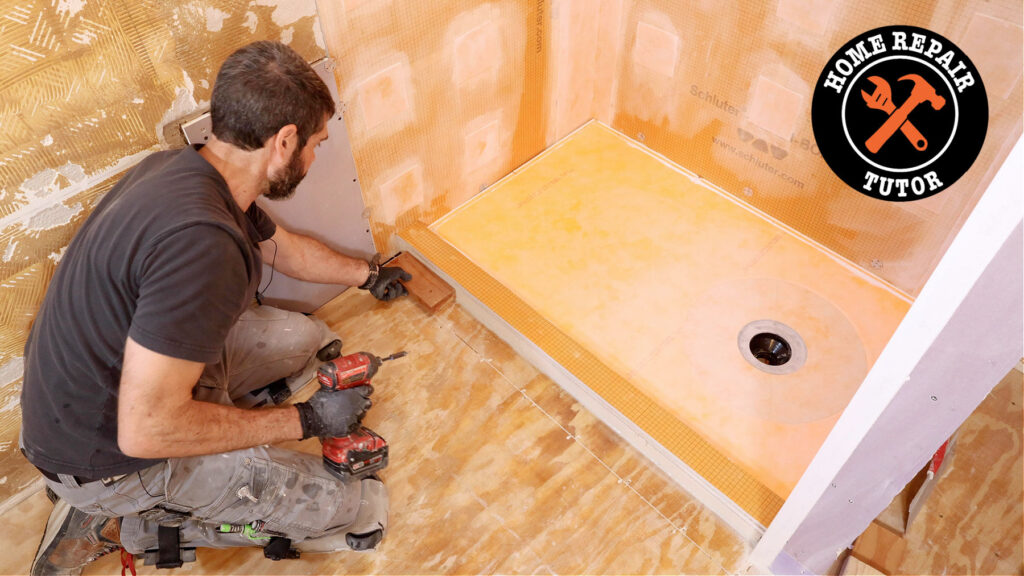
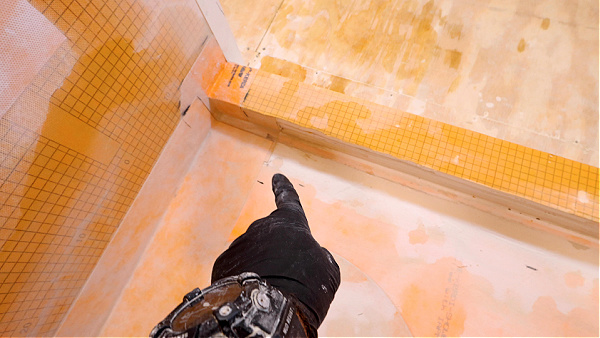
Use 2x4s screwed to the bathroom floor to hold the curb in place.
I place the curb to the dimensions I need.
Then either use a full 2×4 or two smaller pieces on the far sides of the curb.
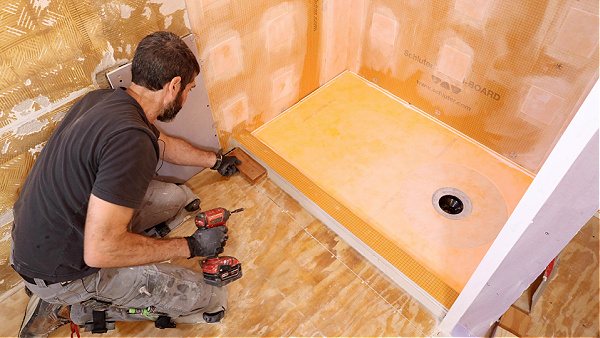
Two or three-inch construction screws are great for fastening 2x4s to plywood.
Tapcon screws are good fasteners for fastening lumber to concrete.
This will keep the curb in place while the mortar cures.
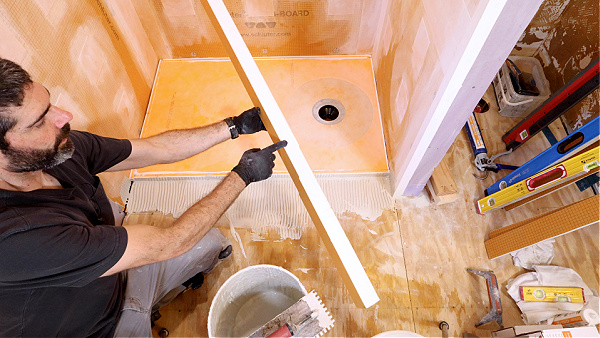
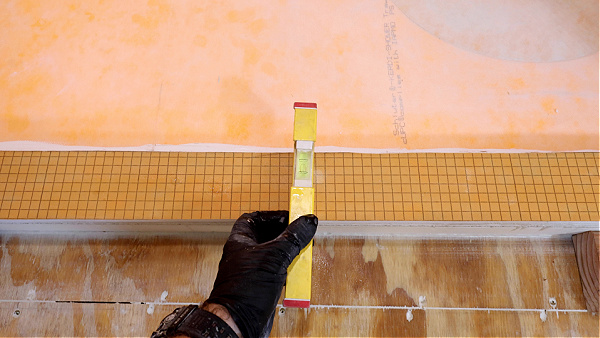
Shower Curb Pitch
Another huge mistake is not making the curb top-level left to right for three-wall showers.
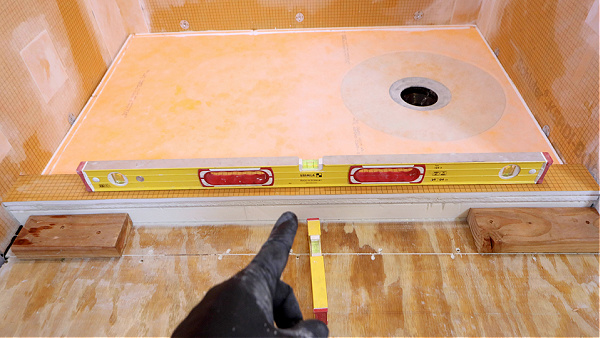
But it should also be pitched just a little bit toward the shower floor.
That way, water will drain off the curb top and the glass door.
Some glass shower door installers will refuse to install their door if these standards are not achieved.
If you’re wondering, I recommend solid 3cm curb tops made from quartz if the shower door needs u-channel or clips.
This prevents the screws from penetrating through the waterproofing.
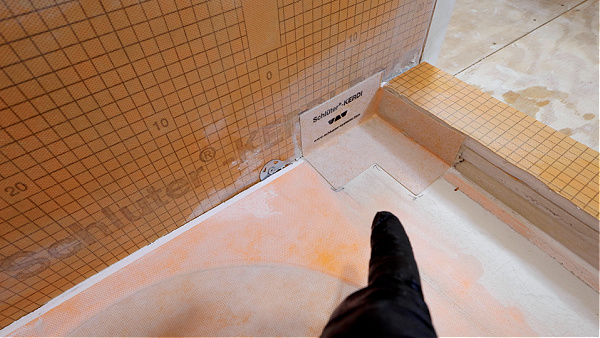
Inside and Outside Corners
Shower corners are constantly saturated with water.
And if they aren’t waterproofed correctly, there’s a high probability of water damage.
I use KERDI-KERECK inside corners along with KERDI-FIX and ALL-SET for this step.
KERDI-FIX is optional, but I like it for two reasons.
First, I only apply it where the curb meets the pan and walls.
Then I apply ALL-SET to the rest of the surface.
When I embed the KERDI-KERECK corner, the KERDI-FIX keeps it bonded in place while the mortar cures.
And this is very helpful when overlapping the corner with KERDI-BAND.
The second reason I like this method is that it helps me keep the corner flat.
That, in turn, helps me with the tile shower walls.
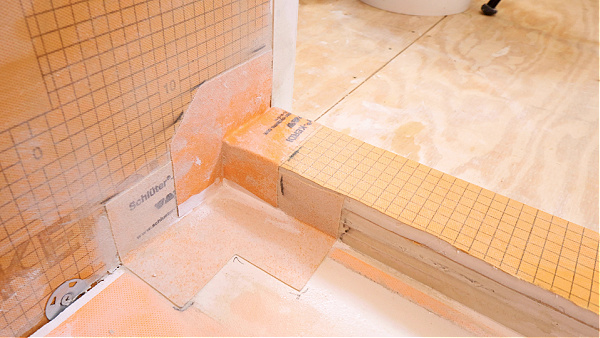
I use the same method for the KERDI-KERECK outside corners.
Side note: These corners can be purchased individually.
But sometimes they also come with the Schluter KERDI-DRAINs.
Schluter Curb Waterproofing
I love custom Schluter shower curbs.
They do require one additional step versus prefab curbs.
And that’s to wrap them with KERDI-BAND.
Schluter’s 7-inch KERDI-BAND is perfect for this.
The banding must extend at least 2 inches beyond the shower pan/curb transition.
Keep this in mind if you cut off and reattach the 3/4-inch Schluter shower pan perimeters (which I recommend for custom shower pan dimensions).
KERDI-FIX applied to the pan/curb intersection helps with this step.
Sometimes I apply a bead of KERDI-FIX on the top of the curb.
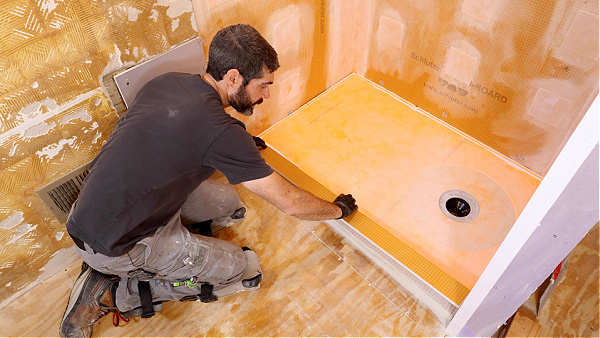
ALL-SET should be applied to the pan and the three sides of the curb.
Then the KERDI-BAND is bonded to waterproof the shower pan and curb.

I love the 7-inch KERDI-BAND for this application.
It’s also helpful for shower walls or niches in some cases.
Waterproofing Outside Shower
The shower door should keep water inside the shower.
But this doesn’t always happen.
Thus, I still use KERDI-KERECK outside corners to wrap the curb in the main bathroom floor area.

In addition, I recommend using DITRA on the main bathroom floor.
I place DITRA about 1/4 inch from the curb and use KERDI-BAND to waterproof that intersection.

Again, the banding should wrap up the curb by at least 2 inches.
And it should overlap the DITRA by at least 2 inches.
My video shows how to waterproof the Schluter shower curb from start to finish
Schluter curbs are just one component of building solid showers.
If you want to unlock all my bathroom remodeling videos, courses, and personal coaching, join Home Repair Tutor today – tap the button below to learn more
Jeff