Schluter mixing valve seal installation is something I do for every shower. Some people don’t think this is important. I think it’s common sense. And for $10 it’s probably the best insurance you can buy for a shower that should last 20 years or more.
Why the Schluter Mixing Valve Seal is Important
Water and water vapor ruin bathrooms.
Water is an obvious problem. If it constantly drips on anything wood, that will lead to mold.
Water vapor is even worse. It can go in any direction, including up. That makes sense, right? Hot air rises. But when it meets cold air (like inside your shower wall) it forms condensation (which is water). This is especially problematic inside showers.

Schluter’s mixing valve seal has a rubber gasket that is 1/2 inch thick.

The 1/2-inch side covers the exposed edge of foam boards (like KERDI-BOARD), cement boards, and drywall (if KERDI is being used) inside showers.
That way, the exposed edge isn’t going to get wet.
In addition, the rubber gasket extends beyond the backer board wall.

This creates a drip edge for water to hit and move downward.
Furthermore, the inside of the rubber gasket is pitched downward.
Thus, if water hits that edge, it should also move downward.
For all these reasons, I recommend installing the mixing valve seal.
And by the way, Schluter isn’t the only company that makes one.
While I’m skeptical about some things, this isn’t one of them. Plus, $10 isn’t going to break the bank.
Tools and Materials You’ll Need
Here’s a short list:
- Schluter Mixing Valve Seals
- 3-inch or 6-inch Joint Compound Knife
- KERDI Trowel
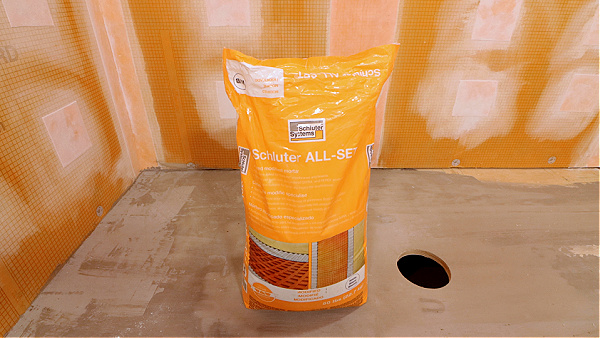
- Schluter ALL-SET or unmodified thin-set mortar
- Sponge
- Bucket
- Water
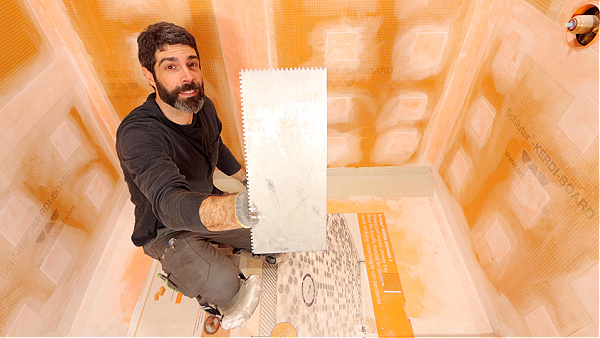
I like using the 3-inch joint compound knife to apply thin-set.

It keeps the installation cleaner than a 6-inch knife and speeds up the application. That said, you could load half the 6-inch knife with mortar.
The KERDI trowel is an absolute necessity.

It’s mostly used as a gauge to ensure the proper amount of mortar is applied to the wall.
Plus, you’ll need this to waterproof the entire Schluter shower.
Schluter ALL-SET is my preferred mortar for waterproofing Schluter showers.

I like it because there are specific mixing instructions on the bag.
I use the membrane mixing instructions to get the fluid consistency required.
Finally, using a sponge at the end will reduce thin-set mortar buildup. This is important for your tile work and avoiding common shower tile mistakes. So don’t skip that step.
Step-by-Step Installation Guide
Frankly, this is very easy. But there are some crucial tips to help you avoid common mistakes.
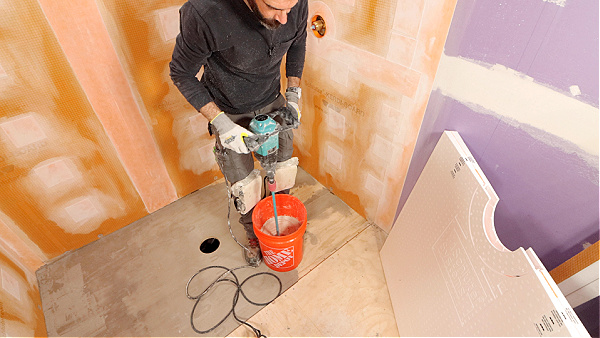
First, mix Schluter ALL-SET per the directions and use the membrane mixing ratio.

This is the first mistake DIYers make – not mixing the thin-set properly.
It should be fairly fluid, yet hold a notch.
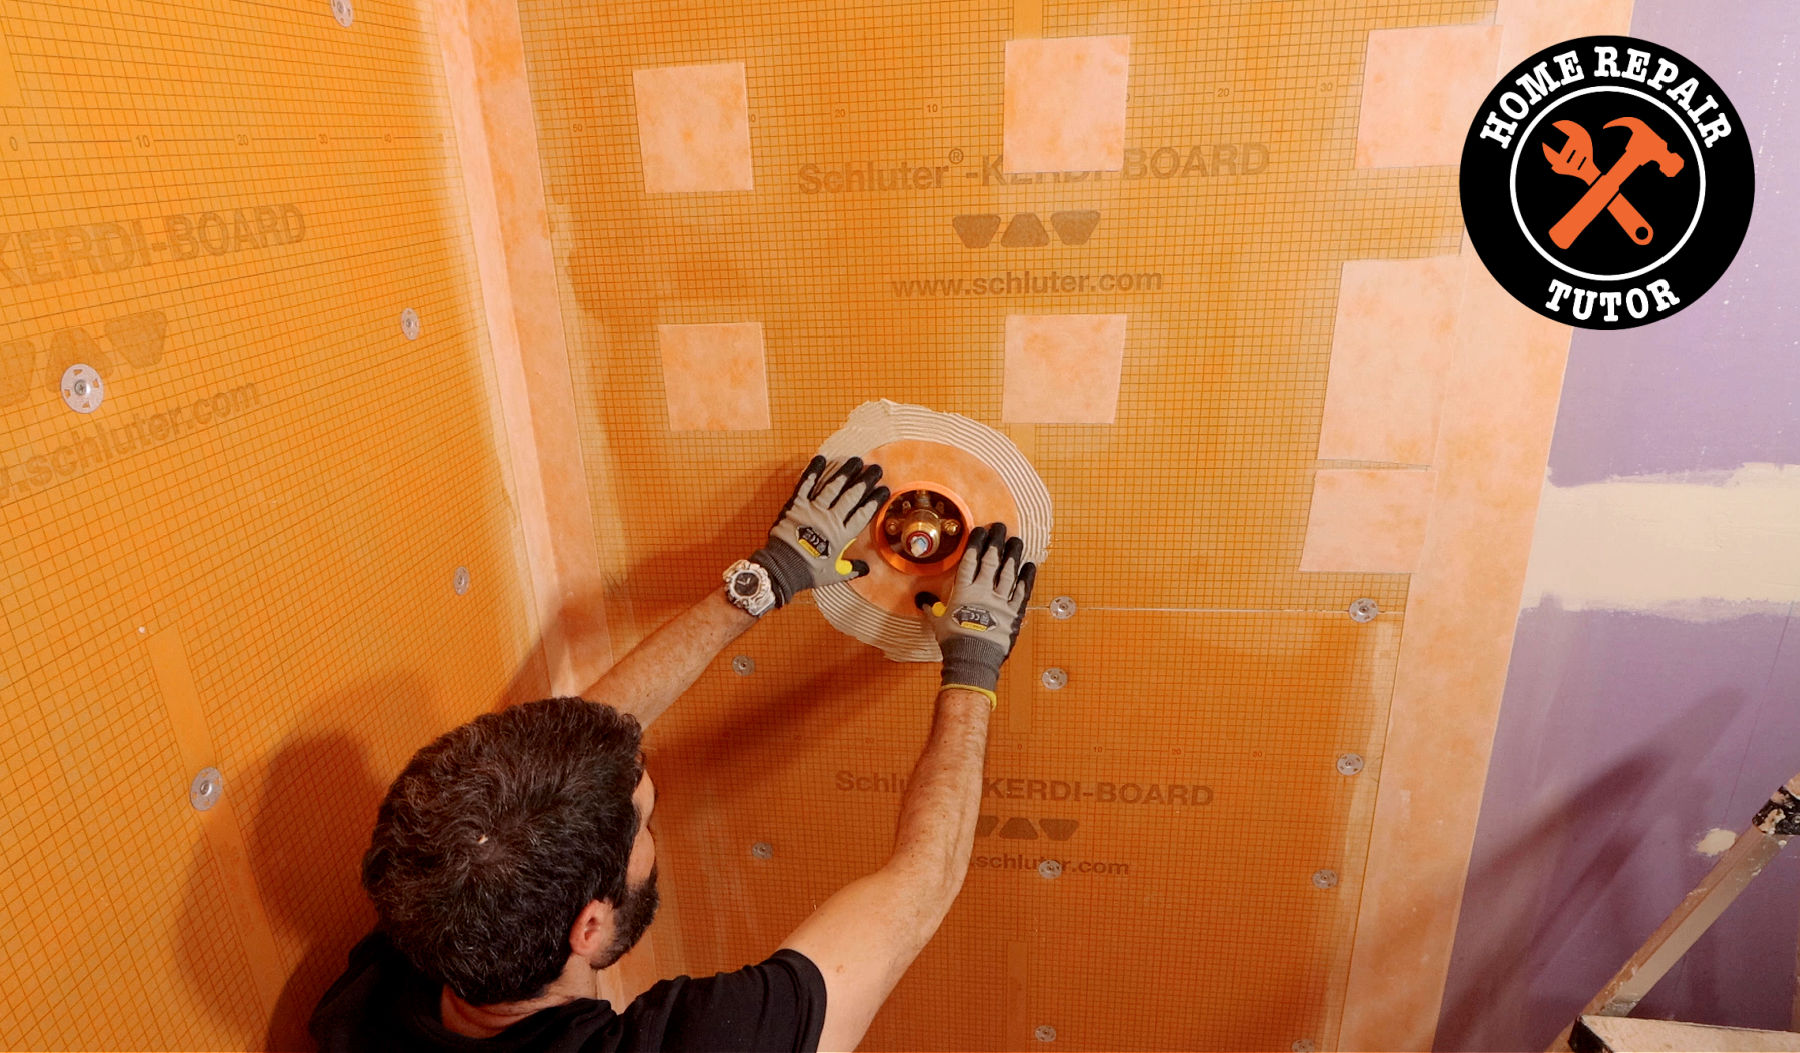
I then apply ALL-SET to the backer board with the 3-inch joint compound knife.

Then I immediately trowel it with the KERDI trowel.

Pay attention to the valve and remove any mortar that gets on it.
Dried mortar on the valve can cause it to malfunction.
Here’s the second mistake DIYers make,
They install the Schluter mixing valve seal incorrectly.
Remember, the 1/2-inch side of the rubber gasket should be inside the wall.
That way, it covers the exposed edge of your backer boards or drywall.

Completely embed the KERDI membrane into the ALL-SET.
I use a 5 or 6-inch joint compound knife to do this.

Then remove any of the excess mortar that is on the wall.
The KERDI should sit relatively flat against the backer board and not interfere with the tile installation.

And that’s it. Super easy.
Now here’s the deal, if your valve isn’t circular there are other ways to waterproof around it. For example, you can cut a piece of KERDI fabric so that it extends beyond the valve body by at least 2 inches. Then you can bond that to the wall using ALL-SET and to the valve body with KERDI-FIX.
While Schluter mixing valve seal installation isn’t sexy, it’s one crucial step to proper shower installation. And it shows that attention to detail matters. Even this small project requires proper workmanship.
Remember, if you’re doing a bathroom remodel and need help, our Platinum membership is excellent. You’ll get step-by-step video tutorials and I do the one-on-one coaching for all our members. To learn more, tap the button below
Cheers,
Jeff


