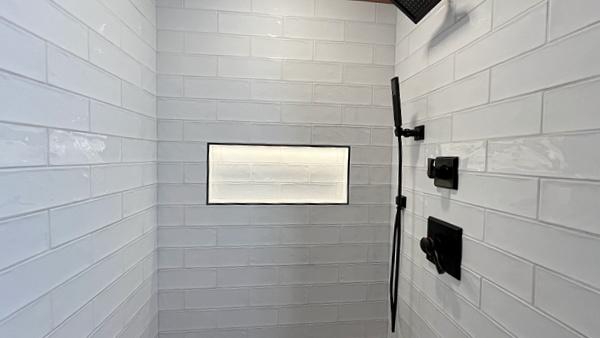
On this client project, I used Schluter’s horizontal LED shower niche. Not only does it literally make the shower pop, but it also adds an element of safety.
Having a well-lit shower helps users avoid falling and hurting themselves. Plus, the lit niche makes the shower the focal point of the bathroom.
In this tutorial, you’ll see how to frame the niche, run the electrical, waterproof, and much more. Let’s dive in!
Schluter LED Shower Niche Guide
I’ve organized this tutorial into the following sections:
- Materials
- LED Shower Niche Framing
- Schluter LIPROTEC Cable Installation
- Electrical Box Installation
- KERDI-BOARD Tips
- Schluter LED Shower Niche Installation
- Schluter LIPROTEC ECX Switch Installation
- LED Shower Niche Waterproofing
You can tap the above links, and they’ll take you to that section.
Also, many thanks to Schluter for sponsoring this tutorial. I’ve used Schluter for years because their systems work and keep my clients safe.
Materials
For this client project, I chose the Schluter LED niche supplies based on the shower dimensions.
For example, we chose a 12×28-inch shower niche to maximize the storage.

And the LIPROTEC cable was 13 feet because of the switch location.
It’s important to know the distance from the niche to the electrical box. And to choose the appropriate cable length.
Also, I opted to use the LIPROTECH ECX switch, which has the driver in it.

The switch has three different faceplate colors: almond, white, and black.
Those are the three main elements of the Schluter LED shower niche.
I also had to get the KERDI-BOARD, shower pan, and curb materials to waterproof the shower.
The next step was to frame the shower wall for the niche, and there are important things to consider when doing that.
LED Shower Niche Framing
The Schluter horizontal LED shower niche requires special framing.
There’s a small black electrical box on the top.
This necessitates raising the top plate 1-1/2 inches and adding two small 2x4s on either side of the box.
That way, the shower niche flange can be supported on all four sides.
Now here’s the deal,
I carefully chose the location of this niche so that there wouldn’t be a sliver of tile at the top, bottom, or sides.
Keep this in mind: you can shorten or elongate the height of the niche.
For example, if I needed to shorten the niche, here’s how I’d do it:
- Cut the niche in half lengthwise
- Cut off the necessary piece from one side
- KERDI-FIX the niche back together
- Waterproof the seam with KERDI-BAND
Thus, if I had to shorten the height by 1/2 inch, that 1/2 inch could be taken off one of the cut sides. And that would reduce the height from 12 inches to 11-1/2 inches.
Bottom line, this niche can be customized if necessary, which is awesome!
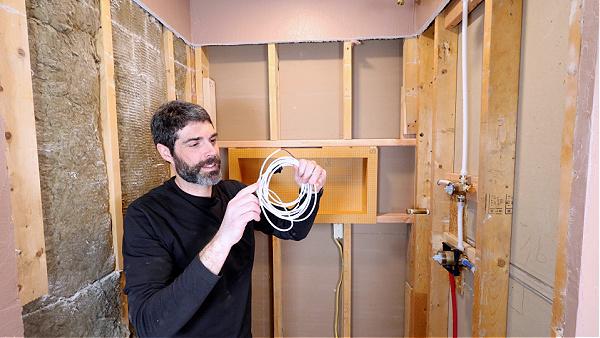
Schluter LIPROTEC Cable Installation
After the shower niche is framed, I install the LIPROTEC cable.
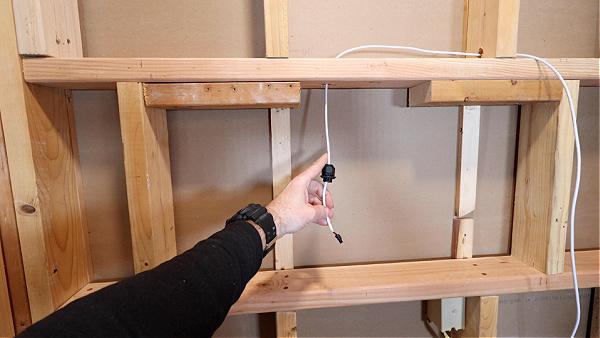
This cable is special because it has a waterproof gland that attaches to the black box inside the niche.
In this shower, I cut 3/4 inch holes through the shower wall studs to run the wire to the electrical box.
I keep those holes centered on the studs, but also protect them with metal plates.
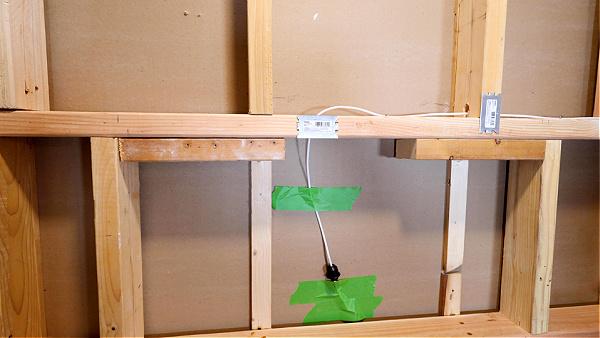
This ensures the screws for my backer board cannot penetrate the LIPROTEC cable.
In addition, I staple the wire to the top plate of the niche and 6 inches from the electrical box.
And my final step is to tape the cable to the drywall using painter’s tape.
This keeps the cable out of harm’s way when I have to cut the KERDI-BOARD.
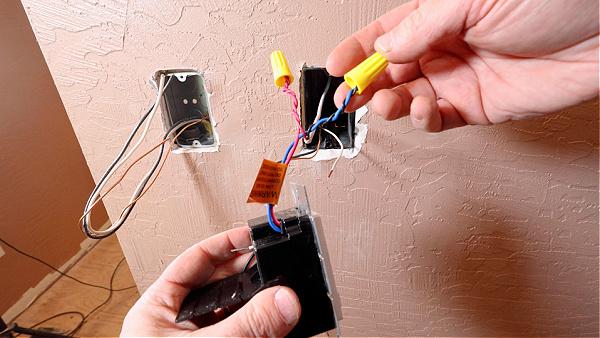
Electrical Box Installation
Speaking of the electrical box, I set the height to 48 inches and cut a hole from inside the shower using an oscillating multi-tool.
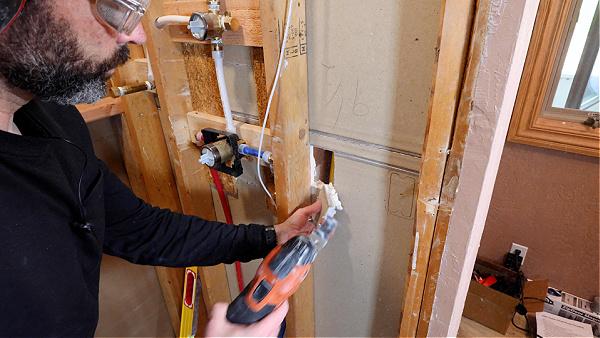
All the electrical boxes in this bathroom are set at 48 inches. Thus, I wanted to keep this box at the same height – just something to consider.
Now here’s an important tip:
I purposely ran the LIPROTEC cable into the top of the box.
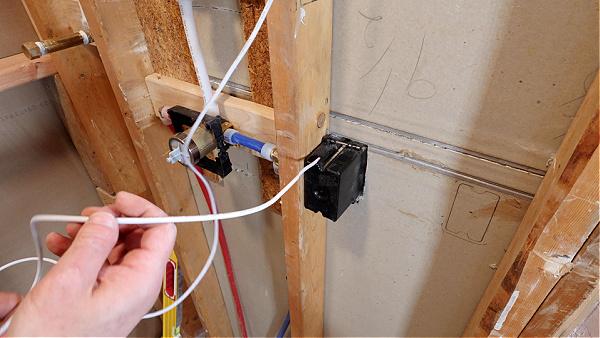
This is critical because I need to keep the low-voltage wire (LIPROTEC cable) from the high-voltage 14/2 wire supplying electricity.
I’ll explain this a bit more when it’s time to install the switch.
Also, per Schluter, this low-voltage wire can be cut to the desired length.
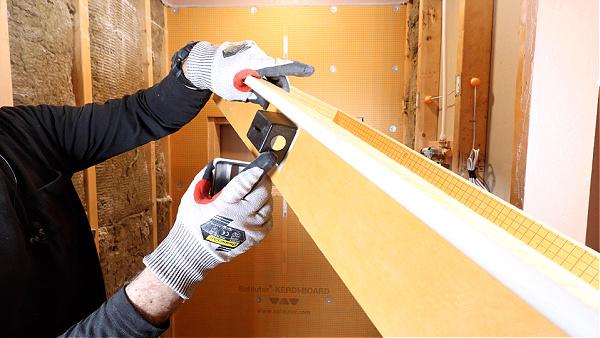
KERDI-BOARD Tips
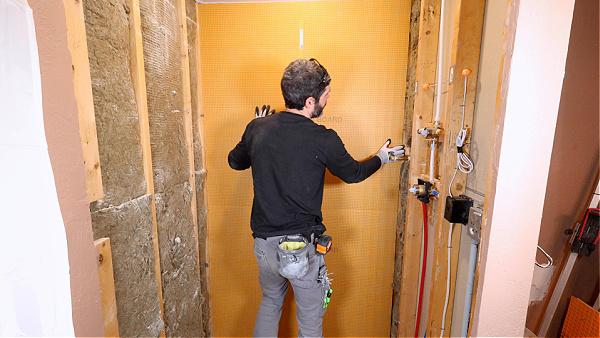
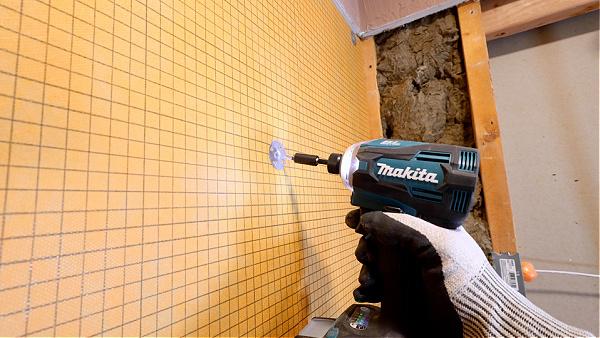
Once the electrical work is complete, I install the KERDI-BOARD.
I like using the 4-foot by 8-foot boards if possible because they reduce the number of seams that I have to waterproof.
Here’s a pro tip,
I add my first screw 1-inch from the subfloor so that it’s covered by the shower pan.
That way, those first set of screws are waterproofed via the banding between the board and pan.
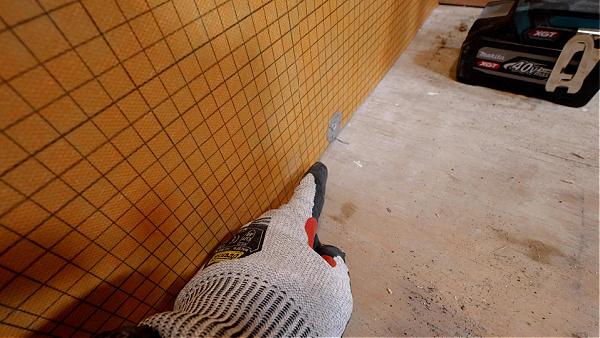
Also, when I fasten the screws and washers, I ensure that they are dimpled just a little bit.
This makes them easier to waterproof with KERDI-BAND and reduces the likelihood of the banding interfering with my tile shower walls.
Keep in mind that the boards should be as plumb as possible. I frequently wet-shim KERDI-BOARD to get it plumb.
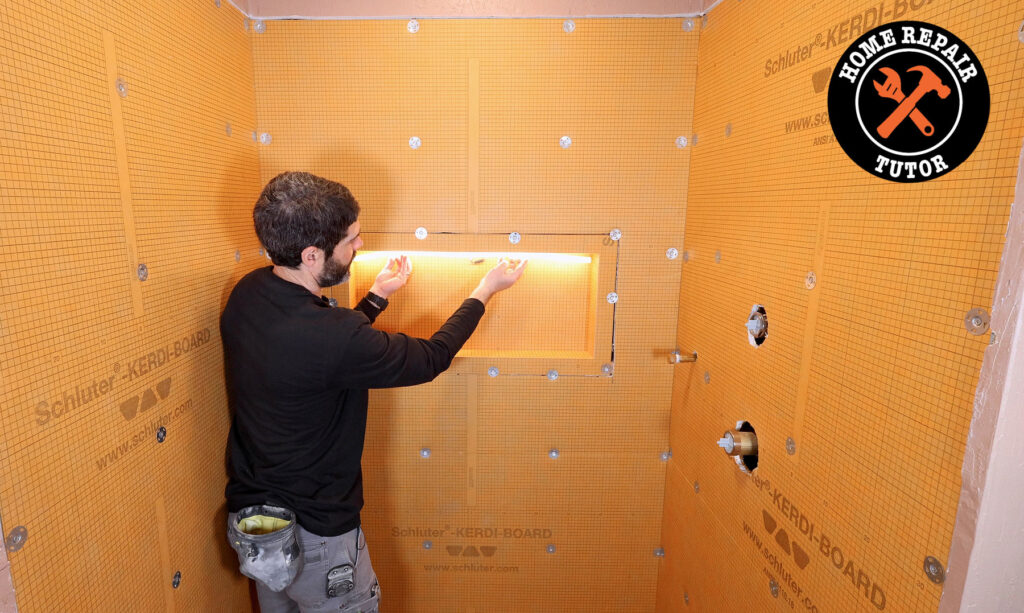
Schluter LED Shower Niche Installation
Before I install the KERDI-BOARD, I write down the shower niche framing dimensions.
Then I use a level and a Sharpie marker to outline the niche on the boards.
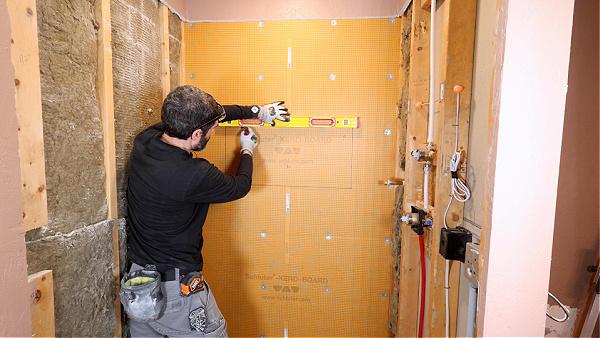
Don’t forget to account for the shower niche flange when doing this. For some reason, I forgot that myself.
I use either a utility knife or an oscillating multi-tool to cut out the KERDI-BOARD for the niche.
I add the metal box to the niche’s black plastic box, and snap the LIPROTEC cable into them both.
This makes a watertight seal between the cable and the Schluter LED shower niche.

I then slide the niche into the framed cavity and fasten it to the framing using a screw and washer every 8 to 10 inches (although technically you only need one every 12 inches).
Schluter LIPROTEC ECX Switch Installation
This switch is also the driver for the LED niche.
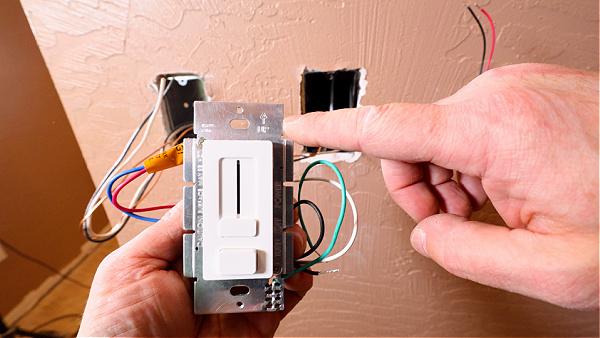
I could have used the Scluter LIPROTEC-ECD, which is just the driver. And then use any switch with it.
But I like the all-in-one option.
I wire the low-voltage wires first: black/blue together and red/red together.
Then I wire the 14/2 wires to the switch: black/black together, white/white together, and ground wires together.
This next step is important,
I added the black voltage barrier to the back of the switch.
This separates the low-voltage wires from the high-voltage wires. If you don’t have a deep electrical box, the voltage barrier can be shortened.
Once everything is wired together, I place the low-voltage wires above the barrier and the high-voltage wires below it.
Then I secure the switch to the box with the provided screws.
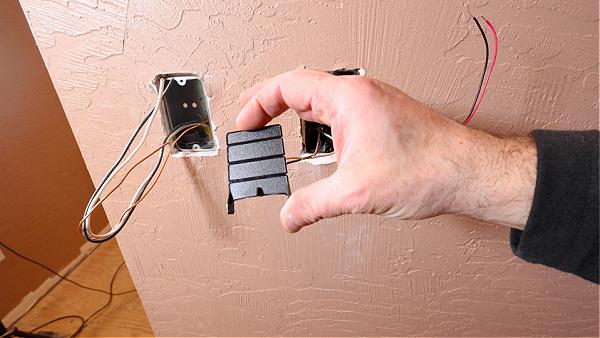
LED Shower Niche Waterproofing
Schluter now provides the KERDI-BAND Frame with all their niches.

This is fantastic because there are no seams.
Note, if you have to modify the height of the niche, the frame will have to be modified, too.
I apply thin-set mortar (Schluter ALL-SET) to the niche and board using a 5-inch joint compound knife.

Then I trowel that using a KERDI trowel.

And I embed the KERDI-BAND Frame over the mortar and compress it with the joint compound knife.
One big mistake folks make is not removing the excess mortar with a damp sponge.

This helps reduce buildup and makes tile work easier around the niche.
Here’s a full step-by-step video tutorial that has even more tips
Shower niche installation is just one part of a shower remodel.
If you want to unlock all my bathroom remodeling videos, courses, and personal coaching, join Home Repair Tutor today – it’s one of the best online resources for anyone renovating a bathroom. Tap the button below to learn more
Jeff