
Subfloor repair mistakes are easy to make.
The last thing I want is a squeaky floor or, worse yet, one that fails.
In this tutorial, you’ll see how to replace a section of subfloor near the toilet.
In addition, I’ll discuss the tools and materials that make this easy and fast.
Let’s dive in!
Subfloor Repair Guide
I’ve organized this tutorial into the following sections:
- Tools and Materials
- Toilet Closet Flange Removal
- How to Cut Out Old Subfloor
- How to Add Blocking Under Subfloor
- How to Use Great Stuff Construction Adhesive
- How to Fasten New Subfloor
- Hole for Toilet Flange
You can tap the above links, which’ll take you to the specific part.
Also, Great Stuff is a sponsor of Home Repair Tutor, and I partner with them to make educational tutorials.
Tools and Materials
The tools make this project much easier.
I highly recommend a circular saw with either a plywood or framing blade.

In addition, an oscillating multi-tool will help you complete the cuts.
Plus, having a 36-inch pry bar is necessary if the old subfloor was glued to the joists.
Also, I like using Great Stuff Construction Adhesive and 2-inch screws to sink the plywood into the joists.

Both of these items reduce the odds of squeaks and potential failures.
Toilet Closet Flange Removal
I had to remove a small section of water-damaged plywood during this bathroom renovation.
Unfortunately, it was close to the toilet closet flange.

Since the closet flange ring was rusted, we removed it by making a relief cut in the basement.
This can be done with an oscillating multi-tool or reciprocating saw.
I then removed the screws that held it to the floor.
Sometimes there are nails; for that, I’ll use a Wonder Bar or a small pry bar.

Side note, it’s best to reinstall the closet flange and have it mounted on top of the finished bathroom floor.
That way, the wax ring will compress properly against the bottom of the toilet bowl and prevent any water leaks.
If you need a toilet installation tutorial this one is great.
How to Cut Out Old Subfloor
One mistake folks make is not finding the I-Joists or floor joists for this repair.
An easy way to do that is to look at the screw or nail pattern on the subfloor.
Then I recommend cutting a piece of plywood to span half of the joist width on both sides if possible.
Another mistake is not tracing the new piece of plywood on the old subfloor.

This makes it easier to cut out the old plywood or OSB.
I use the circular saw to make the straight cuts.

Then I complete those cuts with the oscillating tool.
I recommend using a long pry bar braced against the joist and adjacent plywood.
This helps pry up the old piece of subflooring.

Doing the removal this way makes the new plywood installation straightforward.
How to Add Blocking Under Subfloor
In this bathroom, I got lucky: all the I-Joists were spaced 12 inches on-center.

That makes the framing strong and the plywood less prone to flex, which in turn can cause tile floors to crack.
However, I did need to do one thing: add a 2×4 across the back of the floor opening.
I used 2-inch GRK R4 Multi-Purpose Screws to fasten the 2×4 through the 3/4-inch plywood.

That way, at least 1-inch of the screw is inside the 2×4.
I also added a screw every 4 inches and allowed 1-1/2 inches of the 2×4 to be exposed.

This is critical so that the plywood will be supported on both sides and by the 12-inch on-center I-Joists.
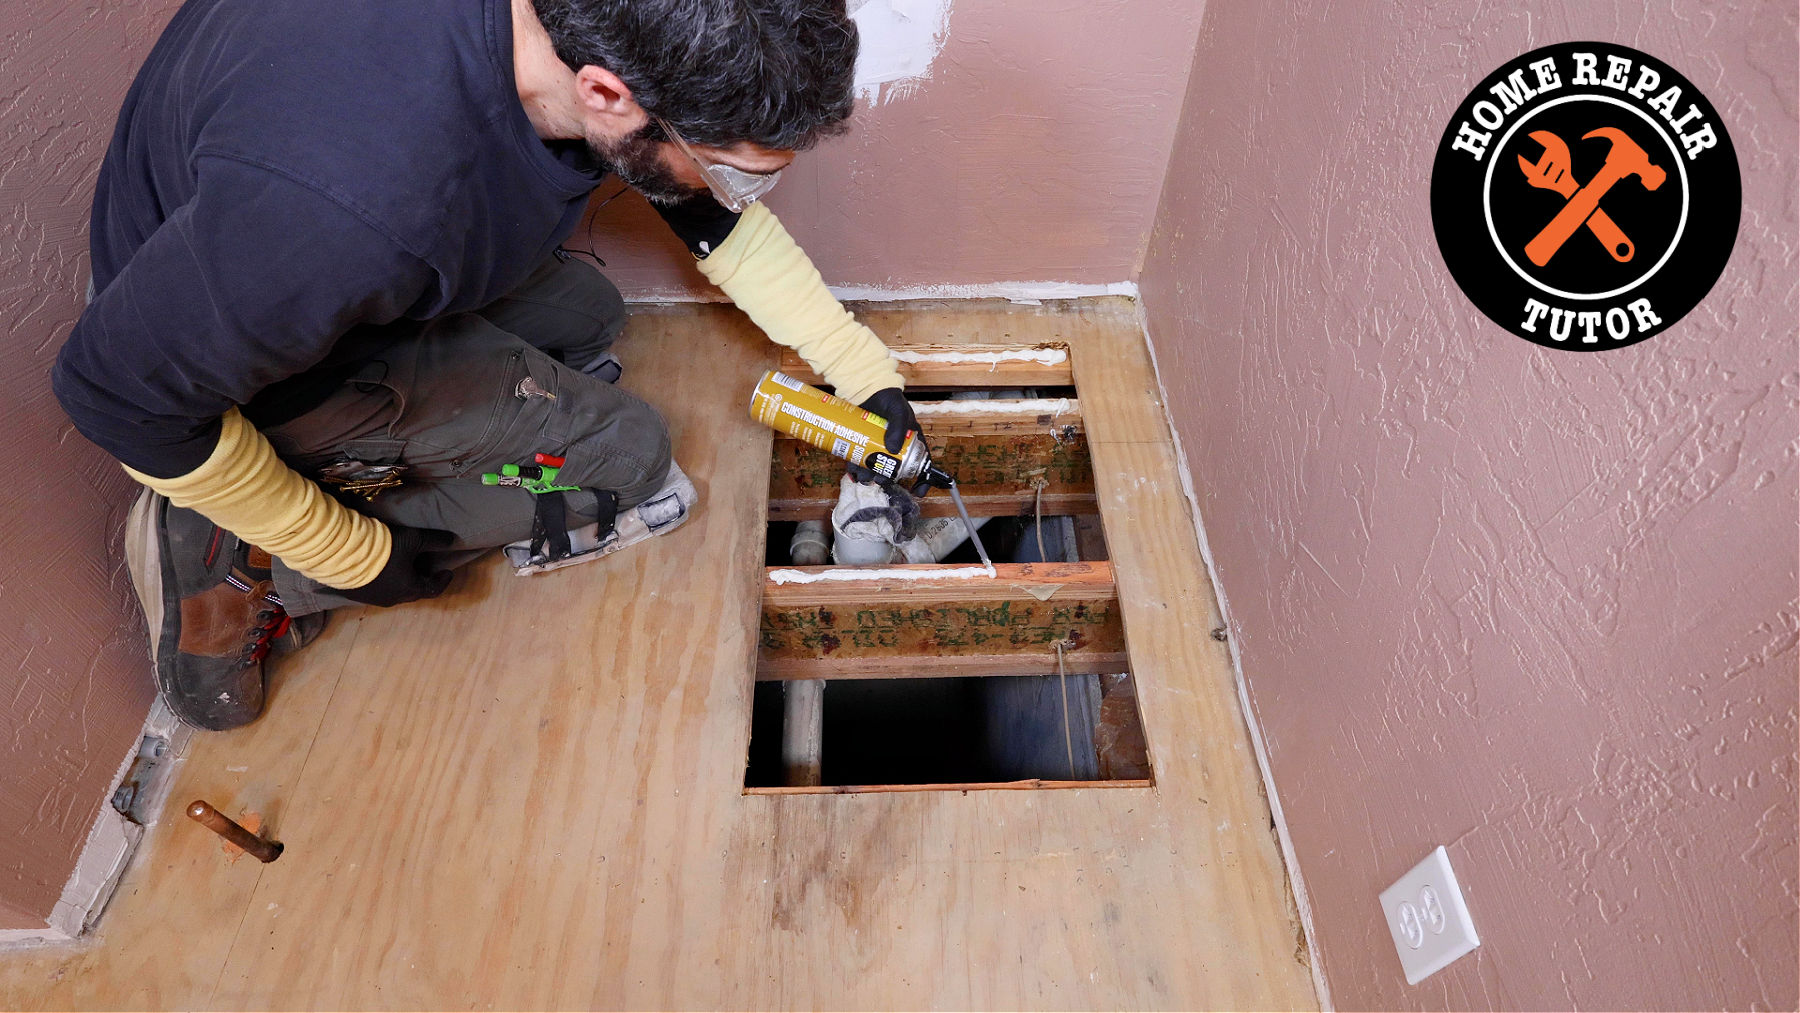
How to Use Great Stuff Construction Adhesive
Here’s an additional mistake to avoid,
Not using construction adhesive.
I prefer using Great Stuff Construction Adhesive.

And there are several reasons why.
First, it can be used for both inside and outside applications.
Second, the Smart Dispenser allows the can to be used for up to 30 days.
Finally, it reduces the odds of the plywood squeaking, and that’s especially important around the toilet area.
I apply a 1/2 inch to 3/4 inch bead of the adhesive to the I-Joists.

Then I slowly lower the plywood onto the adhesive and joists.
This maintains a good bond between the bottom of the plywood/adhesive/joist structure.
I also walk on the plywood to create a solid bond.
How to Fasten New Subfloor
The fastener schedule for plywood is important, whether it is for a subfloor repair or subfloor installation.
I abide by the APA (American Plywood Association) recommendations.
Along the walls they recommend a screw or nail every 6 inches. In the field, they recommend a screw or nail every 12 inches.
That said, I use a screw every 4 inches.

This makes the new subfloor repair strong.
Typically, I start in the four corners of the repair.
Then I add my screws along all the joists.
Hole for Toilet Flange
Here’s the deal: the next set of tips is for a 3-inch closet flange.
Always know the rough-in dimensions for the toilet before moving forward.
For instance, in this bathroom, the rough-in was 13 inches off the back wall and 18 inches off the side wall.

It’s critical to miss the joist with the hole saw or jigsaw.
And on that note, I like using a 5-inch hole saw.

This one is by Makita and works great.
I like it because it has a starter bit, and that allows me to center the hole saw on my marks.
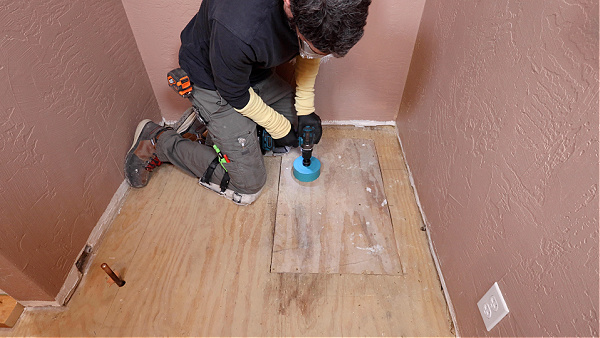
I hold onto the drill with both hands and steady the hole saw.
In the end, it’s a perfect fit for the closet flange.
Watch my full video to see all the subfloor repair tips in action
If you want to unlock all my bathroom remodeling videos and Personal Coaching, join our Platinum membership today – tap the button below to learn more
Jeff
