Learning how to fix shower walls is important.
Yet unfortunately a lot of folks ignore shower wall framing.
Remember this – tile work begins with plumb and even stud walls.
If the backer board is placed on top of uneven studs, the tile will also look uneven.
This is probably the most important step in any bathtub tile installation.
And even if you’re hiring a contractor you’ll want to understand how it should be properly done.
Let’s dive in.
Bathtubs Lips and Why They Matter
In the last tutorial, I shared how we installed an Americast bathtub.
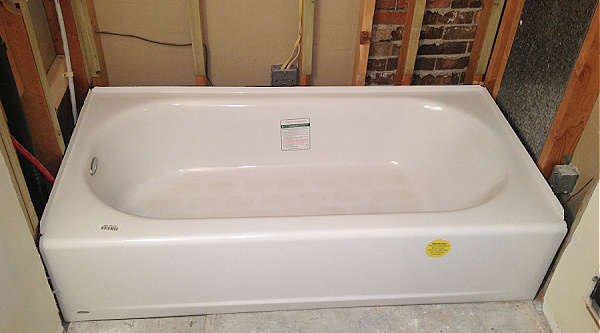
And this involved securing the tub to studs by using roofing nails.
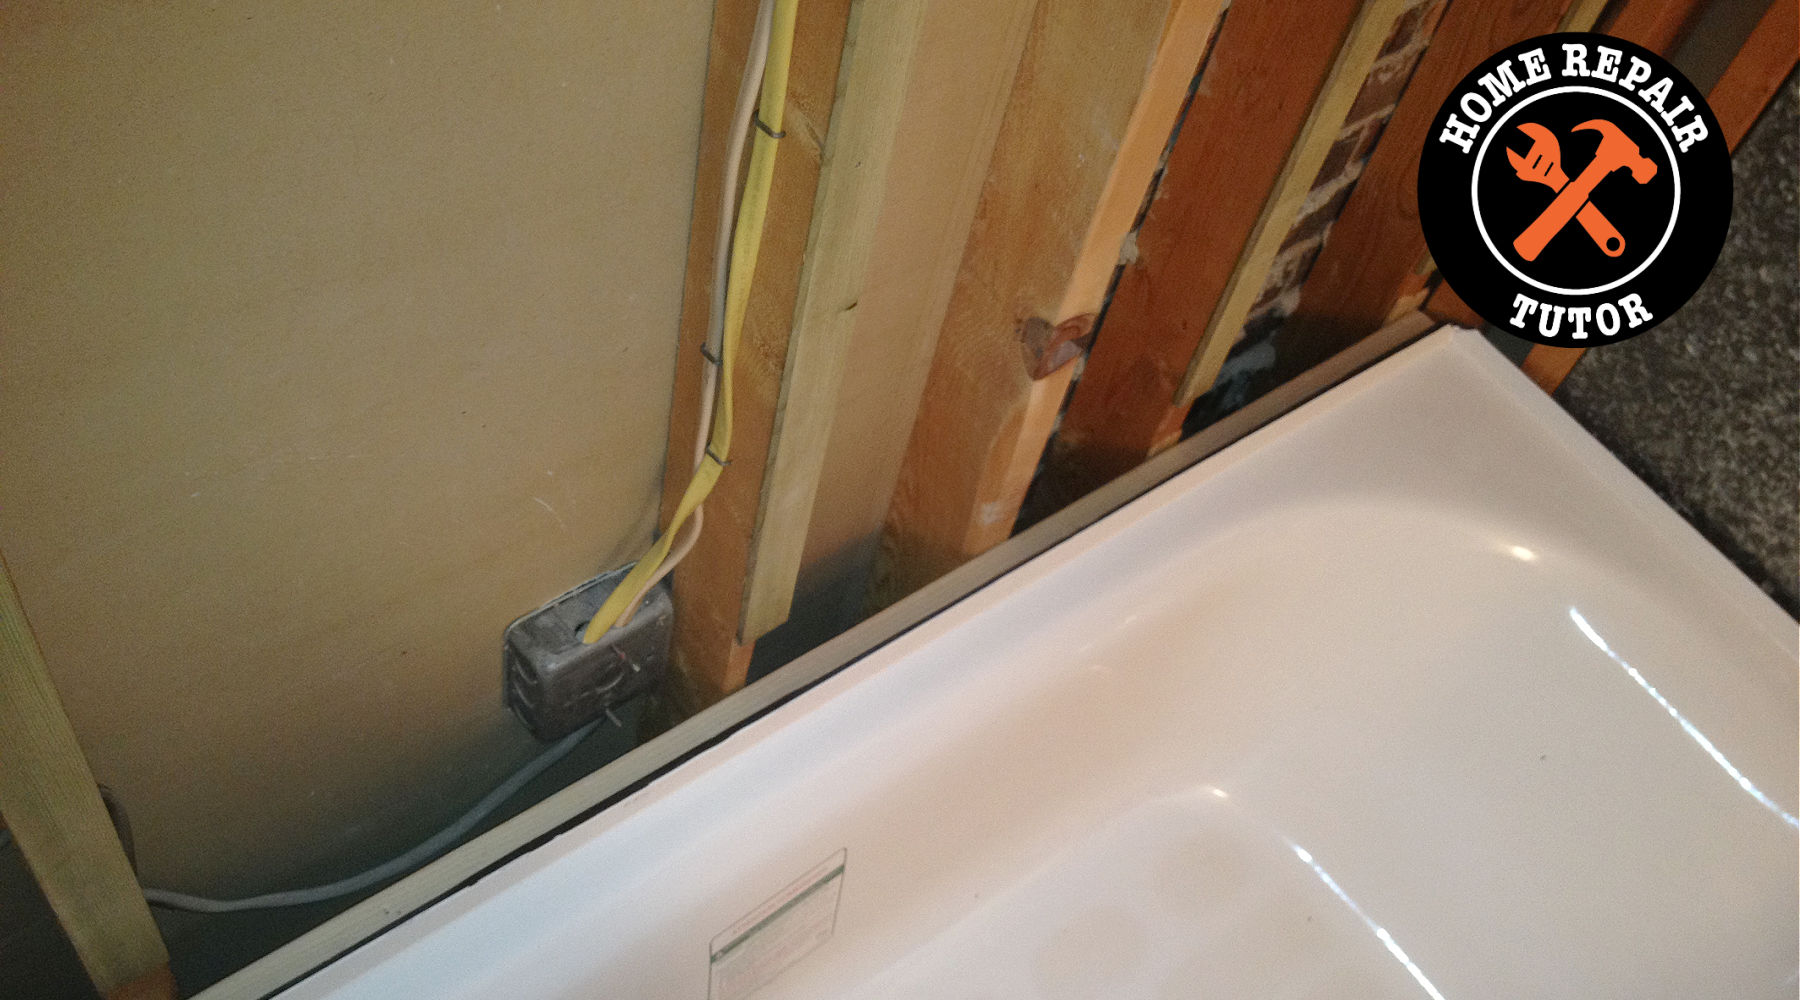
The tub lip sticks out from the stud by about 3/16 of an inch and the nail head increases this depth even more.
If you install cement board over the lip/nail head, it will flare out at an angle.
Then the tile on the bottom portion of the tub will be flared out as well, i.e. it won’t be plumb or straight up and down.
This will also cause your tiles to angle outward, which looks really bad – especially in the corners.
I don’t want you to deal with this kind of headache and that’s why I’m sharing these tips.
You could add the backer board above the bathtub flange. I’ve done that with KERDI-BOARD
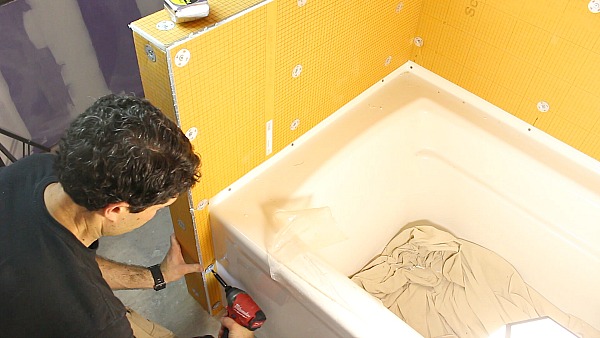
This is a definite possibility if your backer board is plumb and the tile can go down to the tub deck while remaining plumb.
The proper way to waterproof the tub flange is with KERDI-BAND or some other banding product.
I add thin-set to the backer board and apply KERDI-FIX to the flange.
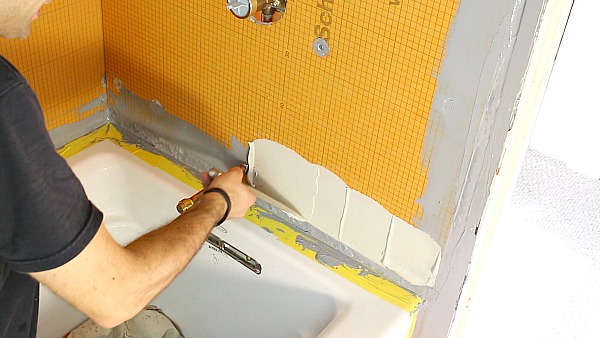
And then I immediately embed one piece of banding.
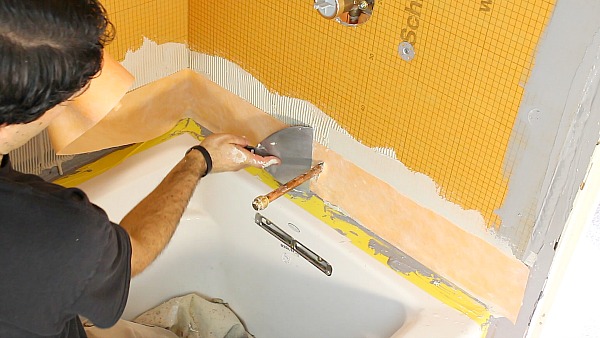
I definitely recommend adding painter’s tape or Frog Tape to the tub deck. That way, the KERDI-FIX won’t get on it.
Also, you can use denatured alcohol to clean KERDI-FIX off tools. But this has to be done within 10 minutes of exposure.
If you’re interested in using KERDI-BOARD for a tub project here’s a great tutorial.
But if you need to fix your studs, I have some great fixes for that.
How to Fix Recessed Shower Stud Walls
There are two common problems with shower stud walls:
- Recessed studs – bowing inward
- Proud studs – bowing outward
Fortunately, the solutions are fairly simple.
First, in our situation, the studs were all even.
But they were all recessed in relation to the tub lip.
So we added furring strips.
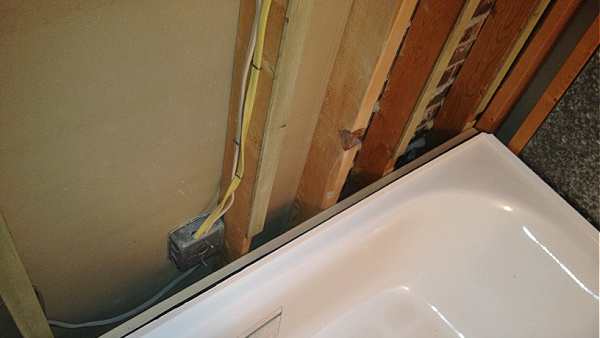
Rob and I added lath to all the studs in the tub recess.
The lath is about 1/4 of an inch in depth and comes in 8-foot sections.
The cost for a bundle of 8 is roughly $2.99 – it’s cheaper than a box of Cheerios!
You can attach the lath to the studs using small 1-inch galvanized screws.
Lath can also be cut to size from plywood. This is a great solution if your tub doesn’t reach a knee wall or plumbing wall that has an outside corner.
Here’s a short video that shows some additional tips
What can you do if only one stud is bowed inward?
That’s actually super easy to fix – sister a new stud to it or wet shim (if your backer board can be wet shimmed).
By sister, I just mean screw or nail a new stud to the old one. And ensure the new stud is even with the rest of the studs.
Wet shimming is awesome because it involves applying thin-set mortar to the stud. This bumps out the stud and the backer board will rest on the mortar.
Here’s a quick tutorial that shows wet shimming in action
How to Fixed Bowed Stud Walls
The second problem is proud studs – this is when studs bow outward.
One easy fix for this is to remove the stud and replace it with a new one.
I use either a reciprocating saw with a 6-inch Milwaukee AX blade or an oscillating multi-tool to cut the nails holding the stud in place.
Normally there are two nails at the top and bottom of the stud.
That said, another option is to plane the bowed-out stud.
An electric planer is great for this. Here’s a short tutorial showing how it’s done
Here’s the bottom line,
Your stud walls have to be even, plumb, and 16 inches on-center for most 1/2-inch backer boards.
I highly recommend placing a level on every stud to see if they’re plumb.
Then place the same level across the studs and see if they’re in the same place from bottom to top.
This will allow your backer board and new tile to be set properly
What’s Next
The next step in this great bathroom adventure has to do with picking the correct backer board for your tiles.
I’ll share this info in my next post along with what type of material to choose for the surrounding walls in your bathroom.
If you’re doing a bathroom remodel and need help, join our Platinum Membership. I promise the step-by-step tutorials and Personal Coaching will make your life a lot easier.
Tap the button below to learn more
Cheers,
Jeff


