Concrete expansion joints are important for your sidewalk or driveway.
Keeping your joints watertight will prevent moisture from seeping under concrete pads and causing them to heave or sink. This post shares how to accomplish this task.
The purpose of a concrete expansion joint is to allow the pads to expand and contract (get bigger and smaller) with temperature & humidity changes.
If you’ve got kids think of the expansion joint as yourself and the concrete pads as your children – queue memory of standing between two kids as they try to tear each other apart. Well, this is how I feel sometimes with my daughters (is it bad if I view myself as an expansion joint that buffers arguments about clothes, food, and hair?).
Good news!!
Protecting and repairing a concrete expansion joint is super easy. And it’s far cheaper to do this weekend project than it is to hire a contractor to replace a severely damaged concrete driveway or sidewalk.
Here are the supplies you’ll need
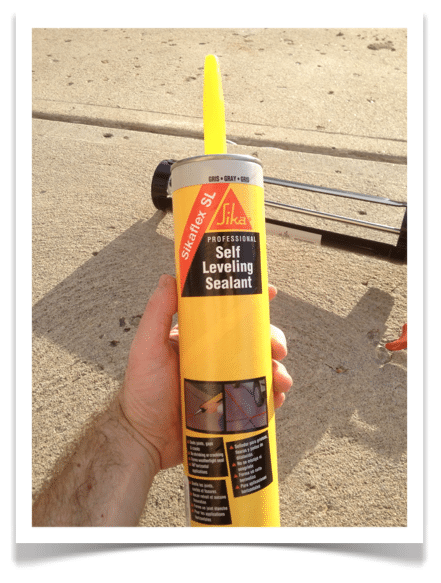
- Sikaflex self-leveling sealant
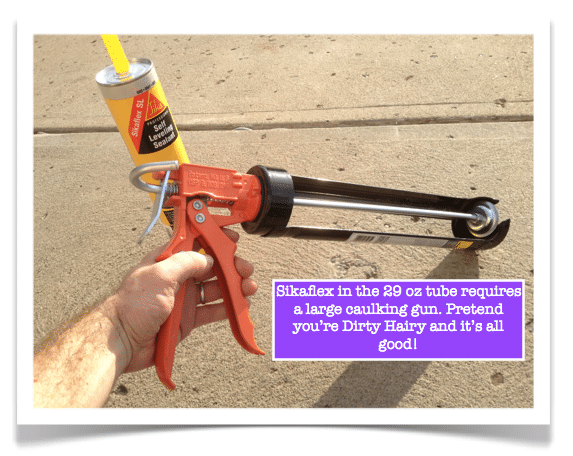
- Caulking gun for 29-ounce tubes
- Utility knife
- Rags (you’ll need several)
- Safety glasses
- Nitrile gloves
- DeWALT 4 1/2 Inch Angle Grinder
- DeWALT Tile Blade for Angle Grinder (this works way better than the blade I used here)
- Acetone
- These Amazon affiliate links help support HRT…thank you for using them
This supply list may sound intimidating because of the angle grinder.
But what better time to begin using one of these awesome tools, and they can be very affordable.
So let’s get started and seal your concrete expansion joint so it’s protected from the effects of weather!
Removing Old Material from a Concrete Expansion Joint
Concrete expansion joints are also known as isolation joints.
Like I said in the intro these joints allow concrete pads to expand and contract during freeze-thaw cycles.
Without a concrete expansion joint, your sidewalk or driveway would crack.
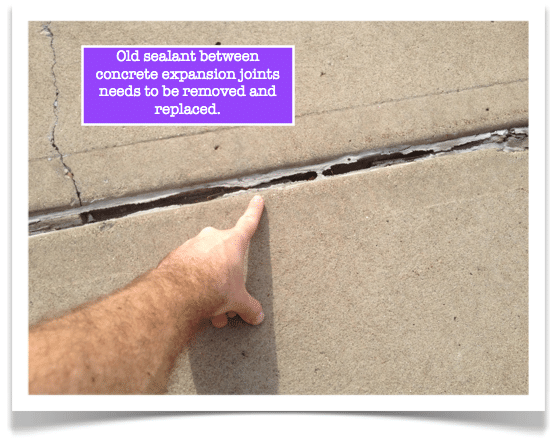
If you look at the expansion joints between your concrete you might see black felt or old sealant.
Old sealant and worn-out felt need to be removed.
When I called Sika, the company that makes the self-leveling sealant for this kind of project, they told me to use a utility knife to remove old material and clean off any remaining residue with acetone. If you do this step, make sure the Acetone flash dries (Sika said to wait about 1 hour).
You could give this utility knife technique a try. But I found that the people who owned our house applied a layer of new sealant over an old layer. And I had a true hot mess because both sealants were pulling away from the concrete.
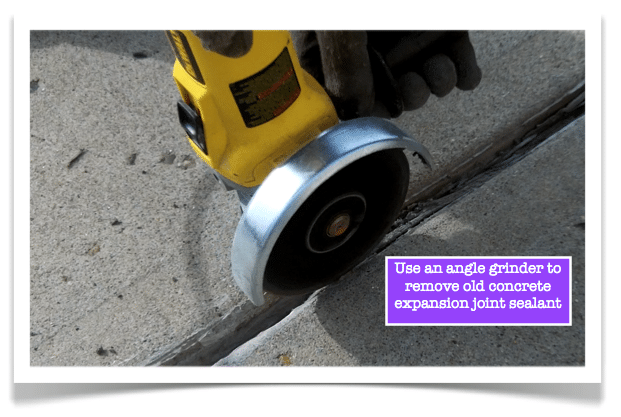
If you’re in the same predicament, using an angle grinder with a standard cutting wheel or diamond blade is the way to go.
Sure, neighbors might think you’re a bit crazy. But they also will think twice about sending their kids over for fundraisers (which could be a good thing).
Yes, the angle grinder is an extra purchase but you can get one cheaper than a pair of running shoes.
In my example, I had to cut through two layers of old sealant. The angle grinder cutting wheel had to penetrate about 1/2 to 1 inch down through the sealant layers. You should also remove any old foam backer rod that is beneath the sealant (I’ll explain what this is in the next section).
The concrete joint doesn’t have to be perfectly clean for the new sealant. And old sealant that’s left behind after you use the angle grinder will be pretty well adhered to the concrete and won’t interfere with the new sealant’s bonding capacity.
Loose sealant on the edge of the expansion joint can be scraped off with your utility knife.
This step is perhaps the most important one. It’s definitely the most time-consuming.
Make sure you wear safety glasses and protective gloves since the cutting wheel sparks a bit when it occasionally touches the concrete.
Here’s a short video to give you an idea of what needs to be done to remove old sealant from a concrete expansion joint.
Prepping Your Concrete Expansion Joint for Sealant
If you’re as nerdy as me when it comes to remodeling you may have wondered what the heck that rubber stuff is between concrete pads or walkways.
It’s okay if you’ve never had this thought, this means you’re normal and the rest of us DIYers are at risk of tripping over ourselves while pondering such questions.
The stuff that looks like rubber is a self-leveling sealant. The brand you can find at the local store here in the states is called Sikaflex Self-Leveling Sealant.
Sikaflex can be used to seal horizontal expansion joints. It’s a great product because it remains permanently flexible, dries quickly, sticks to anything, is self-leveling, and highly resistant to weather conditions.
You should apply Sikaflex when the temperature is between 40F-100F. The ideal temperature is in the middle of this range because the joint will be less likely to be fully contracted or expanded.
Sikaflex will be tack-free in 1 to 2 hours and fully cured in 3 to 5 days.
I didn’t drive on it for 5 days. Who wants tires tracks of sealant on their driveway (not me and I certainly don’t want to explain this to my wife). Also, make sure rain isn’t in the forecast for 24 hours.
After removing all the old sealant use a vacuum or wet/dry vac to suck up any debris from your concrete joints.
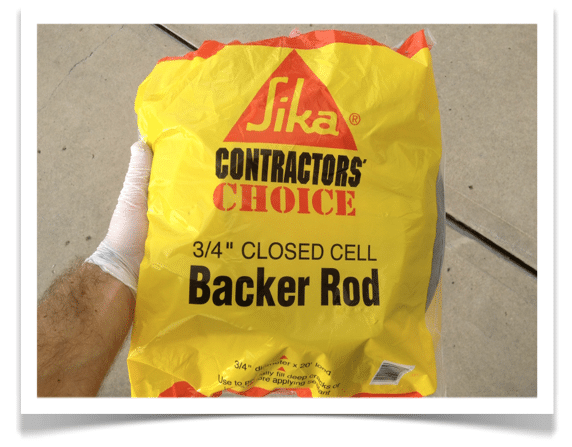
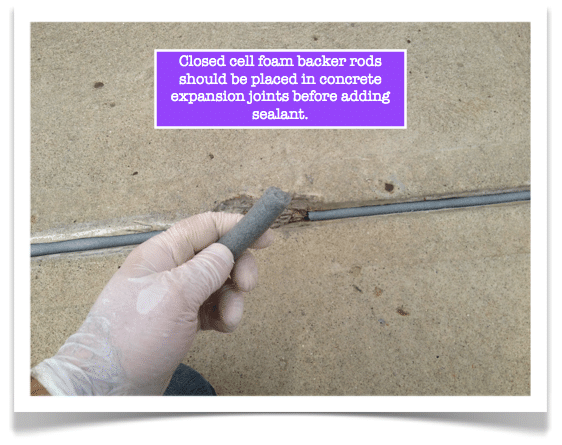
Then use a closed-cell foam backer rod in between the joints.
Foam backer rods act to fill in space between concrete joints so you don’t need to use a ton of self-leveling sealant.
Here’s a BIG TIP: the diameter of the backer rod should be 1/8 inch larger than the width of your concrete expansion joint.
This will ensure a water-tight seal.
Push the backer rod down into the joint with your hand. The depth of the joint should be a minimum of 1/4 inch and a maximum of 1/2 inch below the concrete pads. This means the backer rod should be this far below the concrete pad surface.
If your joint is wider than the backer rod you can twist two strands together like a rope.
Here’s a Second BIG TIP: double-check the backer rod sits beneath the surface of the concrete pad.
Otherwise, you’ll have a little hump that develops when you apply the sealant. And yes, I’m speaking from experience 🙁
By the way, the backer rod can be found in the same section as the concrete supplies at the hardware store.
Keep Your Concrete Expansion Joint Watertight and Crack Resistant with Sikaflex Sealant
Gather all your old socks and a few worn-out T-shirts.
You’ll need them as rags (don’t whine about using your old Pink Floyd concert shirt, nobody thinks you’re cool if you wear it to the mall in 2000 whatever. Hey, I love Pink Floyd but seriously, if you’re reading this you’re probably old enough to know they aren’t touring anytime soon).
Sikaflex self-leveling sealant comes in two size tubes. The large tube is 29 fluid ounces and the small tube is 10 fluid ounces.
If you have a huge concrete expansion joint to fill I highly recommend the 29 fl oz tube. You’ll have to buy a large caulking gun but this will save you a ton of time.
Here’s a Third BIG TIP:
Think about how many tubes you need then BUY twice as many.
Again, talking from experience here. It’s so much easier to buy a ton of sealant then return what you don’t use.
With the backer rod in place, you can cut the Sikaflex tube so that it will make a 1/4 inch bead. You might be tempted to cut the tube bigger but don’t.
Once the sealant starts flowing it can be hard to stop and a bigger bead means you’ll have to work faster. Not to mention, but I will anyway, the huge potential mess you might have. Visualize sealant on your pants, hands, shoes, hair…..
Pierce the seal inside the tube with an old wire hanger, the kind you get from the dry cleaners.
Place the tube in your caulking gun and pretend you’re Dirty Harry. Just kidding. This step is unnecessary and only meant to make you feel cool (which you are of course).
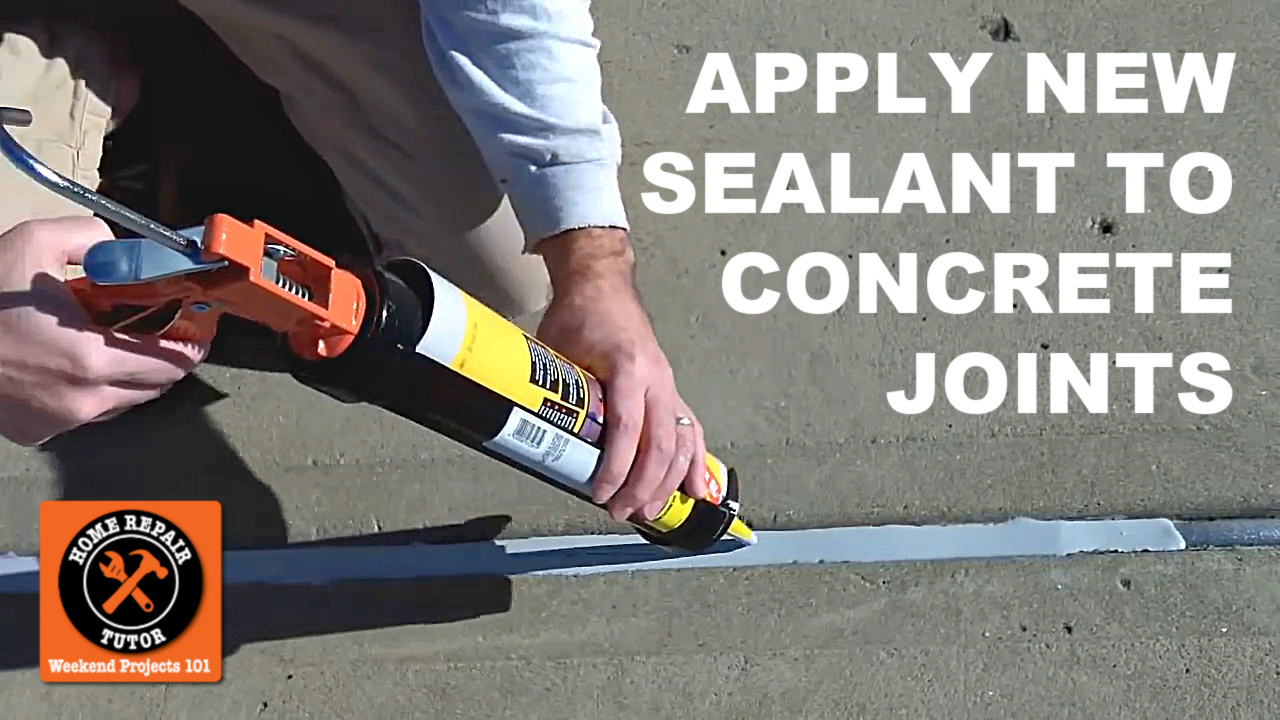
Squeeze the Sikaflex sealant into the concrete expansion joint and allow it to flow & self-level itself. Add more Sikaflex where it’s needed.
Voila!!!
Your concrete expansion joint is now watertight and way more unlikely to crack.
In case you’re more into watching than reading here’s a video showing you what to expect when using Sikaflex
What’s Next
Our tutorial on stone patio care is also super helpful – you’ll save a ton of time cleaning with our tips!
If you’re doing a bathroom remodel and need help, join one of our online courses – they’ll make your bathroom renovation much easier!
Let me know if you have any questions and I’ll do my best to help.
Thanks as always for reading, watching, and being part of our awesome community.
Cheers,
Jeff


