
Tiling a shower vertically can add a unique and stylish touch to your bathroom.
However, it requires a bit more attention to detail than horizontal tiling.
Our step-by-step guide will help you achieve a flawless vertical tile installation.
Materials Needed
Here’s a short list of the materials you’ll need:
- Tile of your choice (consider 12×24 for speed and easiness)
- Thin-set mortar
- Notched trowel
- Tile spacers or Tile Leveling System
- Laser Level (I like Huepar and Bosch)
- Wet saw or manual cutter (DeWALT or Montolit respectively)
- Grout (Spectralock 1 is the best IMO)
- Grout float
- Sponge
- Bucket
- Knee pads (ProKnee is the GOAT)
Let me explain a few of these materials because they can make or break your project.
When choosing tiles try to AVOID clay-based ceramic.
These are easy to spot because they look red on the sides and back.
These are bad because any chip will be noticeable.
Instead, use solid-color porcelain. These tiles are stronger and more durable.
Furthermore, although not necessary I highly recommend a tile leveling system when installing 12x24s.
Here’s why,
Every tile has some bowing. And if you choose a half-pattern offset (think subway tile pattern), you’ll likely have tile lippage without a tile leveling system.
This means the tiles will not sit flat at the grout joints – a common shower tile mistake.
In addition, tile leveling systems like T-Lock provide consistent grout joints.

Speaking of grout joints, the smallest size recommended by the TCNA is 1/16-inch.
Thus, I choose the 1/16-inch T-Lock Clips most of the time.
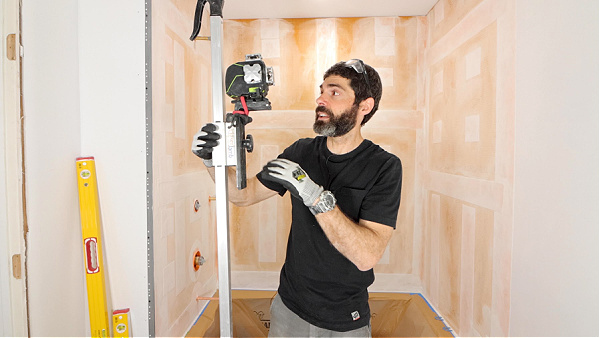
I also use a laser level when setting vertical tiles.
This helps me keep all the grout joints aligned and the tile straight.
Yes, laser levels are an additional expense. But even the cheapest laser is better than no laser.
I use the Huepar SO4CG laser with a laser jamb pole.
Finally, many DIYers make two critical mistakes when setting shower wall tiles.
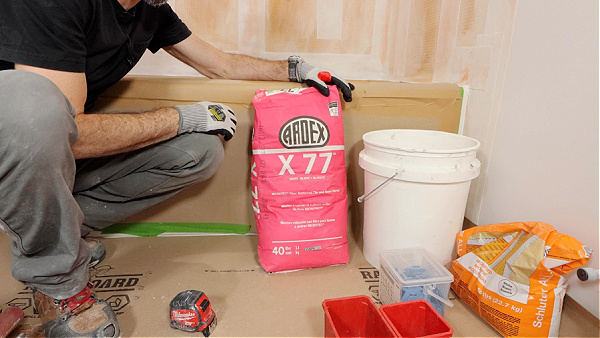
First, they use the wrong thin-set mortar.
I like Ardex X77 because it’s fast to mix, has excellent bond strength, and will last 2 to 3 hours in the bucket.
It’s not the cheapest, but there’s a reason – it’s one of the best mortars.
The second mistake DIYers make is choosing the wrong trowel size.
Shower wall tiles need 95% thin-set coverage per the TCNA; the same requirement is required for shower floor tiles.
As such, I always test the trowel to see if it provides the best mortar coverage.
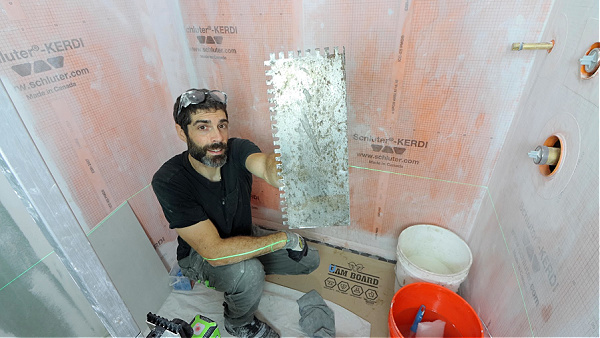
Normally the 1/4-inch by 3/8-inch square or u-notched trowel or 1/2-inch by 1/2-inch square or u-notched trowels work well.
Don’t worry, I’ll discuss more tips below.
That said, all this doesn’t matter if you don’t prep the walls properly.
Preparation is Key
Few homeowners realize that vertical shower tile begins with the stud walls.
Stud walls need to pass three tests:
- Studs need to be 16 inches on-center or less
- Studs need to be plumb – within 1/16 to 1/8 inch
- Studs need to be even and square in the corners
If your studs fail one of these three tests, you have to fix the problem.
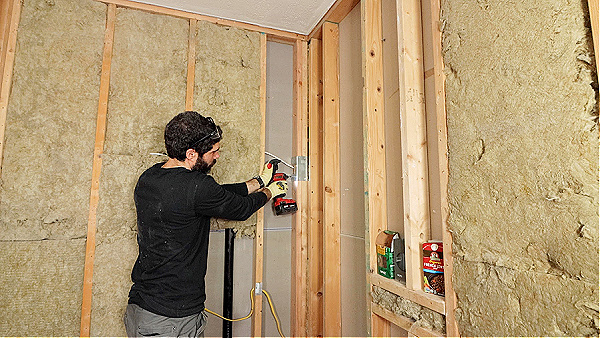
If your studs are more than 16 inches on-center, you can sister a new stud to an old stud.
This means adding a new stud to the old stud using screws or nails.
Out-of-plumb studs can be wet-shimmed or shaved down using an electric planer.
And if the studs aren’t square in the corner, well, your luck has run out.
Especially if you’re using small subway tiles.
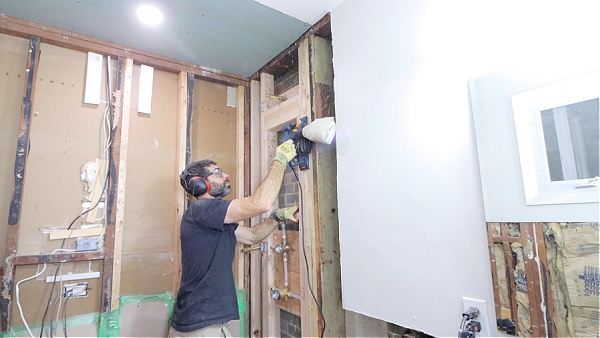
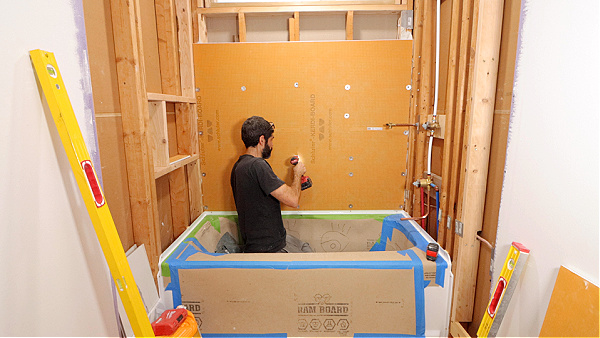
However, that’s one reason I use KERDI-BOARD. It can be wet shimmed and the corners can easily be made square.
On top of this, I recommend framing the shower niche location based on your tile layout.
This means you should draw the tile layout before adding your shower wall backer boards.
Frankly, I sit down in the shower (on my lunch box), grab a pencil and use a ruler on graph paper to draw the layout.
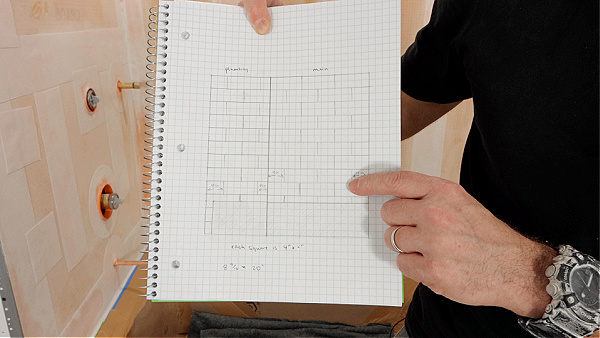
If you’re wondering, this takes 3 to 4 hours.
Ya, some people think this is crazy. But when I’m doing a client project, I take it seriously. They’re paying me good money to not make mistakes.
What are those tile mistakes?
Any slivers of tile at the ceiling, shower niche perimeter, curb, or shower entrance are mistakes.
Slivers would be 1/2-inch slices of tile that look unsightly. Meaning, it looks like the installer didn’t sit down for a few hours to figure out their game plan.
And as a result, their work looks downright crappy, if you pay close attention.
Honestly, this is just a fraction of the prep I do, but you get the gist.
Don’t wing it and think you’re going to get a tile shower that looks awesome. That simply is NOT going to happen.
Installing the First Column of Tile
Obviously, I’m skipping over the waterproofing.
If you need help with that, I have a nice tutorial on KERDI-BOARD installation.
And frankly, the tips apply to other substrates as well, e.g. cement board, Wedi, etc.
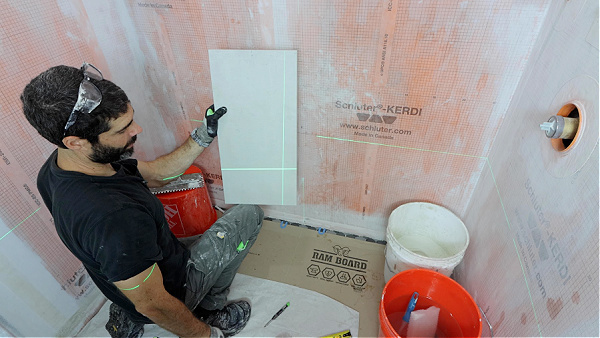
At this point, installing the first row of tile is relatively simple IF you drew your tile layout.
That essentially serves as your game plan. I literally look at my drawing and know what size the first tile has to be.
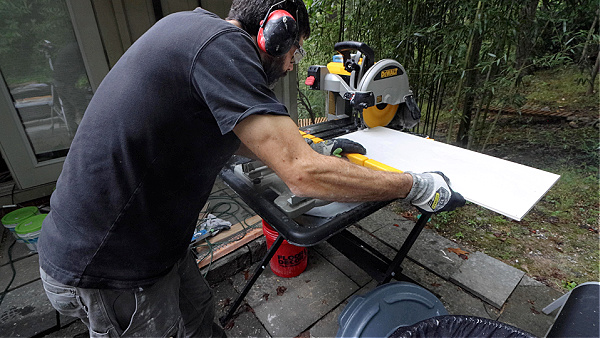
Normally I cut my tiles on the Masterpiuma manual cutter or wet saw.
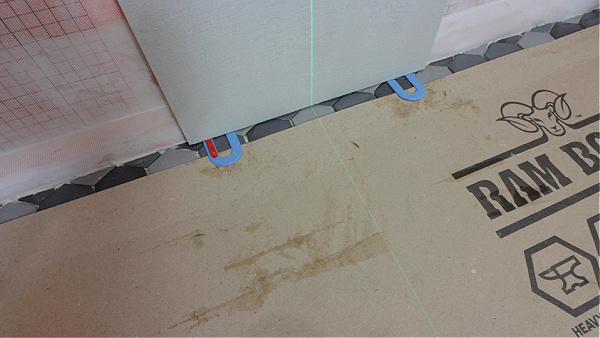
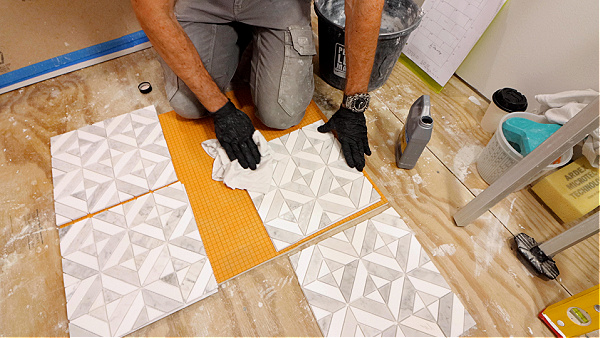
To maintain even spacing, the cut side of the tile is supported by 1/16-inch spacers placed directly on the shower floor tile.
Yes, I install the shower floor tile first.
Then I add the vertical shower tile. The reason is simple: the vertical tiles cover the expansion joints between the floor tile and shower walls.
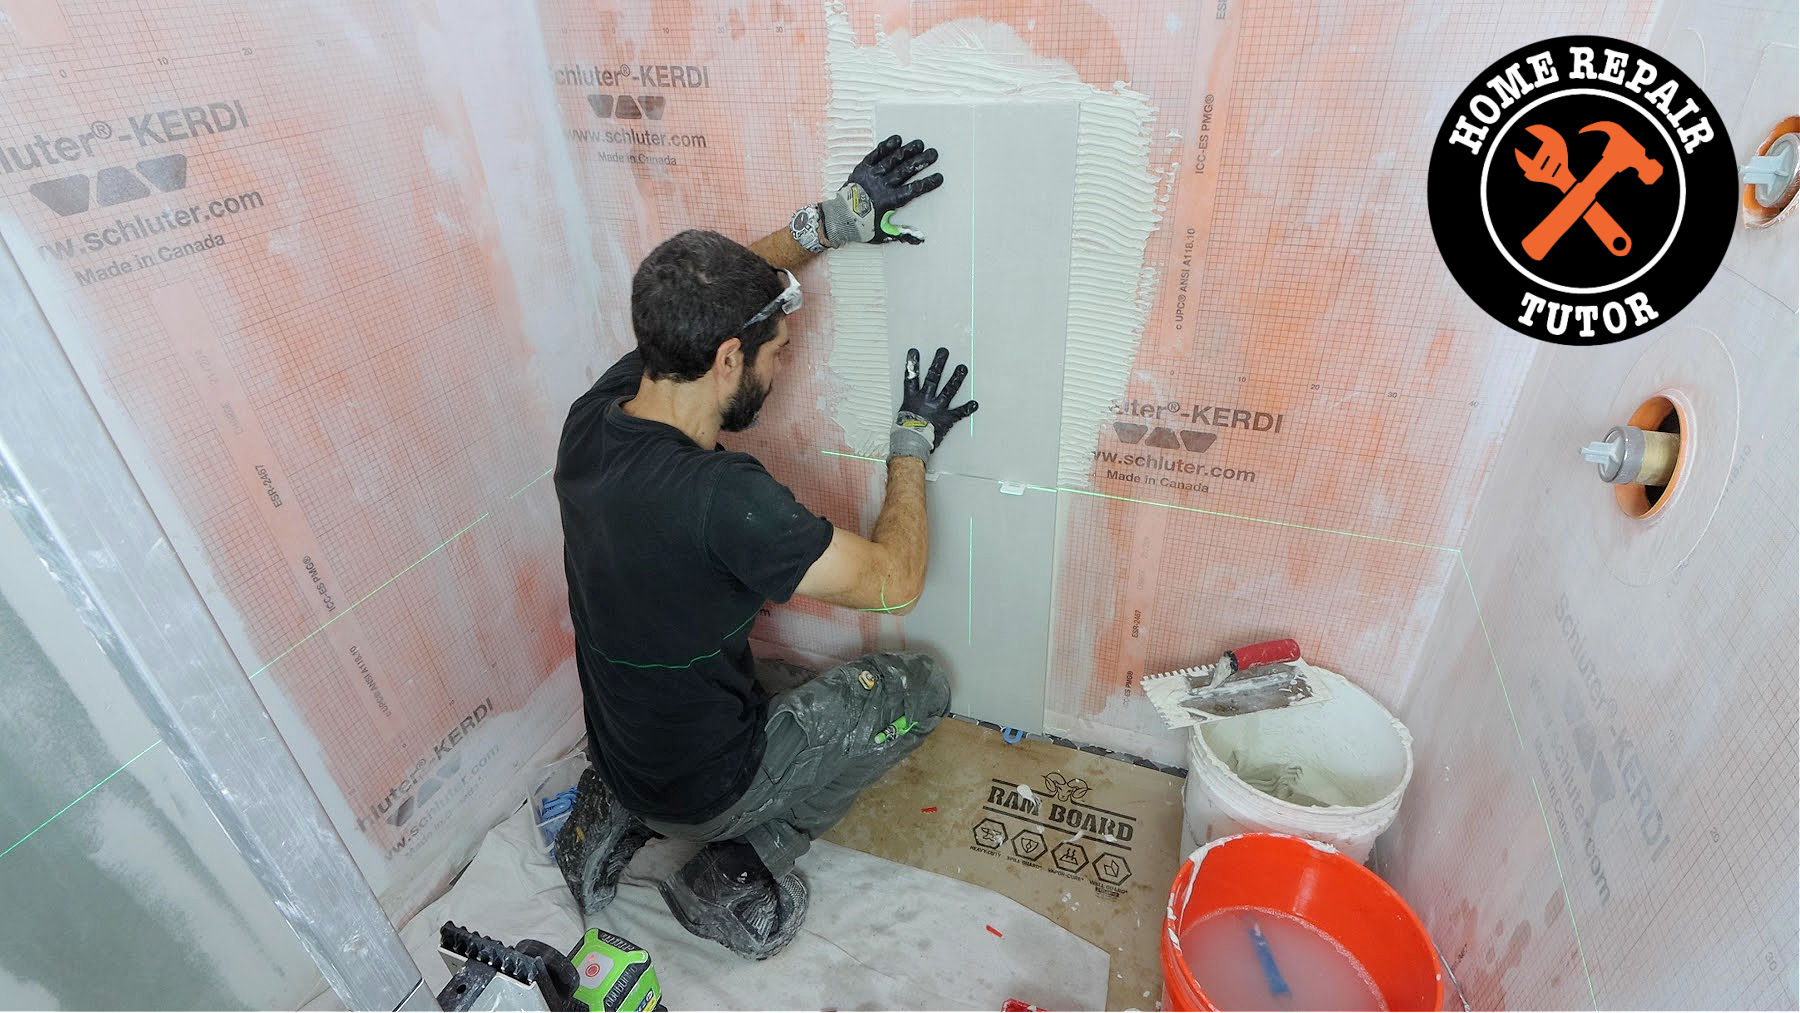
Here’s a short step-by-step description of how I set the first tile:
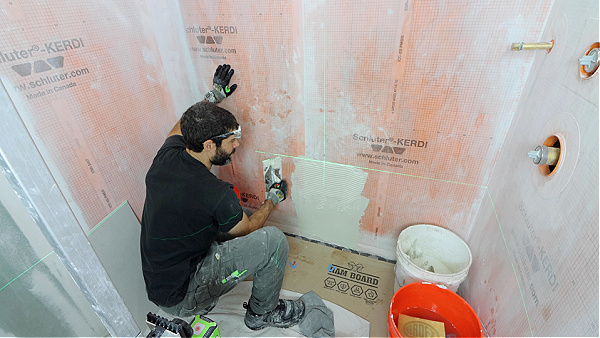
- Apply thin-set mortar to shower wall
- Ensure mortar notches are parallel with short side of tile
- Remove 1/2-inch of mortar from between tile floor and wall
- Set 1/16-inch shims on tile shower floor for expansion joint
- Place vertical shower tile on wall
- Move tile perpendicular to mortar notches
- Tamp tile with rubber mallet and remove any mortar on tile perimeter
- Cast laser on top edge of tile and check that it’s level
- Adust the levelness of the tile with wedge spacers
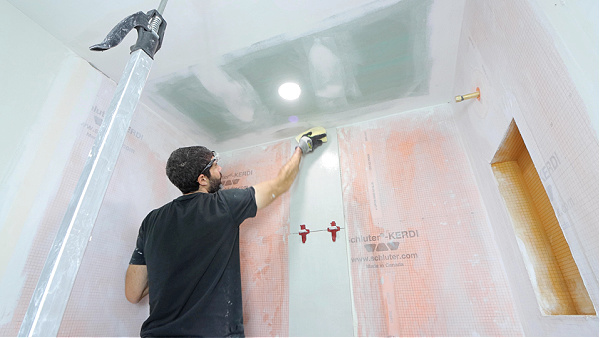
When I apply thin-set mortar to the shower wall, I hold the trowel at a 45-degree angle.
This maximizes the notch and improves the bond.
Again, I’m shooting for 95% mortar coverage between the tile and backer board.
Mortar notches that are parallel with the short side of the tile allow air to escape via the shortest distance.
Thus, the mortar will collapse and fully compress against the tile and shower wall.
Removing 1/2-inch of mortar from between the tile floor and wall stops mortar from oozing into the tile shower floor grout joints.
It also reduces the headache of cleaning thin-set off the tile floor.
Placing 1/16-inch shims on the tile floor provides the necessary expansion joint.
The TCNA mandates this at any change of plane, e.g. the shower floor and shower wall.
Later on, I’ll fill this expansion joint with 100% silicone (Latasil is my favorite option because it tools like butter).
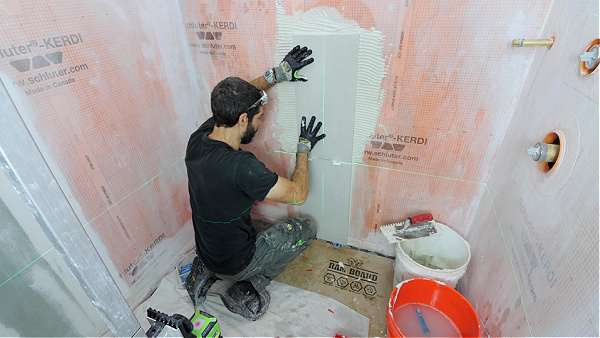
At this point, I add the tile on the wall.
You might be asking (if you’ve done some homework) whether it’s necessary to add mortar to the back of the tile.
Sometimes I do and sometimes I don’t. This warrants a deeper conversation than you’d think.
For instance, if there’s buildup in the corners from waterproofing I might back-notch trowel the tile to jump over that hurdle.
Yep, this takes some forethought and experience.

Also, don’t think your shower system is exempt from buildup.
If you’re installing the system correctly I bet it has some extra thin-set or joint sealant in the corners.
And for god sake, don’t listen to know-it-alls on social media who say that Schluter is bad because of this. Every system has buildup.
Moving the tile perpendicular to the mortar notches helps collapse them.
Yet, I always tamp large format tiles (any tile over 15 inches) to promote good mortar coverage.
My final step is to use the laser and wedge spacers to make the tile’s top edge level.
After all, this first tile is the foundation of the entire shower.
Installing Subsequent Rows
I do the exact same procedure for each additional tile.
With one exception,
I add the tile leveling system to the top of the first tile and make it 2-inches from the tile edge.
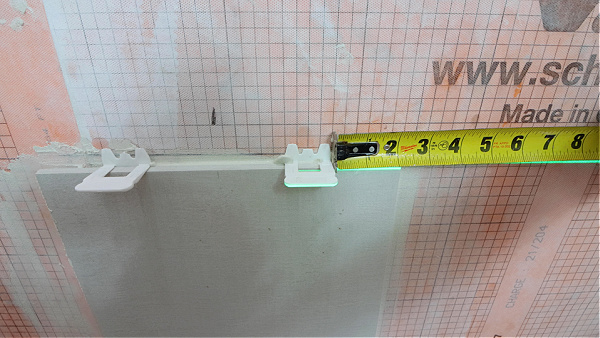
Normally I’m using T-Lock from Perfect Level Master.
This system consists of a Clip and Wedge.
The Clip has the tile spacer integrated into it. I use 1/16-inch Clips most of the time.
However, if the tile edge has a slight bevel (and you should inspect it) I’ll opt for a 1/32-inch Clip.
Now, wait a minute!
Didn’t I say that the TCNA recommends the smallest grout joint be 1/16-inch?
Yep, I sure did. But here’s the deal,
If your tile edge is beveled, it’ll make that 1/16″ grout joint closer to 1/8-inch.
And if you’re not paying attention, it could be even bigger (it all depends on that beveled edge).
As such, sometimes I use 1/32-inch Clips to get a 1/16-inch grout joint.
So keep that in mind when you’re choosing your tile leveling system.
I like the Clips because I set the tile on them and this helps avoid chipped edges.
In addition, I can bend the Clips and swipe the grout joint with a toothbrush to remove any mortar.
When I get to the last tile, I’ll reverse some steps.
For example, I remove the last 1/2-inch of thin-set so that it won’t get on the finished ceiling.
And I shoot for a 1/16-inch expansion joint between the tile edge and drywall.
If you’re wondering, I use Sherwin-Williams 950A between the tile edge and drywall.
I like this product because it’s easy to tool, paintable, and looks sharp.
My final step is to ensure the tiles are plumb.
I either use my laser or you can use a long 6-foot level.
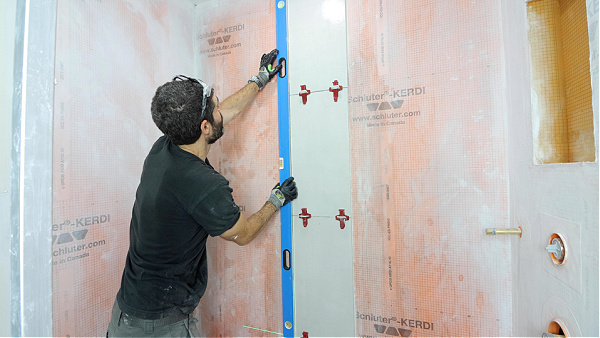
Either way, this is SUPER IMPORTANT and should be done before moving on with the next section of vertical shower tile.
Grouting and Sealing
There is no sealing when I tile a shower…unless I’m forced to use marble or stone.
And I hate using marble or stone.
Here’s why,
They’re a PITA. You have to constantly seal them and typically these products are not as durable as porcelain or even ceramic for that matter.
Don’t get me started on this topic because I’ll rant.
In fact, I have a tutorial right here that discusses this topic and why you should avoid marble altogether.
Nonetheless, I acknowledge that some homeowners love marble.
If that’s the case, I seal the marble prior to installation and a second time prior to grout.
Sealer’s Choice Gold is a good option and I also like Laticrete products.
That said, when it comes to grout, I only use one option: Spectralock 1.
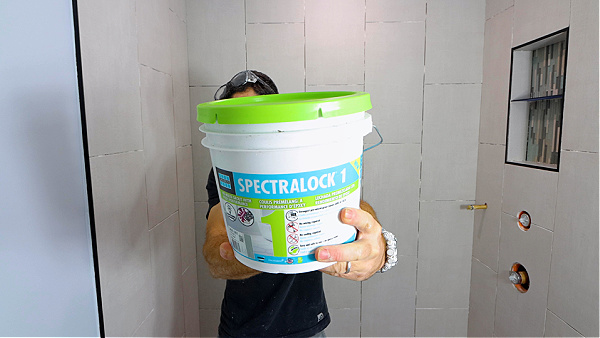
Here’s why:
- It’s premixed
- Has excellent color consistency
- Never needs to be sealed
- Can easily be used over low spots
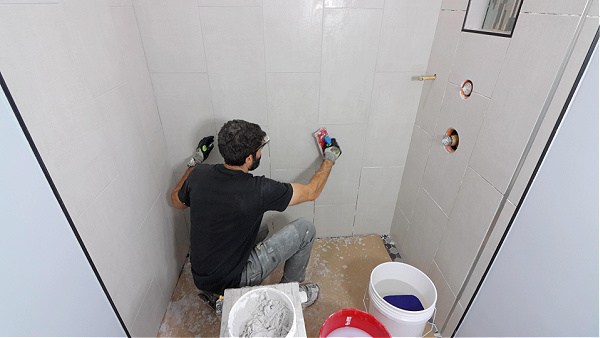
I pack the joints using a ProFlex Troxell grout float or Troxell Urethane grout float.
Then remove any excess by holding the float at a 90-degree angle against the tile.
Once I apply Spectralock for about 5 to 7 minutes, I immediately do the first cleaning and move on to the next section.
About 45 to 60 minutes later I’ll do the second cleaning with a microfiber sponge and clean water.
I follow that with a microfiber cloth to reduce any grout residue.
In the end, one bucket of Spectralock 1 will easily cover a shower and floor.
Plus, I don’t have to seal it, which is awesome!
Additional Vertical Shower Tile Tips
Here’s what you should know about tile work:
It takes more time than you think.
Don’t be fooled by social media influencers who tout their ability to tile a shower in a few days.
I wouldn’t trust anyone who focuses on speed over quality. Because most of the time they’re selling a service or product in the same breath.
And guess what, it’s BS.
Don’t worry about being the fastest, worry about doing a good job. Quality workmanship should be your goal. And doing something you can be proud of.
If you want to take your tile work to the next level, I highly recommend our Video Library. I promise that it’s a great investment of your time and money. If you liked the tips in this tutorial you’ll love the videos. Tap the button below to check it out
Jeff
