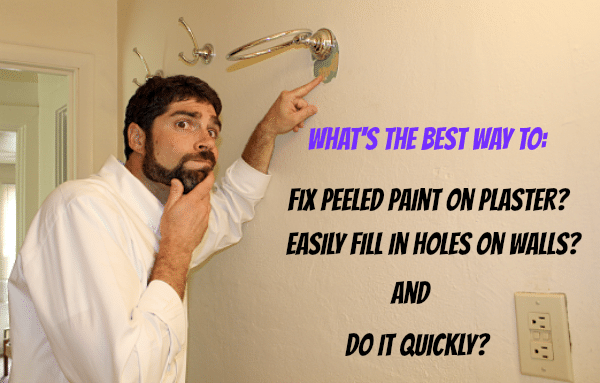
Have you ever tried to make minor changes in your bathroom that unfortunately led to a huge headache?
Well, this happened to me when I decided to swap out a towel holder from 1985 (circa Back to the Future). What I thought would be a simple update turned into a nasty plaster wall fix.
But the repair isn’t too bad.
Let’s dive in!
Plaster Wall Fix Genesis
Even though I used a utility knife to carve around the old towel bar’s base it still peeled up several layers of paint when I removed it.
This left a gaping wound on the old plaster wall that needed to be filled in.
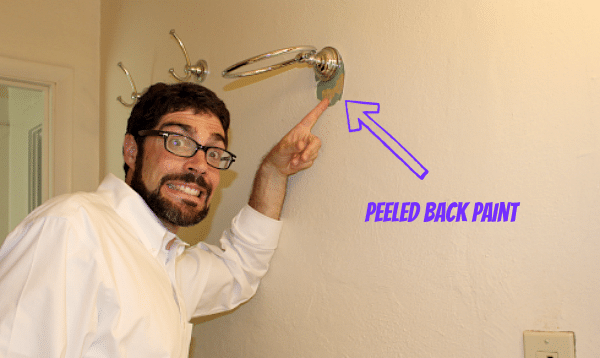
Unfortunately, the new towel bar’s base was smaller than the old one, too. So a simple swap to hide my wall blunder was out of the question.
Darn it (although this wasn’t exactly what I said at the time)!
Here were some questions that ran through my head:
- How can I quickly fix this without spending a ton of money?
- How do I match the existing wall texture?
- How can I get my patch to match the existing paint color?
Well, I recently used 3M’s Patch Plus Primer to fix a crack in our living room wall and it worked out great.
Patch Plus Primer is different from traditional joint compounds in that you don’t need to prime the patch.
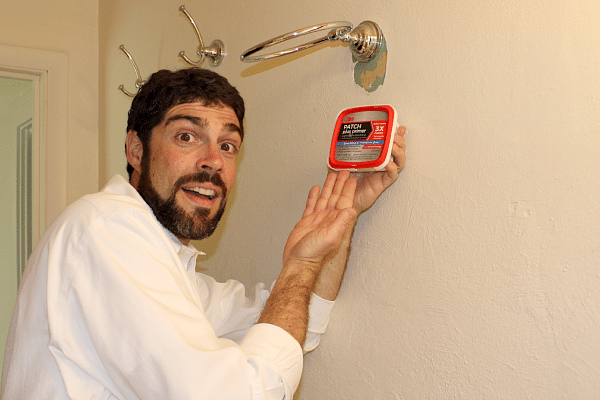
Maybe I’m getting lazy as I get older but just thinking about having to open the primer, mixing it, priming the wall, cleaning my brush, waiting for the primer to dry, then doing this all over again for the topcoat seems like a lot of work for one small wall fix.
Using Patch Plus Primer for Plaster Repair
Patch Plus Primer comes in small containers and you spread it onto the wall with a putty knife.
You could also use a 3-inch drywall knife but I forgot mine at home. Spreading the patch is actually fun and reminds me of adding peanut butter to toast.
It’s definitely okay to be a glutton in this instance because you can use a 6-inch drywall knife to make the patch smooth.
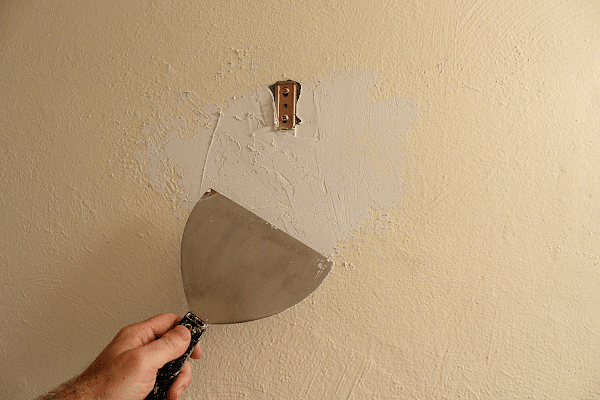
Our wall had a paint stroke texture in some parts. So I used my trusty Purdy paintbrush (this little dude has been used for the last 2 years) to make the patch match the adjacent wall area.
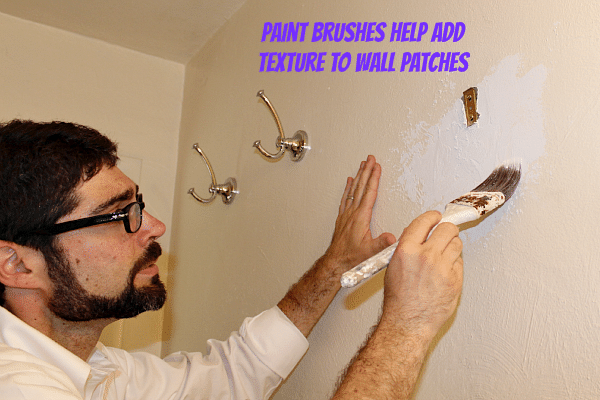
Painting Plaster Patches
Depending on the heat and humidity the patch may set up in as little as 30 minutes. It was hot as snot on the day of this repair. I literally felt like this bathroom was in the middle of the Amazon rain forest.
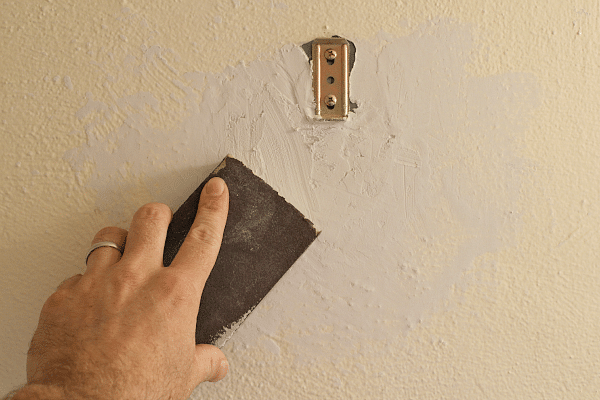
As such, the Patch Plus Primer took a little longer than 30 minutes to dry but once it hardened I was able to use a sanding sponge to smooth out the edges.
You should use a circular motion with the sanding sponge. This will help blend in the transition between the new patch and old plaster.
When we painted this bathroom four years ago I used Valspar paint because there’s a Lowe’s about 15 minutes away. Three tenants later it still looks good.
Durability is what you should be looking for in paint and that’s what Valspar offers. I chose a semi-gloss finish for this bathroom since it’s easier to clean up and tends to hide fingerprints.
Bathrooms take a beating and need all the help they can get in the way of paint, flooring, and fixture options (but this is a whole other strategy I can share with you at a different time).
Strokes of genius rarely happen for me and I experienced two during this repair. The paint for this rental home is stored in the basement which is two floors below the bathroom.
Accidents happen but spilling paint on the carpet is one expensive mishap. I’m unfortunately prone to spilling things, too. Enter the “Coffee Cup Carrier”.
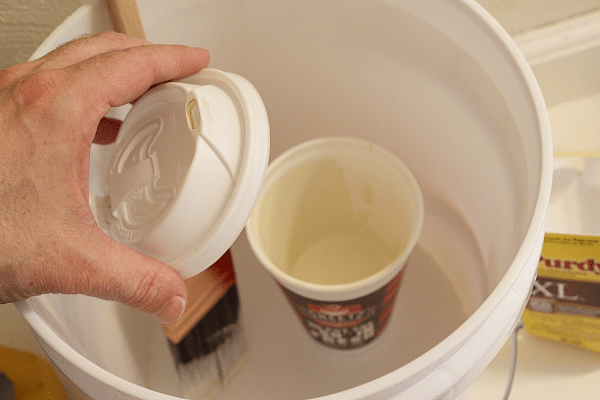
Admittedly I had this coffee cup in my car for a few days but after a quick rinse, it served as an excellent paint cup.
You can add a lid to any convenience store coffee cup and voila, botch-proof paint carrier.
Like I said before, Purdy makes the best paintbrushes in my opinion. Primarily because the darn things last forever and always provide the best-looking finish.
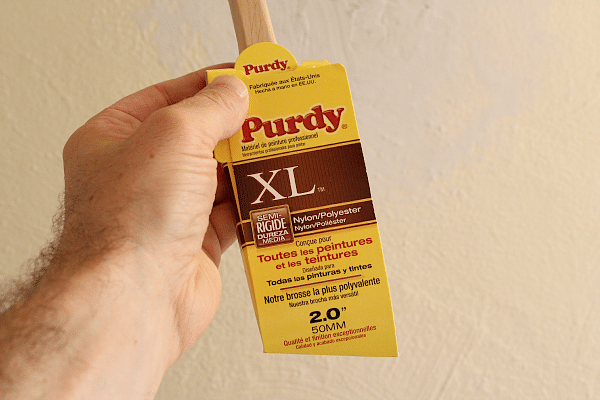
Yes, I realize the paintbrush description isn’t in my native English but you get the point. The XL is the best option for a project that involves latex paint and cutting in.
Speeding Up Plaster Repairs
The cool part about Patch Plus Primer is that you definitely don’t need primer. I just painted right over it with the Valspar paint and used a hairdryer to speed up the drying process.
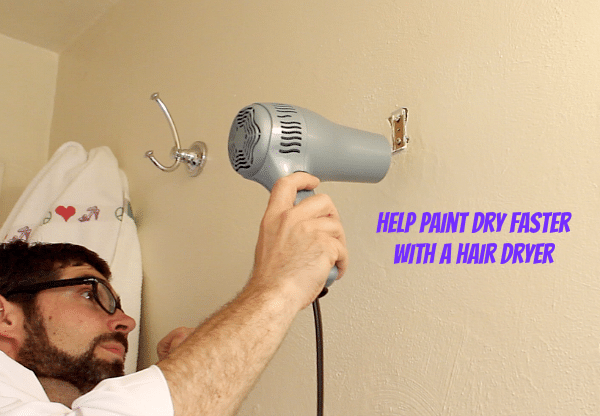
Yes, you read that correctly-I used a standard hairdryer to dry the paint. Our new tenant just moved in and as such, I wanted to make sure there were no paint accidents.
Who likes ruining clothes by rubbing up against wet paint? Nobody.
Sadly, the new towel bar from Allen & Roth wouldn’t fit on the mounting bracket because like a dummy I forgot to pull it off the wall and patch the entire area.
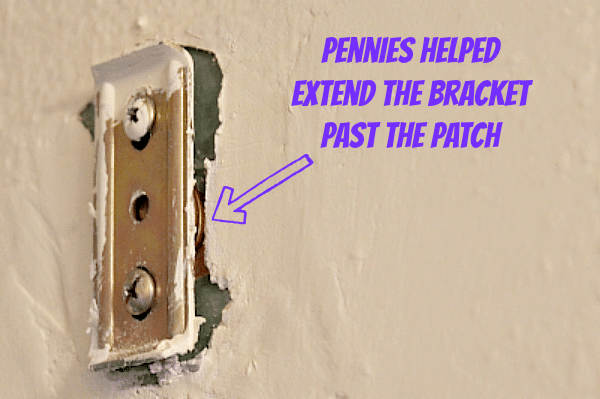
As such, the bracket was a bit sunken into the wall. This prevented the set screw from biting. This is when my brain had a second stroke of genius.
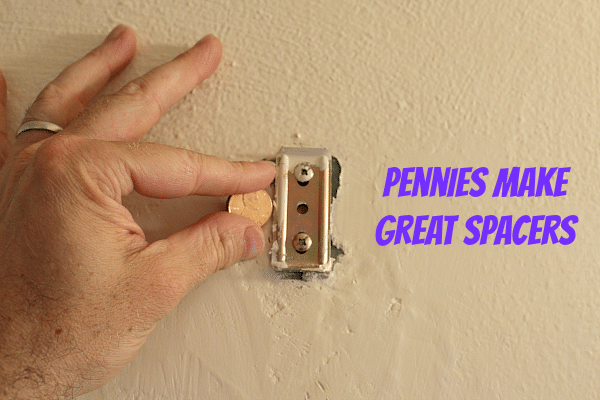
Instead of using washers, I ended up using two pennies as spacers. You’d be amazed at what you can do with pennies in DIY projects. I slipped the pennies between the mounting bracket and the wall. The set screw was then able to bite.
If you ever need to fix a piece of plaster-like we did totally go out and buy Patch Plus Primer.
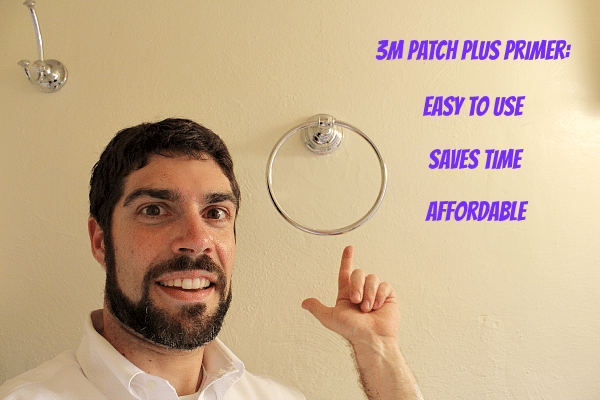
It also comes in handy if you’re a renter and needs to fill in nail holes (it’s better to pay a few bucks versus losing a portion of your security deposit). This project turned out great.
What’s Next
Learning how to repair nail pops and holes in sheetrock is also a good skill to learn. You’ll save a ton of money in the process!
If you’re doing a bathroom remodel and need help, join one of our online courses – they’ll make your bathroom renovation much easier!
Let me know if you have any questions and I’ll do my best to help.
Thanks as always for reading, watching, and being part of our awesome community.
Cheers,
Jeff


