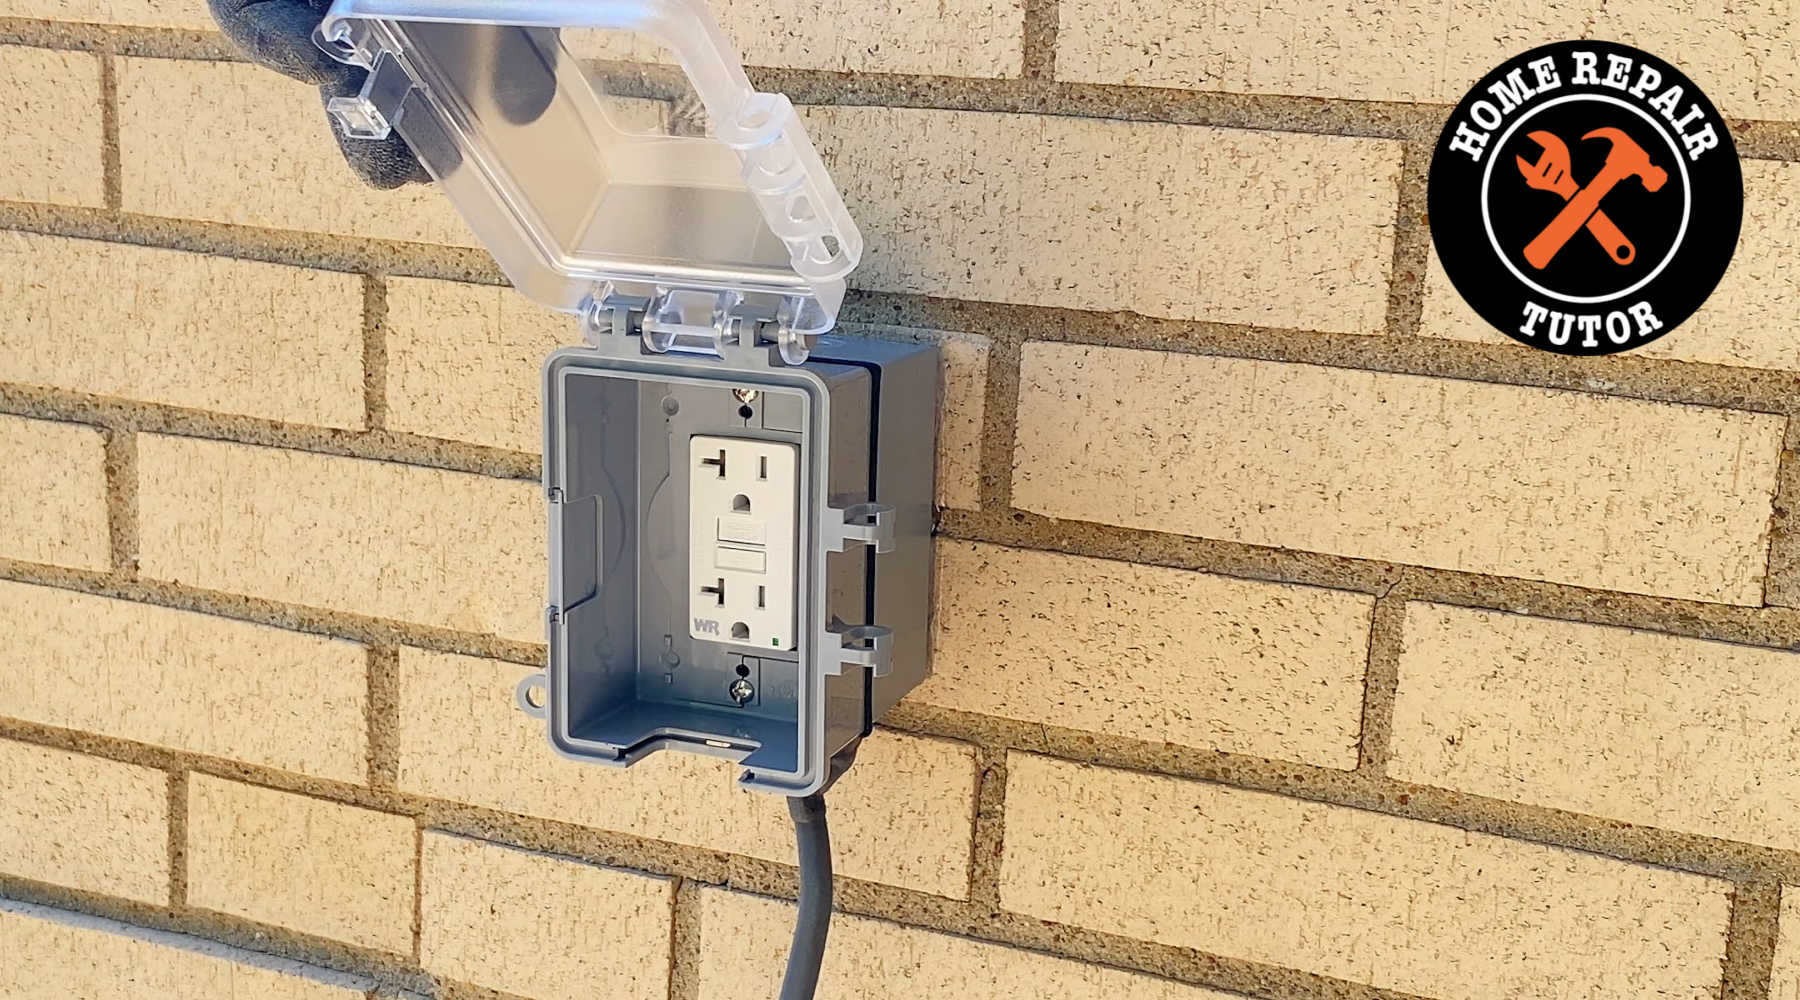
Outdoor GFCI outlet installation doesn’t have to be hard.
In fact, it’s super easy with the right tools and tips.
Plus, GFCI outlets are required by code in wet areas and outdoors.
So let’s dive in!
Outdoor GFCI Outlet Supplies
Here are the essential supplies used for this project
- Klein Digital Circuit Breaker Finder
- Klein ET45 Voltage Tester
- Insulated Screwdrivers
- Fein MultiMaster
- Fein Carbide Pro Accessory
- Klein Wire Strippers
- Milwaukee Impact Driver
- UF-B 14-2 Cable (for Exterior)
- 1-Gang Weatherproof Non-Metallic Electrical Box Cover Kit
- Leviton 20-Amp Weather-Resistant GFCI
- Tapcon Screws
- Strain Relief Cord Connector (1/2″)
- Duct Seal
- Milwaukee 5/16″ Driver
- Electrical Tape
- Makita Mag Boost
- Makita #2 Phillips Bit
- DAP Ultra Clear
These tools and materials make GFCI electrical outlet installation much easier!
Test Old Outdoor GFCI Outlet
Always test the old outdoor GFCI outlet. This is easy to do with the Klein Digital Circuit Breaker Finder kit.
It comes with a GFCI tester. Simply plug the tester into the GFCI. The lights on the tester show if the wiring was done right.
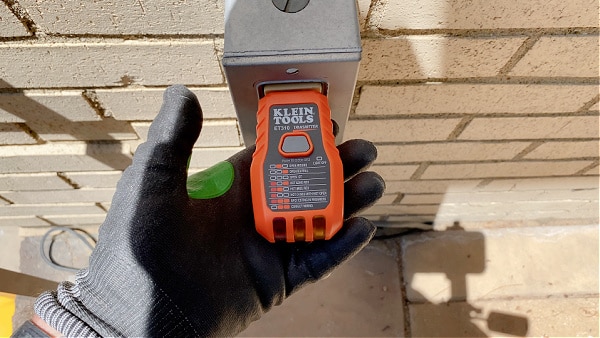
Fortunately, in this example, the wiring was done correctly by the prior installer.
The next step is to turn off the electricity to the circuit.
How to Find the GFCI Circuit Breaker
It’s very frustrating to find the circuit breaker to an outlet.
Klein’s Digital Circuit Breaker Finder makes this step easy.
Plug the transmitter into the out and use the receiver at the electric panel.
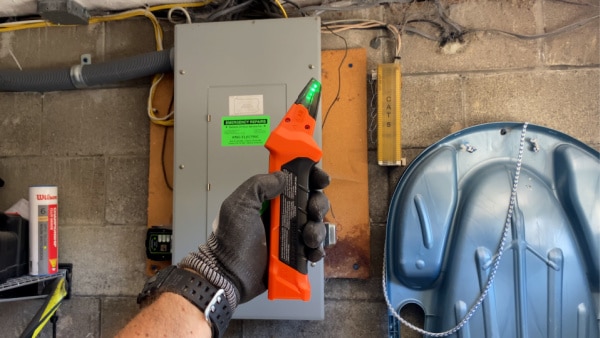
Then shut off the corresponding breaker and test the outlet to ensure it’s turned off.
This little tool is well worth the money!!
How to Remove Old GFCI Outlet
Unscrew the cover plate to the old GFCI and remove the screws holding the outlet to the box.
If the screws have corroded, like in this case, use an oscillating multi-tool to cut the outlet from the box.
Then inspect the wiring to the GFIC for any damage. I spotted rust on the terminals, which indicated water or moisture in the box.
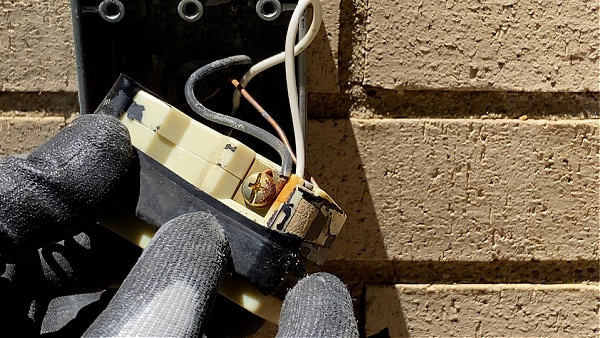
In addition, there are typically two ways a GFCI is wired.
The first way is with just the hot and neutral wires on the Line side of the terminals.
The second way is with another set of hot and neutral wires coming out of the Load side. This usually indicates the GFCI is wired to another outlet.
Once the wire configuration is determined, the GFCI can be removed from each corresponding wire.
How to Choose New GFCI Outlet
GFCI outlets can be 15-Amp or 20-Amp and this is indicated by writing on the outlet.
Some GFCI electrical box kits come with the outlet pre-installed.
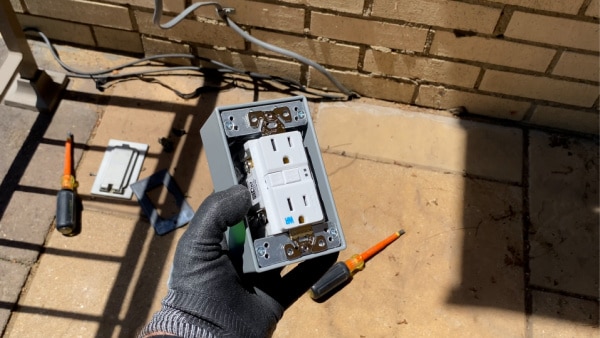
This is always a great option if the GFCI in the kit is the right amperage.
I recommend getting a weather-resistant GFCI to stay within code. The WR insignia on GFCI outlets indicates the outlet is weather-resistant.
How to Install New Outdoor GFCI Outlets
I installed this GFCI by first drilling holes into the box for screws.
Then, I dry-fit the box to the brick and made holes with a hammer drill.
The next several steps involved prepping the box and wires.
This short 4-minute video shows all the required steps for installing an outdoor GFCI
What’s Next
Hopefully the tips in this tutorial help you with your project.
If you’re installing an interior GFCI, this tutorial might be super helpful.
Let me know if you have any questions and I’ll do my best to help.
Hope you have an awesome day!
Cheers,
Jeff


