In this tutorial, you’ll see how to replace a bathroom exhaust fan from start to finish.
One of the biggest problems in bathrooms is indoor air quality. And having a strong fan solves that issue.
In addition, many homeowners hate having cold bathrooms.
The Panasonic Whisper Cozy I installed makes that problem a thing of the past.
Let’s dive in and replace your exhaust fan with detailed tips!
Ultimate Bathroom Exhaust Fan Guide
All bathroom exhaust fans are replaced in this fashion:
- Bathroom Exhaust Fan Supplies
- Choose the Correct Bathroom Exhaust Fan
- Cut the Drywall or Plaster Ceiling
- Install the Panasonic FLEX-Z-FAST Bracket
- Add Ductwork to the Adapter
- Wire the Fan Unit
- Install the Adapter and Fan Body
- Adjust the Direction of Warm Air Flow
- How to Vent a Bathroom Exhaust Fan
- Complete Step-by-Step Video
You can tap the above links, and they’ll take you to the specific step.
Also, many thanks to Panasonic for sponsoring this guide and for providing materials for my client’s project.
Bathroom Exhaust Fan Supplies
Here are the supplies you’ll need
- Panasonic Whisper Cozy
- Dust Respirator
- Safety Glasses
- 12/3 Electrical Cable
- Wire Strippers
- Insulated Screwdrivers
- Impact Driver
- 3/8-inch Non-Metallic Push-In Connector
- Two Foot Level
- Oscillating Multi-Tool or Drywall Saw
- 4-inch Worm Drive Clamp (x2)
- 4-inch Insulated Ductwork
- Foil Tape
- Wire Nuts
- Silicone and Caulking Gun
- 3-inch Construction Screws
Choose the Correct Bathroom Exhaust Fan
Most bathroom exhaust fans have a CFM rating (Cubic Feet per Minute).
In general, the fan’s CFM rating matches the bathroom’s square footage.
For example, a 5-foot by 10-foot bathroom has a footprint of 50 square feet and thus, 50 CFM.
Now here’s the deal,
The Panasonic Whisper Cozy has an adjustable CFM.

It can be changed from 80 CFM to 110 CFM with a simple flick of the PICK-A-FLOW switch.

Furthermore, the Whisper Cozy has a heater.
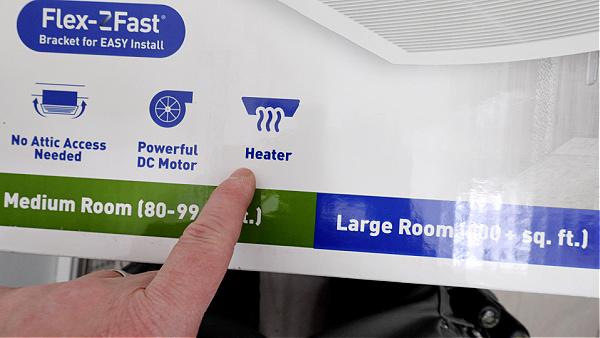
This necessitates a 20 Amp circuit and 12/3 wiring for the fan and switches.
If you’re not comfortable doing electrical work, I recommend hiring an electrician.
But in this tutorial, I’ll show you how to wire the fan.
By the way, if you want a strong fan with a big light, I recommend Panasonic’s Whisper Green Select.
Choosing the correct fan is easy. Now you need to see how to install it.
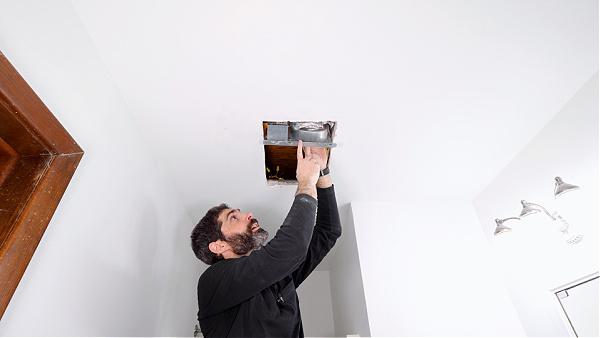
Cut the Drywall or Plaster Ceiling
I like placing the footprint of the Whisper Cozy on the ceiling.
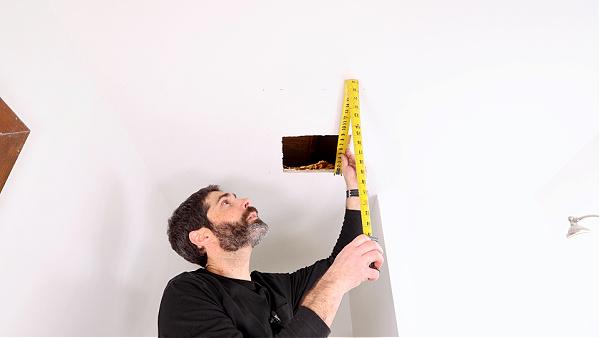
I ensure the footprint is equidistant from two walls and connect my dots with a level.
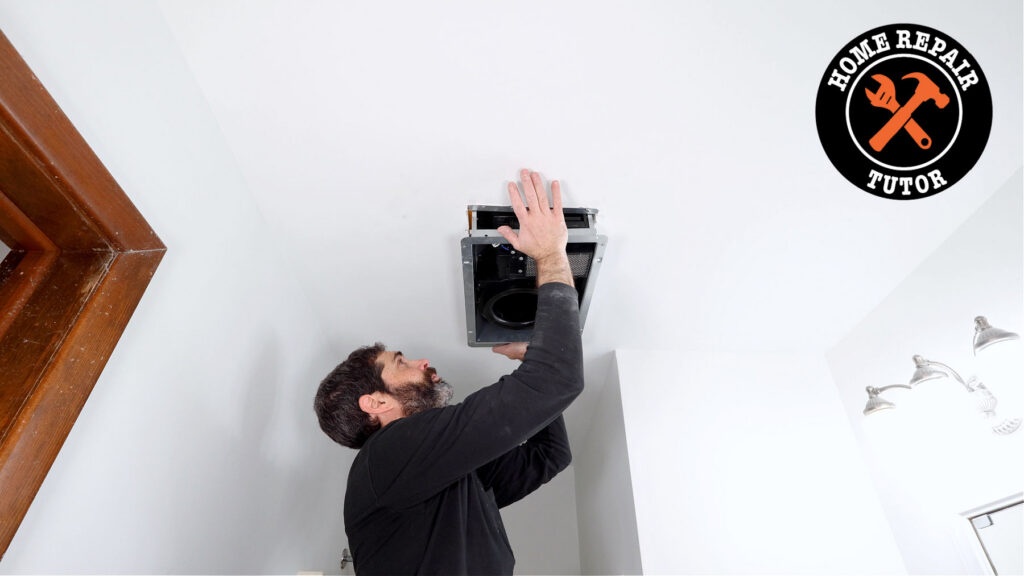
Then I double-check the footprint by holding the fan unit against the ceiling.
The next step is simple, I cut out the drywall with a handsaw or oscillating multi-tool.
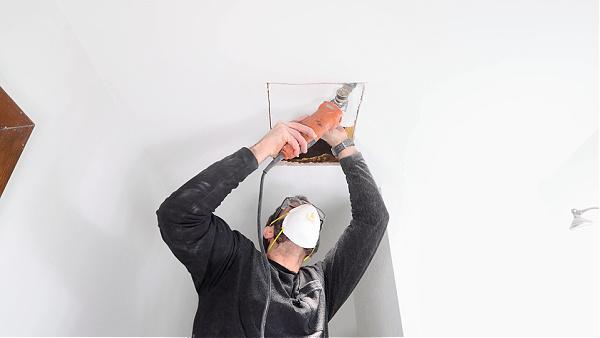
I recommend the multi-tool to speed things up but it can be dusty. So always wear a respirator and eyeglasses.
Pretty easy.
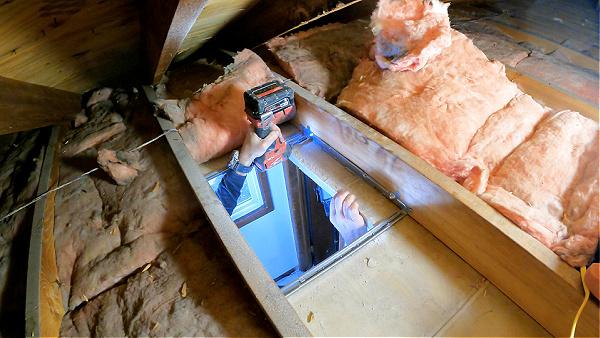
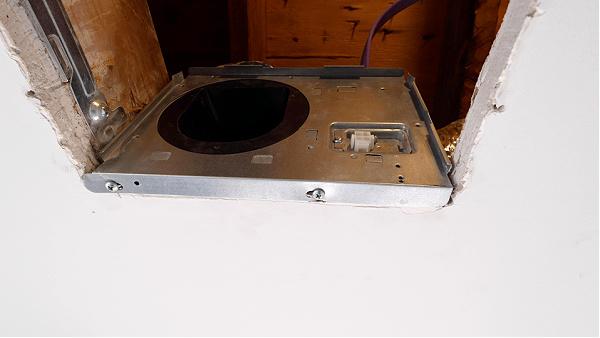
Install the Panasonic FLEX-Z-FAST Bracket
The Whisper Cozy comes with a FLEX-Z-FAST bracket.
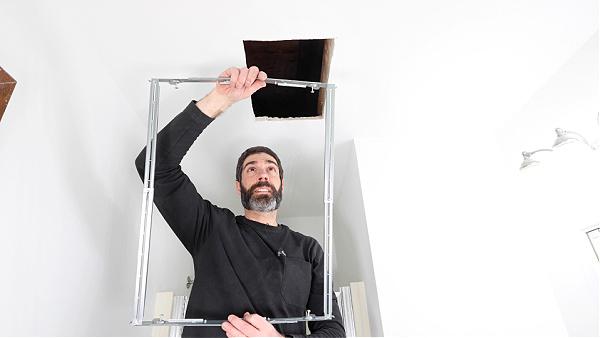
This makes the installation easy and fast. Plus, it allows you to do the installation from the bathroom instead of having to get into the attic.
I fold the bracket and place it above the ceiling.
There’s an orientation to the bracket. So always ensure it’s facing the proper direction.
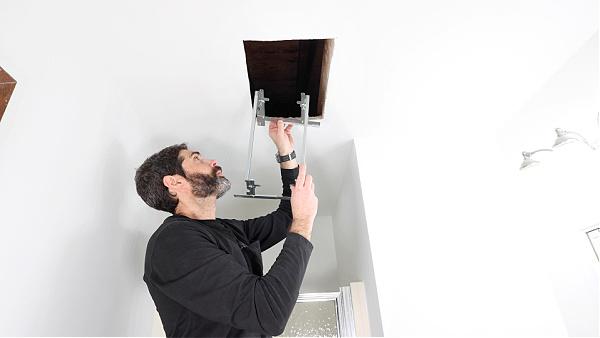
I expand the bracket, place it flush against the joists, and centered on my opening. Then I secure it to one joist with the provided screws.
I do the same thing against the second joist.
Side note, the FLEX-Z-FAST bracket is important for the adapter. I’ll show you how to install the adapter the right way. Unfortunately, a lot of folks do this wrong.
Speaking of the adapter, the next step is to prep it for the ductwork and electrical.
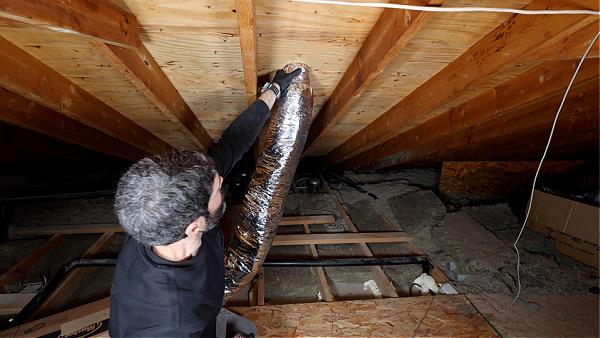
Add Ductwork to the Exhaust Fan
Proper ventilation is important for any bathroom exhaust fan.
If steam from showers is not vented outside, then mold and mildew grow.
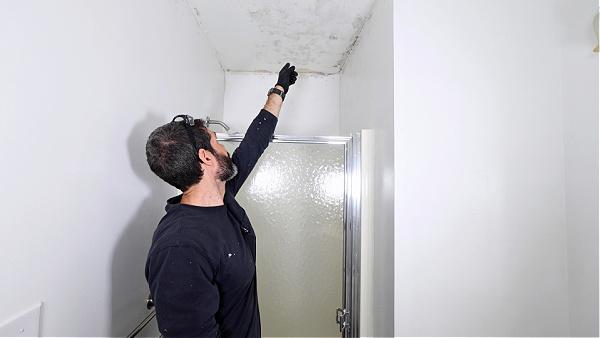
That’s exactly what happened in this bathroom.
As we all know, mold and mildew make the indoor air quality bad. This can cause respiratory and cardiovascular problems, especially in children and older adults.
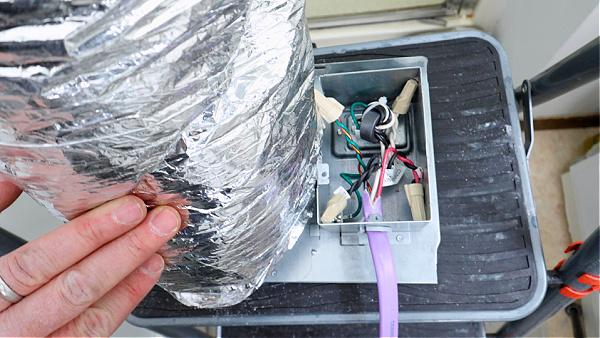
I recommend using worm drive clamps and insulated ductwork to cut down on condensation.
I place the clamp over the ductwork and secure it to the adapter. It should be tight.
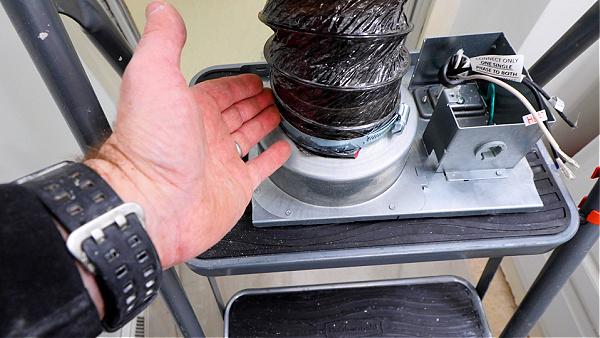
Then I use foil tape over the clamp to make it air-tight.

By the way, I do all this outside the ceiling cavity because it’s easier than operating up in the joist bay.
I also run the wiring to the adapter at this point.
Wire the Exhaust Fan Unit
Wiring can be the hardest part for some folks.
But frankly, it’s very easy with the Panasonic Whisper Cozy.
Always turn off the power to the breaker before doing electrical work.
I feed about 6 inches of electrical cable into the fan’s electrical box.
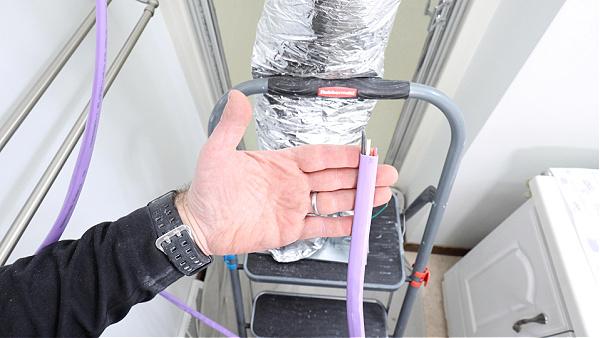
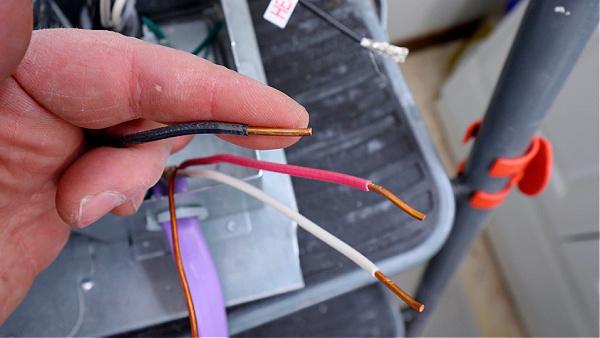
Then I strip away the jacket to expose the electrical wires, in this case, there are four total
- Ground (Green)
- Neutral (White)
- Hot (Black)
- Hot (Red)
The fan unit has stranded wire, not solid copper. I strip 5/8-inch of insulation off all the wires to expose the copper.
Here’s an important wiring tip,
Extend the stranded wire about 1/8-inch beyond the solid copper. Then add your wire nut and twist it until both wires are intertwined by a few inches.
I do this for all the electrical wire connections and put the cover back on the fan’s electrical box. This makes a solid electrical connection that shouldn’t get loose.
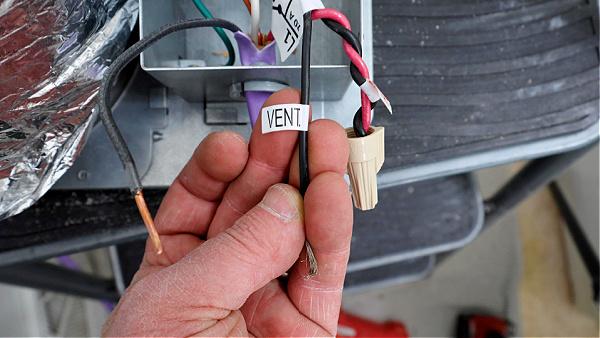
Remember, the Whisper Cozy has two HOT wires. One is for the heat and one is for the vent/fan.
The next step is where some folks make a big mistake.
Install the Exhaust Fan Adapter and Fan Body
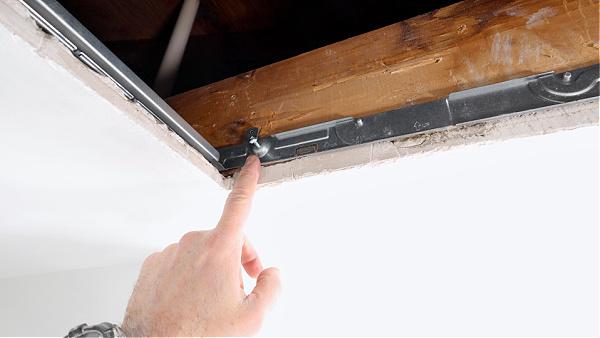
The adapter must be installed first.
And there’s one supercritical tip,
Install the adapter so the channel fits over the ceiling drywall or plaster.
Then I use the provided screws to secure the adapter to the FLEX-Z-FAST bracket through the ceiling.
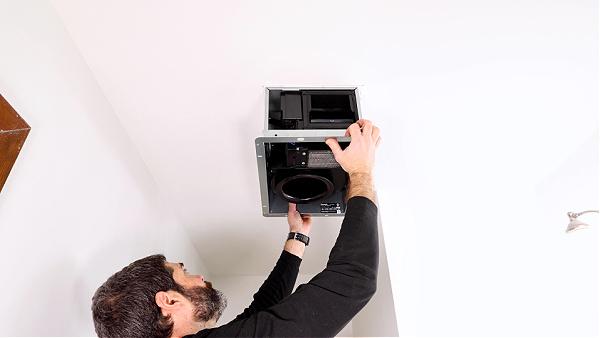
At this point, the adapter should feel very solid. If done correctly, the fan body can be slid up into the ceiling and the adapter.
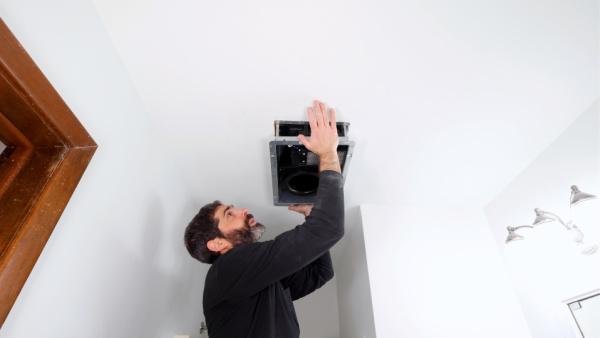
Here’s another important tip for the fan body,
It should slide as far up as possible so the plug connector can be inserted properly.
Once the fan body is in place, I secure it to the bracket with the self-tapping screws. I also secure it to the ceiling joist with at least two three-inch construction screws.
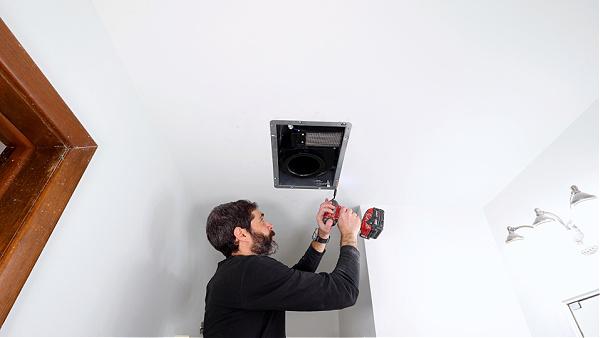
The last step is to add the ground continuity screw and insert the plug connector into the receptacle.
You can also flip the Pick-A-Flow switch to choose 80 CFMs or 110 CFMs.
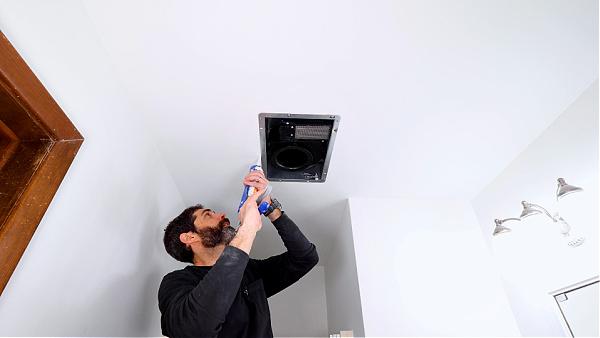
The last step is to seal the fan body to the ceiling with silicone or another sealant.
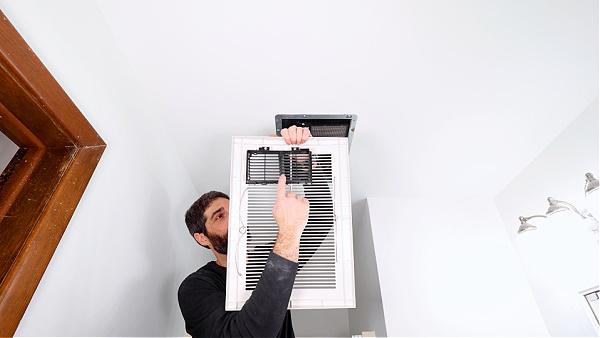
There’s one final step before the grill gets installed.
Adjust the Direction of Warm Air Flow
Nobody likes freezing in their bathroom, and the Whisper Cozy can solve that problem.
One of the best attributes is having the ability to direct the flow of warm air.
Here’s how to do that.
Remove the grill blade holder on the grill by unscrewing the two screws.
Then you can position the grill blades to direct the flow where you’d like.
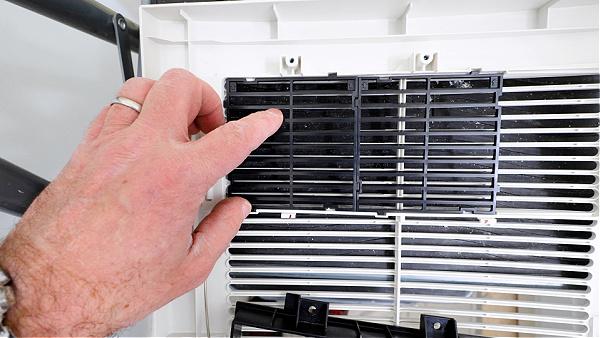
Just be sure to reattach the grill blade holder.
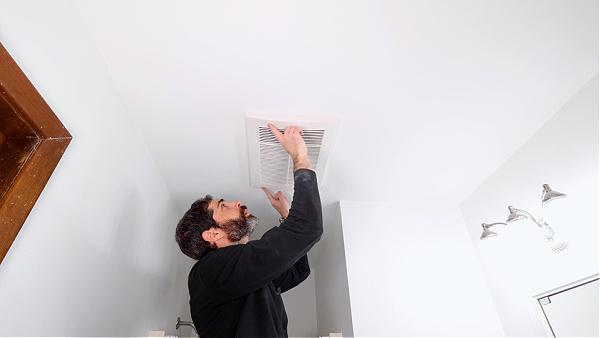
Don’t forget to shop vac the grill blades and grill every few months.
Then I install the grill so the grill blade holder aligns properly with the heater.
The fan is installed, but it has to be vented to the exterior. So let’s discuss how to do that.
How to Vent a Bathroom Exhaust Fan
Bathroom exhaust fans should always be vented to the exterior.
That way, moist air isn’t collecting in the attic or ceiling joist bay.
Both of these scenarios can cause a loss in indoor air quality from mold or mildew.
Roof vents can be installed and should penetrate through the roof into the attic.

Vents can also be placed in the soffit or fascia.
Either way, I recommend using insulated ductwork as I mentioned earlier.
I use the same clamp and worm drive to connect the insulation to the roof vent.
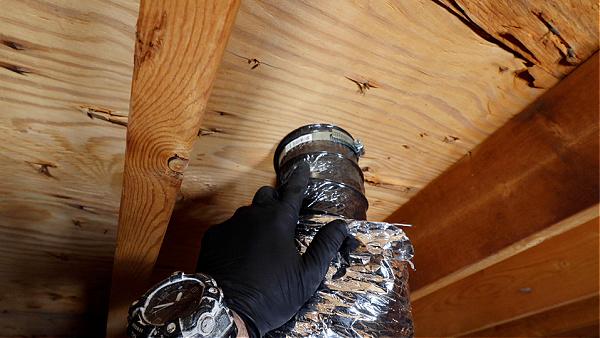
Then I tape both the ductwork and the foil insulation to the vent
It’s best to have as few kinks as possible to promote good airflow.
Complete Step-by-Step Exhaust Fan Video
Here’s my video showing how to install the Panasonic Whisper Cozy.
It shows all the details for the fan installation and how to put everything together.
Many thanks to Panasonic for sponsoring this tutorial and providing the fan to my client.
If you want to unlock all my bathroom remodeling videos, courses, and personal coaching, join Home Repair Tutor today – it’s one of the best online resources for anyone renovating a bathroom. Tap the button below to learn more
Jeff