These hose bib installation tips are invaluable, especially if you’re a beginner.
The goal is to replace your old outdoor faucet and do it quickly without leaks.
Also, there are tons of great tips that apply to other plumbing projects.
And I hope they come in handy down the road.
So let’s dive in!
Hose Bib Installation Supplies
- Hose bib or frost-free sillcock
- Gloves
- Safety glasses
- Measuring tape
- 1/2″ copper threaded female fitting
- Type L copper
- AutoCut pipe cutter
- Deburring tool
- Emery cloth
- Copper pipe brush
- H-20 flux
- Acid brush
- SafeFlo solder
- MAP Gas
- Mag Torch
- Crescent wrenches
- Pipe dope
- Teflon tape
- Drill
- Carbide drill bit
- Tapcon screws
- Silicone
- Caulking gun
This seems like a lot of supplies, and it is. But you should many, e.g. the drill, caulking gun, etc.
And I’ll show you how to use them all.
Dry-Fit New Hose Bib
The first step is to dry-fit the new hose bib. Then add the 1/2″ female threaded fitting.
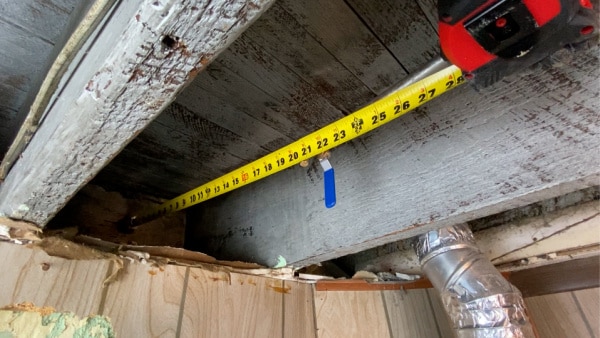
Measure between the threaded fitting and the shut-off valve.

If you need to install a shut-off valve, read this tutorial and it’ll walk you through that project.
Add 1″ to the measurement and cut a piece of Type L copper using the AutoCut tool.
It’s super important to have a square cut and to deburr both the inside and outside of the copper pipe. Also, use emery cloth to clean the copper.
Prepping Copper for Soldering
Deburring and cleaning copper is only the beginning for proper prep.
Use a wire brush to abrade the inside of the female fitting.
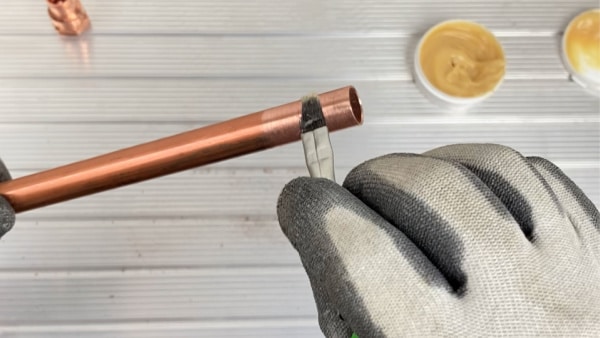
Next, apply Oatey H-20 flux. I highly recommend this flux because it’s water-soluble and the water lines don’t have to be flushed after the project.
Apply just enough flux to both the fitting and the copper pipe to have a thin layer. Solder will not flow into the joint without flux!

Furthermore, check the manufacturer date of the flux. This date should be within a 2-year period. Otherwise, the flux has expired and may not work properly.
Finally, always stir flux to ensure the ingredients are thoroughly homogenous.
Put the female fitting on the copper pipe and twist it slightly. This ensures the flux is covering the pipe.
Now you’re ready to solder!
Soldering Copper Pipes
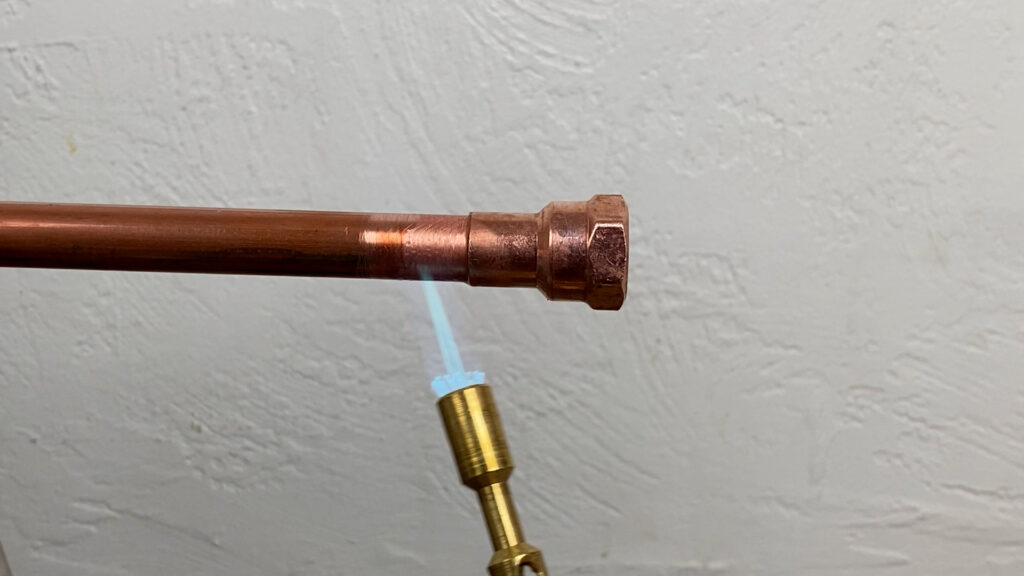
Here’s the deal, don’t overheat threaded copper pipe fittings.
The threads can soften if overheated and this will cause a leak.
Pre-heat the first 1/2″ of the pipe then apply heat evenly to the top and bottom of the fitting’s hub.

Be careful not to point the flame at the threaded section of the female fitting.
Dab the solder on the opposite side of the heat and it should be sucked into the joint via capillary action. As soon as the solder starts to melt, pull the heat off the pipe.
Allow the copper to cool, then wipe off any excess flux that’s on the pipe and fitting.
Prepping Hose Bibs for Copper Pipe
There’s nothing worse than water leaks!
That’s why I recommend using both Teflon tape and pipe dope to the threads of hose bibs.
Apply 4 to 5 revolutions of Teflon tape to the hose bib threads. Then add a generous amount of MEGALOC pipe dope.
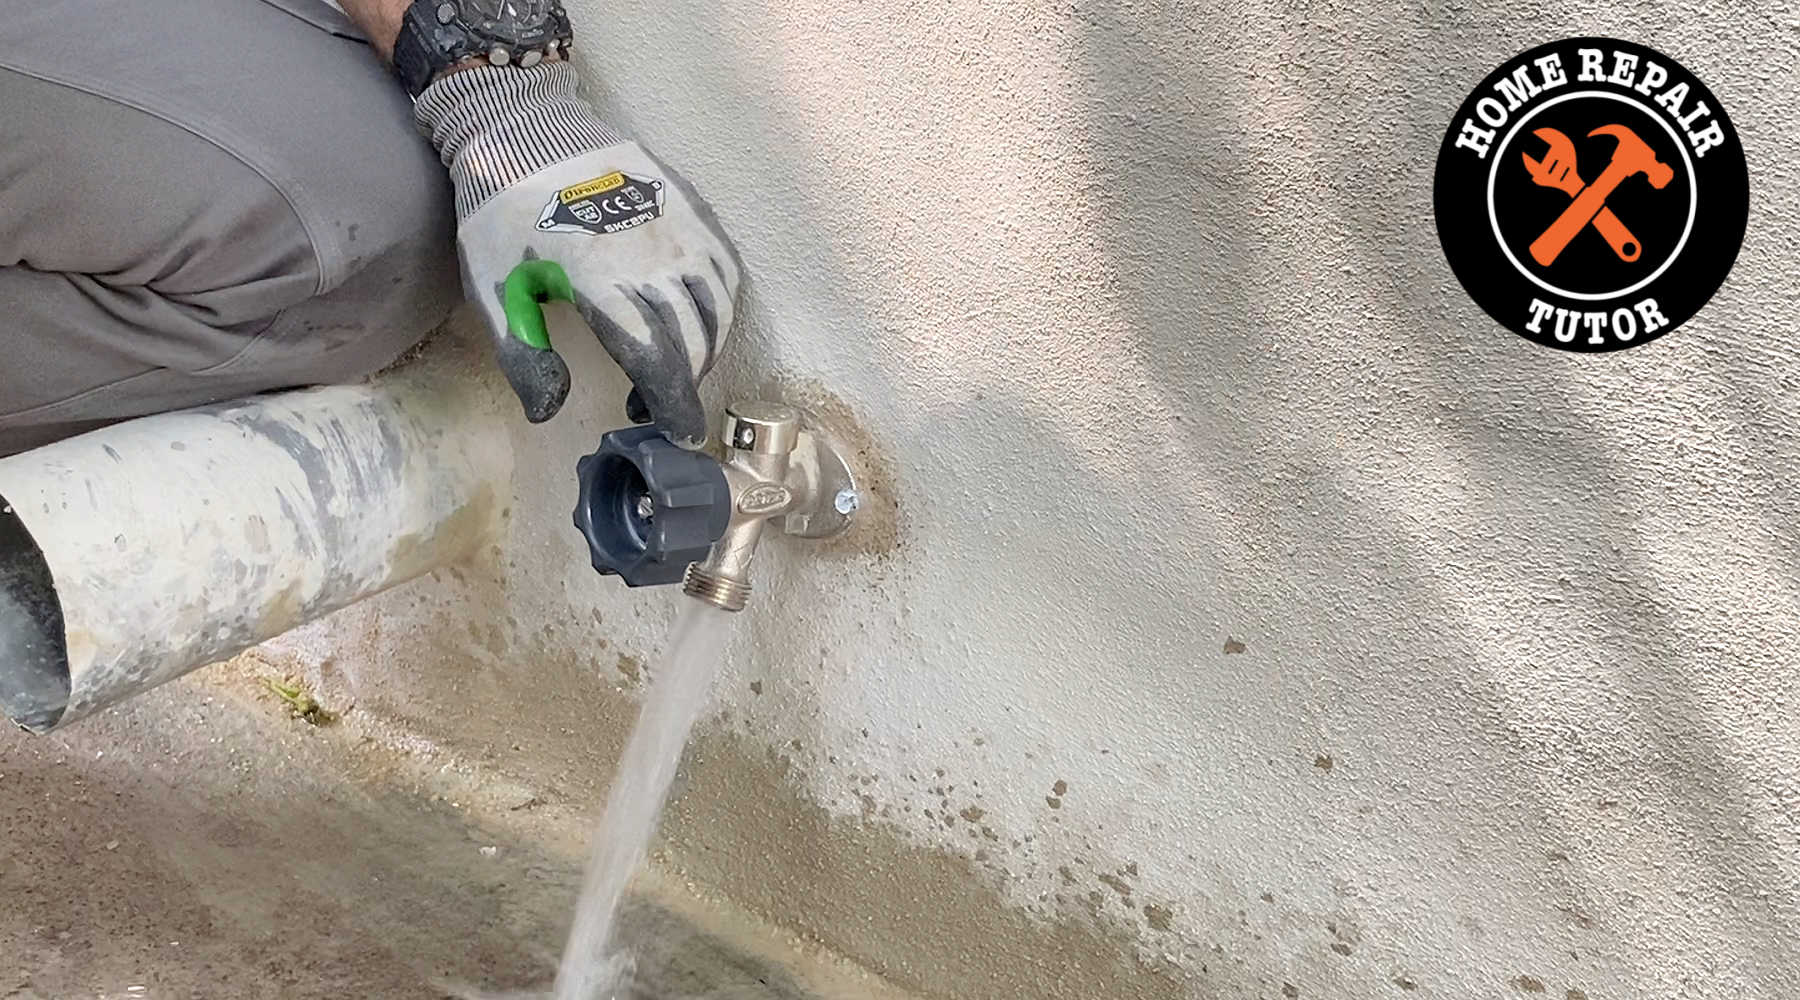
Carefully push the hose bib through the wall and thread the female adapter onto it.
Only tighten the female adapter enough to prevent a leak.
This short video (it’s only 3 minutes) walks you through the entire hose bib installation from start to finish.
What’s Next
The hose bib installation tips for beginners in this tutorial will hopefully help you with your project.
If you need some extra tips on soldering, check out this tutorial.
Let me know if you have any questions and I’ll do my best to help.
Hope you have an awesome day!
Cheers,


