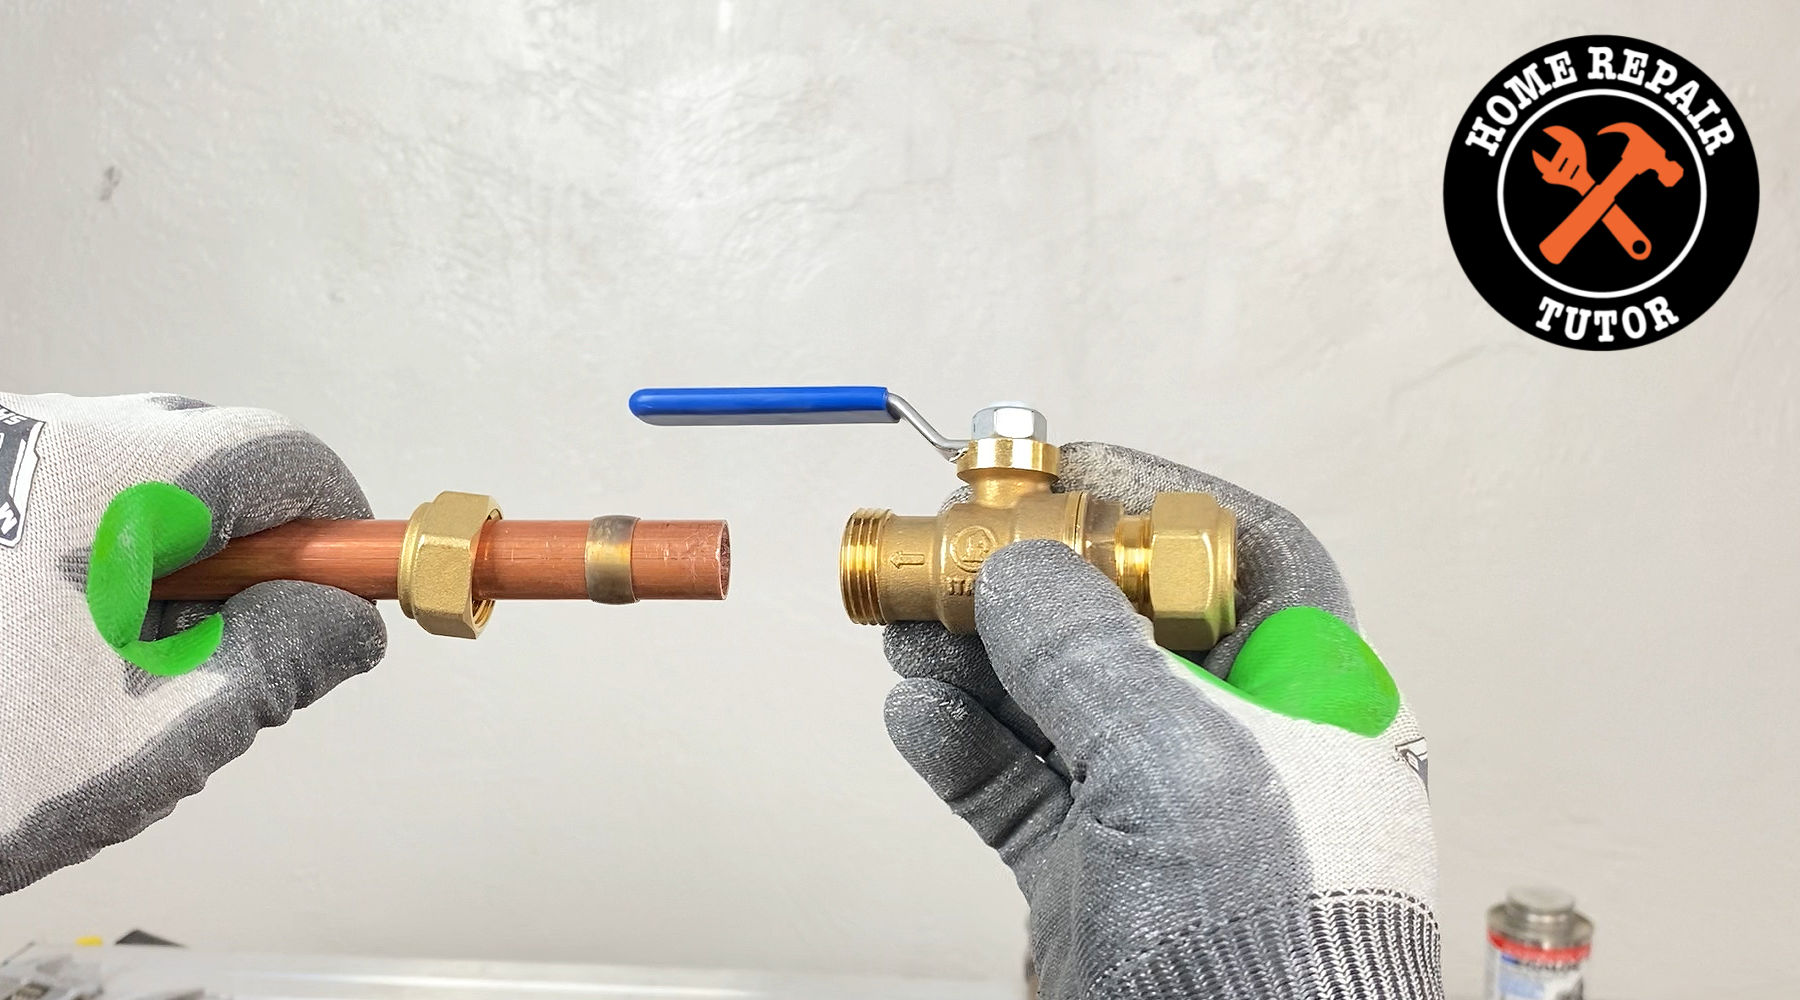
How do you install a compression shut off valve?
If you’re doing this project, you’re in the right spot.
In less than 5 minutes you’ll see the right way to add a compression shut off valve to copper…and without any leaks.
Let’s dive in!
Supply List for Compression Shut Off Valve
Here are the supplies you need for this project
- Compression shut off valve (1/2″ ball valve)
- Adjustable wrenches
- AutoCut copper pipe cutter (1/2″)
- Deburring tool
- Emery sand cloth
- Pasco compression sleeve puller (1/2″)
- Ironclad Gloves
I’ll show you how to use all these tools, so don’t worry.
How to Prep Copper Pipes
Most copper pipe repairs fail because of improper prep.
Removing old compression shut off valves can lead to damaged pipes.
And copper that’s dented needs to be cut off, cleaned, and deburred.
The AutoCut tool is fantastic because it cuts copper quickly and leaves a square cut.
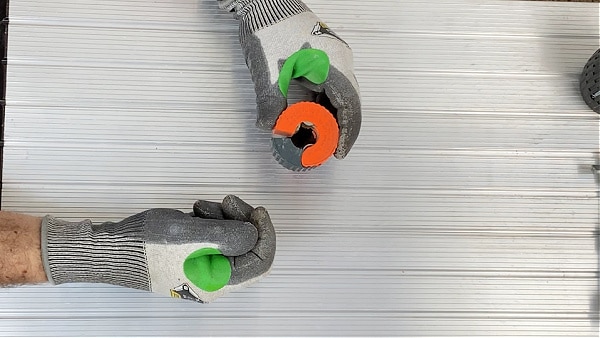
Use emery cloth or pipe cleaning tools to clean paint, grease, or other contaminants off the surface of the pipe.
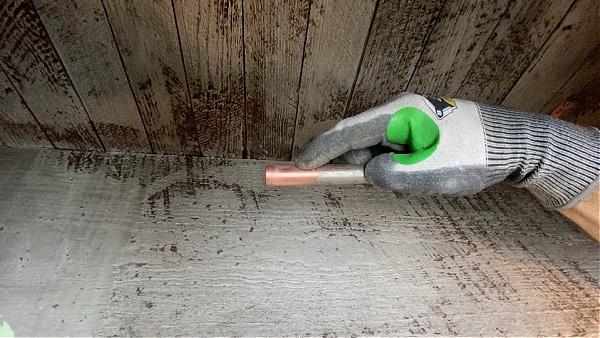
Finally, deburr BOTH the inside and outside of copper pipes.
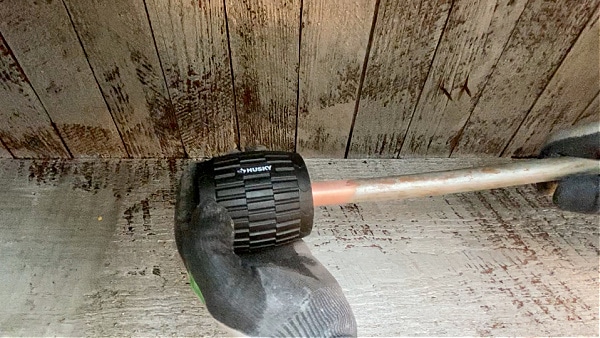
This ensures the ferrule of the compression shut off valve will work properly.
Compression Shut Off Valve Installation
Compression valve installation isn’t rocket science.
Don’t complicate it!!
In addition, don’t use any type of Teflon tape or pipe dope.
Both of these aren’t necessary because it’s the ferrule that makes the seal against the valve.
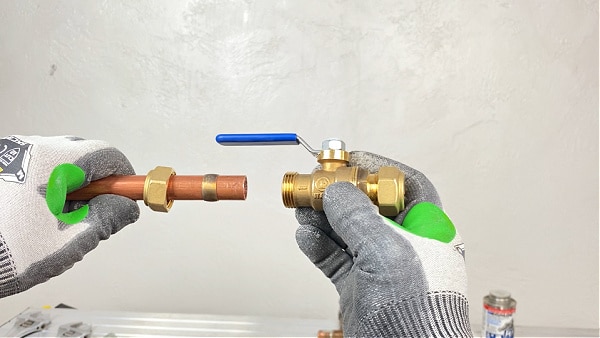
This also highlights why it’s important to properly prep the pipe.
Furthermore, check the inside of the compression valve for any contaminants. Any debris, grease, or impediments in the valve can cause leaks.
Side note, quarter-turn ball valves are the best option for compression valves.
Slide the nut onto the pipe then insert the valve. Mark the valve location on the pipe with a marker to ensure it’s fully inserted.
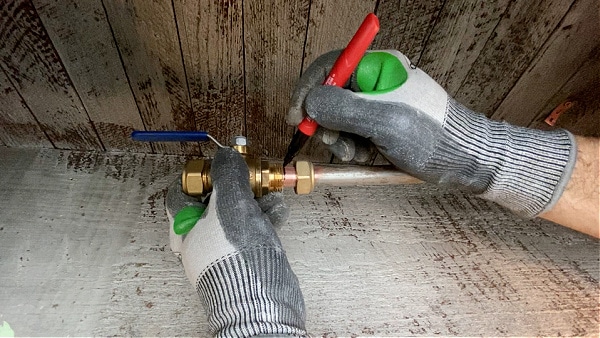
Remove the valve, slide the ferrule past the line. Then insert the valve and hand tighten the nut.
Use adjustable wrenches to turn the nut another 1/4 to 1/2 turn. This tightens the ferrule against the shut off valve and creates a watertight seal.
Watch this short yet highly informative (and fun) video to see all these tips in action
What’s Next
The compression shut off valve in this tutorial was used to connect a hose bib.
Hose bibs are super easy to install and this tutorial might help you out.
Hopefully, the tips in these tutorials make your concrete project look new.
Let me know if you have any questions and I’ll do my best to help.
Hope you have an awesome day!
Cheers,
Jeff


