Today I’m writing about a topic that gets as sticky as a kid’s fingers after visiting the ice cream shop!
Answer this question:
Have you ever gotten into an argument with your significant other about the mess that is your garage?
For many of us, this is a HUGE sore spot.
Even more so if you have children between the age of 0-18. It’s unbelievable how quickly stuff can pile up – Literally.
If you’re tired of seeing clutter and want a garage space that’s optimized then this post is for you 🙂
Getting Started with Your Garage Organization Ideas
After living in our house for 7 years we’ve acquired quite the assortment of items in our garage:
- scooters
- balls of all sizes, shapes, and colors
- sidewalk chalk
- softball gear for the kids
- chairs for sports activities
- 1,000,000 jump ropes (the school gives them away every year)
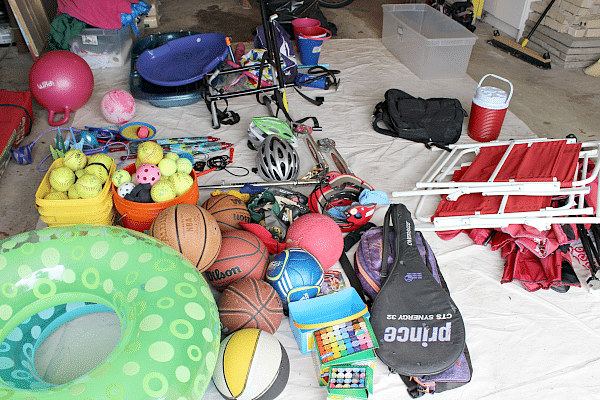
Here’s the deal, Lowe’s challenged me to de-clutter my own space. And in the process, they provided some dinero in the form of a gift card to get the job done. All the hustle and opinions are totally mine 😉
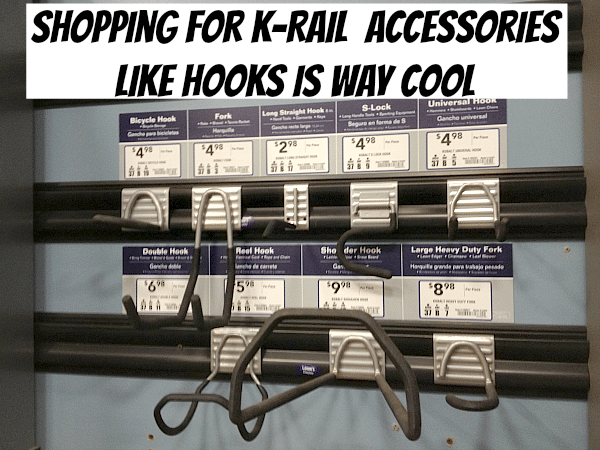
While shopping in the store I decided to look at three different garage organization systems by Gladiator, Kobalt, and Rubbermaid. Each one uses a track that can be mounted on your garage wall. Then you can add different hooks and accessories to hold specific things like scooters or strollers. And after comparing the prices along with the storage options I went with Kobalt.
Primarily because they had cool mesh baskets and were a bit more cost-effective than the other two brands.
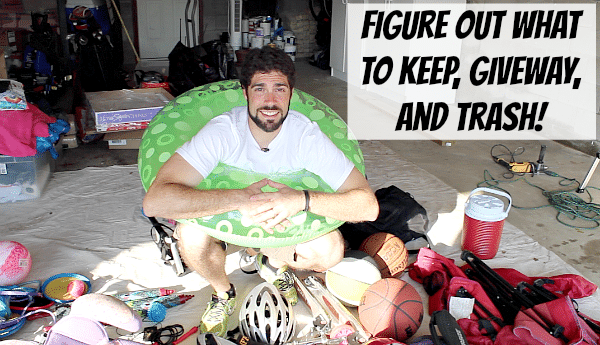
Right from the start, we decided on
- What to keep
- What to give away
- and What to throw in the trash
The huge pile I’m sitting in is the “What to keep” (hopefully my wife decides to keep me as well).
Before going to Lowe’s my wife designed a layout based on our garage wall’s dimensions and the items that needed to go on it.
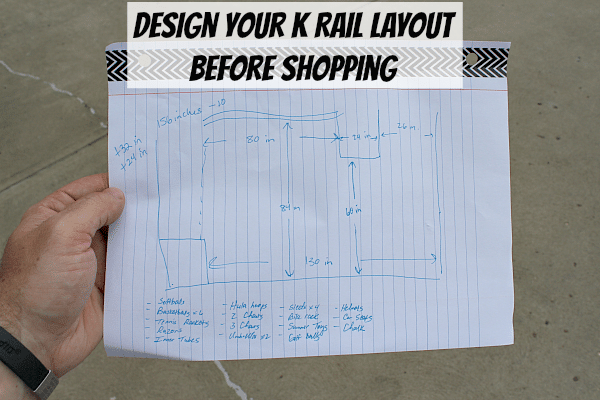
I took her design to the store and then picked out the hooks, baskets, and shelves based on what we needed to organize. For example, all the large balls needed the mesh basket and the kid’s softball bags needed two small hooks. Shopping for accessories is one of the FUN parts of the project.
Installing the K-Rail system is super straightforward. Before you can blink, you’ll be done and sipping ice tea.
Assembling the Kobalt K Rail System: Way Easy Stuff
The K Rail system really can’t get any easier to install. You just need a drill, some kind of level, a sharpie, and screws. I put together a printable list of all the supplies you’ll need at the end of this post. So make sure you check that out before you do this project.
Here’s a picture of a portion of the K-Rail to give you an idea of what the finished look is like before adding the accessories.
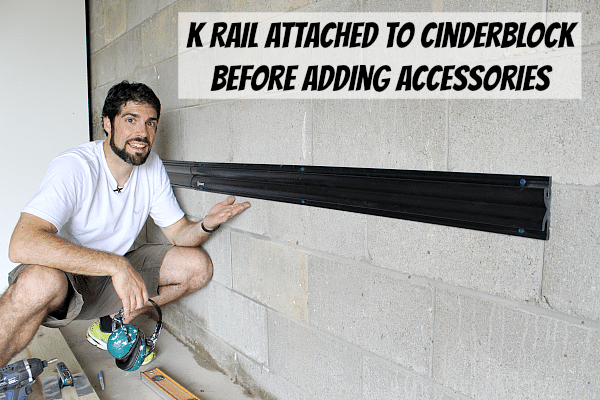
K-Rail is just a 50-inch long piece of plastic railing that attaches to your wall. Once it’s in place you can then add all your hooks, shelves, and baskets.
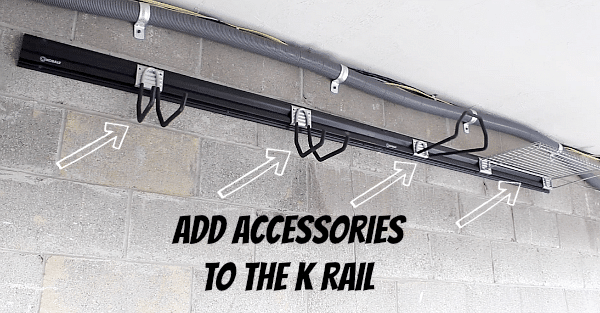
I’ll walk you through this process step-by-step for cinderblock or cement walls. If you have drywall in your garage you simply need to screw the K-Rail into the wood studs behind the wall.
There are two grooves on the top and bottom of the K-Rail. This is where you need to drill holes for the mounting screws. You need to drill at least 6 holes in your K-Rail.
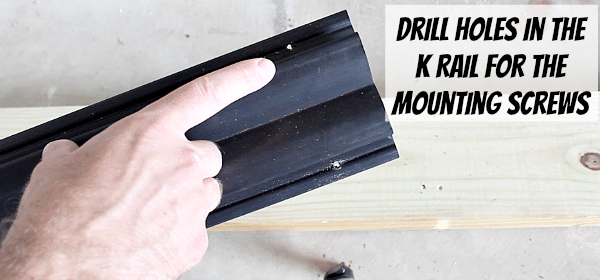
I drilled hole positions at the 4 corners (2 inches from the ends of the K-Rail) and directly in the center.
Mark a level line on your garage wall with a pencil that will indicate the location of the K-Rail. You can use either a traditional level or laser level. Of course, I’m using both in this picture just to be a complete DIY nerd.
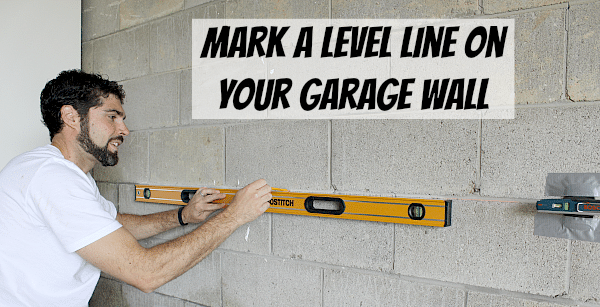
Line up the K Rail with your level line and make a mark on this line that corresponds with the top center hole in K-Rail.

I highly recommend trying to drill into a mortar joint for at least one set of holes. It’s a whole lot easier to drill through mortar than cinderblock.
You’ll need to set the depth of the Tapcon drill bit in the hammer drill so that it will be about 1/4 inch longer than the Tapcon screw. This allows the Tapcon screw to fully engage into the wall.

Position the Tapcon screw in your hammer drill over the mark you made on your level line. Then make a hole in the cinderblock that’s 1/4 inch longer than the Tapcon screw.

Drill the Tapcon screw 1/2 inch through the K Rail’s top center hole.

Position the screw in the K-Rail into the hole in the cinderblock. Then drill the Tapcon screw the rest of the way into the wall with a screwdriver bit in your drill. I used my impact driver to do this part but a traditional drill will work great.

Make sure the K-Rail is level then go ahead and drill the bottom center hole in the K Rail with the hammer drill and Tapcon bit.

Again, drill a Tapcon screw the rest of the way into the hole.
Do this for the 4 other holes in the K-Rail that are at its four corners.
The final step is to attach your accessories. Each hook, basket, or shelf has a J bend that loops over the top portion of the K-Rail and snaps into place by pushing down.

Position your accessories according to your plan and you’re all set to start organizing.

BAM!!!!
That’s how easy it is to install the wall mounting rails. Of course, you’ll need to repeat this process for the other sections but it’s SUPER straightforward. I’m betting that you can relate to the struggle that is garage organization. So I made this video to help walk you through the K-Rail installation 😀
What’s Next
Overhead storage is also a great idea for a garage, especially if wall space is limited.
If you’re doing a bathroom remodel and need help, join one of our online courses – they’ll make your bathroom renovation much easier!
Let me know if you have any questions and I’ll do my best to help.
Thanks as always for reading, watching, and being part of our awesome community.
Cheers,
Jeff


