Learning how to finish drywall ceilings is a good skill.
The tips and tricks are the same for new drywall or drywall patches.
I’ll share what tools, materials, and techniques make it easier.
And you’ll see how to cut down the working time.
Let’s dive in.
Finish Drywall Ceilings Like a Pro
I’ve organized this tutorial into the following sections:
- Tools and Materials
- Mixing Joint Compound
- How to Tape Drywall Seams
- How to Fill Drywall Screw Holes
- How to Apply the Second Coat
- How to Sand Drywall
- Priming and Painting Tips
You can tap the above links, which’ll take you to the specific part.
Also, you might want to grab a pen and paper. That way, you can take some notes.
Tools and Materials
One way to speed up drywall finishing after drywall installation is by using setting-type compound.
I like using 20 or 45-minute joint compound.

In addition, this joint compound cures harder than premixed compound.
Also, it cures via chemical reaction (instead of by air); as a result, it will be ready to sand in an hour or two.
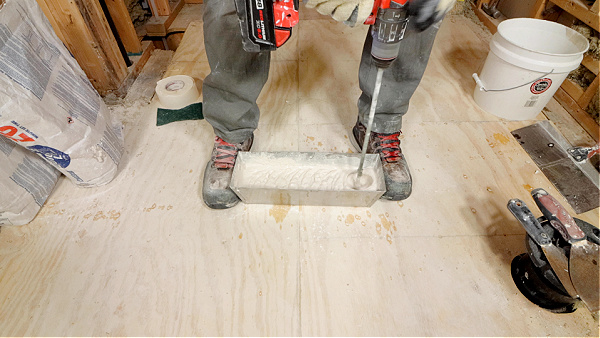
I use a drill, mixing paddle, and stainless steel mud pan to mix joint compound.
For butt seams, I use paper tape. However, for corners, I like Strait-Flex Original.
The reason is simple: it’s stronger than paper and doesn’t develop bubbles.
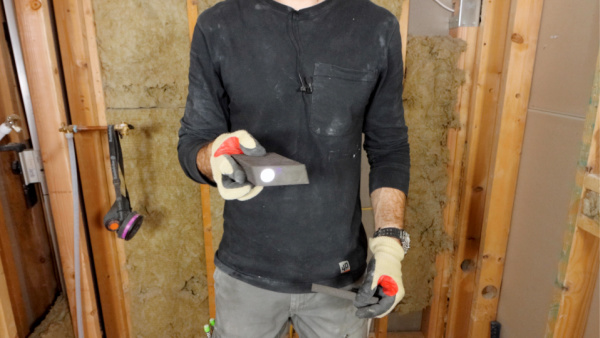
I use 2-inch, 6-inch, 10-inch, and 12-inch joint compound knives for most projects.

Although you don’t see them in this tutorial, I love using Level 5 drywall tools. They’re stainless steel, won’t rust, clean easily, and are a great investment.
It’s important to keep drywall tools clean. I use a heavy-duty Scotch-Brite pad for that.
Mixing Joint Compound
The consistency of joint compound is critical for proper finishing.
Since I’m a dessert junky, I compare my joint compound to a Wendy’s Frosty – only creamier.
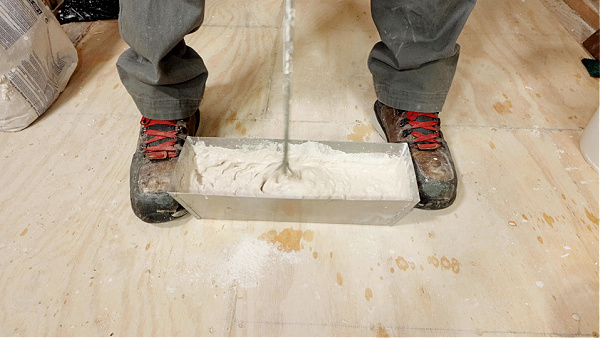
I fill my mud pan with cold, clean water. The cool water gives me a bit more working time.
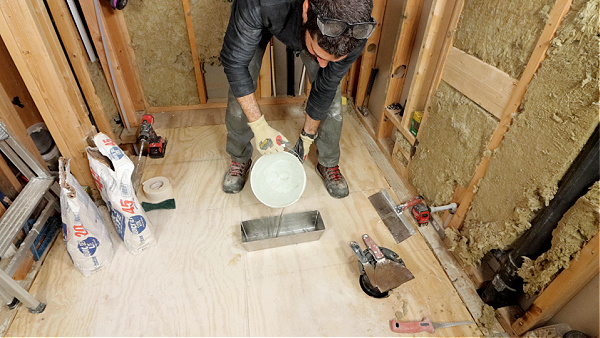
Then I pour the joint compound into the pan.
I try to fill 1/3 of the pan with water and 2/3 of the pan with powder.
Then I slowly mix the combination with my drill and paddle.
I remove any powder from the sides of the pan with the 2-inch knife after about 30 seconds of mixing.
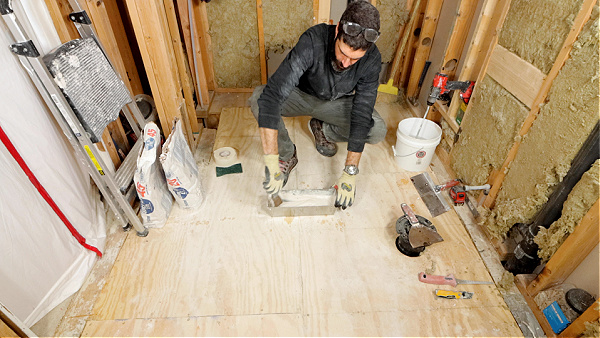
The joint compound must be free of air bubbles and powder flakes.
Otherwise, you’ll need more coats of compound to fix defects like high spots and fish-eyes from popped air pockets.
How to Tape Drywall Seams
One mistake some beginners make is not having tapered butt joints.
Drywall panels come with tapered edges. And when two tapered edges meet, they create a recess.
This recess helps the butt joint get finished and stay smooth without a noticeable hump.
Side note: If you’re drywalling by yourself and adding panels over existing drywall, this tutorial is great.
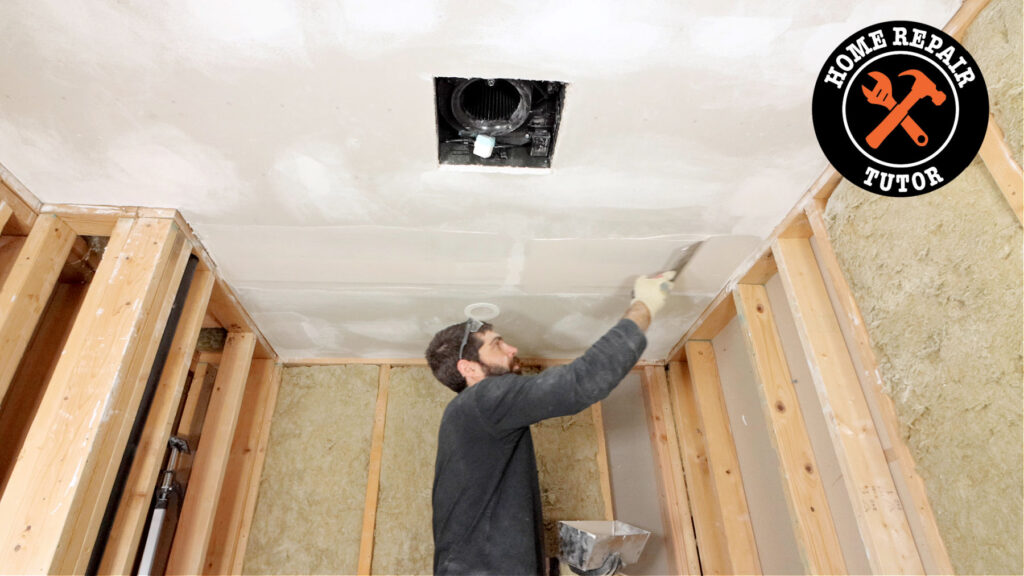
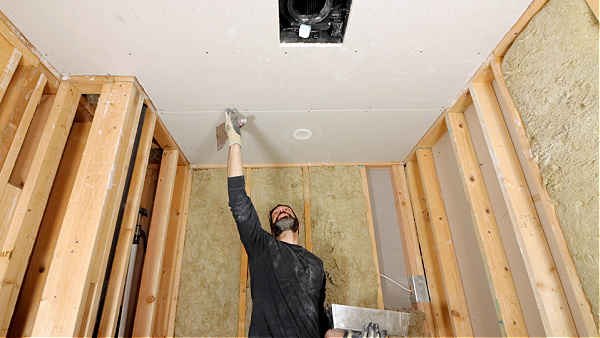
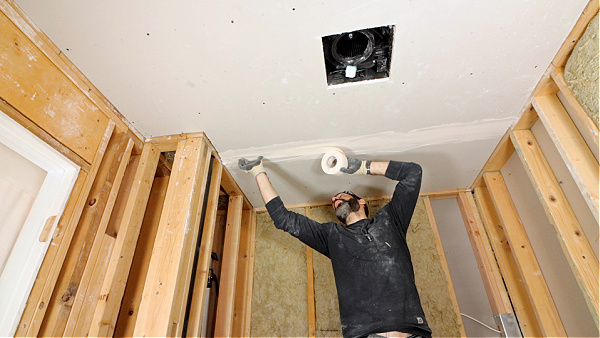
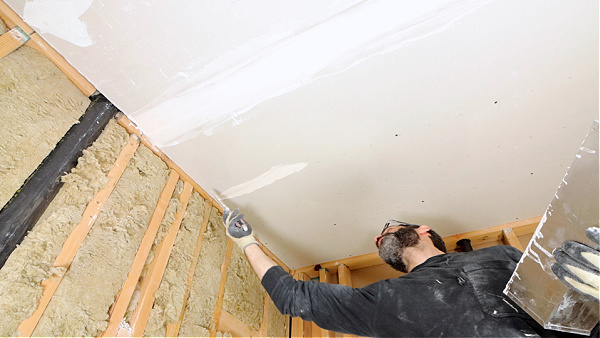
I fill the recess with joint compound; it’s about a 1/8″ thick layer.
Then I embed the paper tape and compress it.
The tape should be centered on the butt joint, have no air pockets, and be as flat as possible.
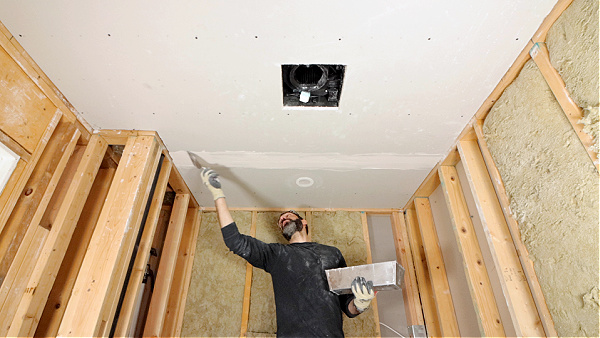
After I compress the paper tape, I ensure there’s little to no joint compound on the drywall ceiling.
In addition, I inspect the tape for air pockets or excess compound.
How to Fill Drywall Screws
My goal with drywall screws is not to overfill the dimple.
Too much joint compound makes the sanding process messy and tedious.
Thus, my first pass over the screws is to apply a light coat that barely covers the screw.
On a side note, the screw head should be slightly below the paper, but not tear it.
It’s only recessed 1/32 to 1/16 inch, which makes the finishing process easier.
I only use my 6-inch joint compound knife to fill individual screws or multiple screws.
I use a sweeping motion with about 1-2 inches of compound on the knife to fill several screws at one time.
After about an hour, I use my 6-inch knife to knock down any joint compound high spots.
If I applied the joint compound properly, I barely need to sand the first coat.
How to Apply the Second Coat
When I mix the second batch of joint compound, I make it as cohesive as possible.
I want the joint compound to be as smooth as butter with each successive coat.
This does two things: it reduces the sanding required and makes the application easier.
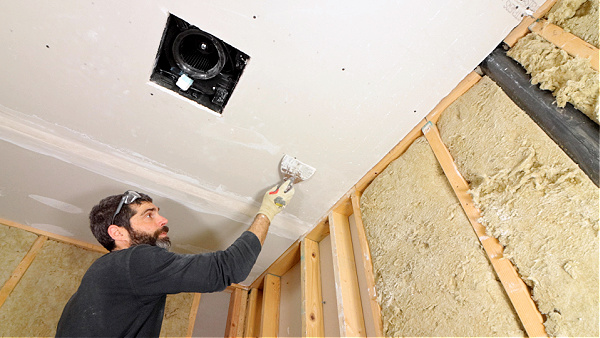
I use the 6-inch knife to add a second coat to the screws.
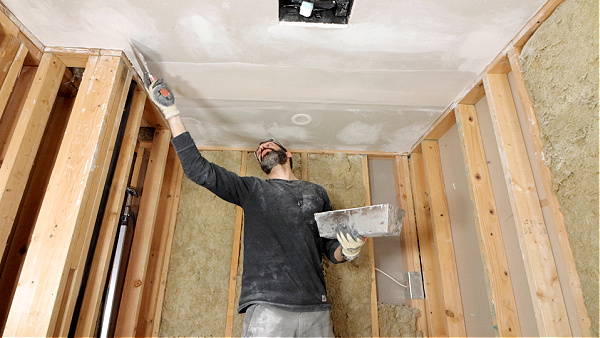
Then I use a 10-inch knife over the seams. This widens the finish and helps the seam magically disappear.
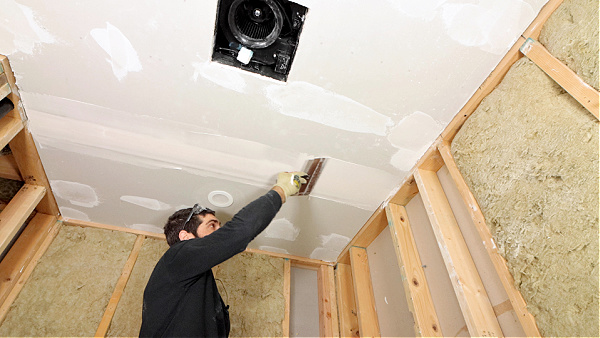
One helpful tip,
I hold the 10-inch knife and apply more pressure to the outside edge on my final pass.
This removes the excess compound and feathers the joint.
How to Sand Drywall
There are many ways to sand.
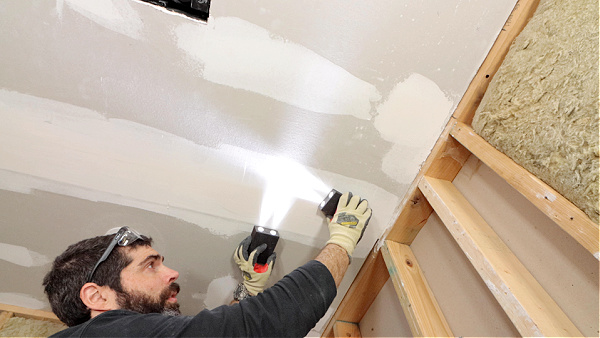
I prefer to do it by hand and with sanding sponges for bathroom renovations.
The Spy Sponge is one option that I love because there are lights in the sponges.
This provides the critical lighting needed to see imperfections.
I hold one sponge steady and use the other to sand the compound.
You’ll get amazing results if you pay attention to the details.
If you can’t get the Spy Sponges, use good lights to see the joint compound on the ceiling.
Heck, even a head lamp will be a good option if you have bad eyes like me.
The goal here is to lightly sand the compound and feather the edges.
Always wear a dust mask or respirator when sanding!
Priming and Painting Tips
Typically, I repeat the above process one or two more times.
My final pass on the seams is with a 12-inch joint compound knife.
I use the same methods as above and create a wider/tapered box.
Once all the sanding is done, it’s time to prime and paint.
Most of the time, I like using KILZ Primer or the primer that matches the topcoat.

I use a 3/8-inch White Dove nap roller from Purdy because it creates a smooth finish without leaving fuzz on the ceiling.
I also overlap successive coats by half the roller width. This provides a solid primer coat and reduces the number of top coats.
My video shows all of these tips in action
Drywall finishing is just one facet of bathroom renovations.
If you want to unlock all my bathroom remodeling videos, courses, and personal coaching, join Home Repair Tutor today – it’s one of the best online resources for anyone renovating a bathroom. Tap the button below to learn more
Jeff