So, you’ve got a plumbing problem. Maybe a leaky pipe, a stubborn toilet, or you’re just feeling adventurous and want to replace your old, crusty pipes with something shinier.
Whatever the reason, chances are you’ve come across the magical world of plumbing connectors. And if you’re lucky, you’ve stumbled upon the Fernco flexible coupling.
What is a Fernco, you ask?
Imagine a rubbery superhero for your pipes. It’s that flexible connector that can bridge the gap between two pipes without breaking a sweat (or your plumbing).

But don’t be fooled by its flexibility, Fernco couplings are strong. Especially when used with stainless steel shields.

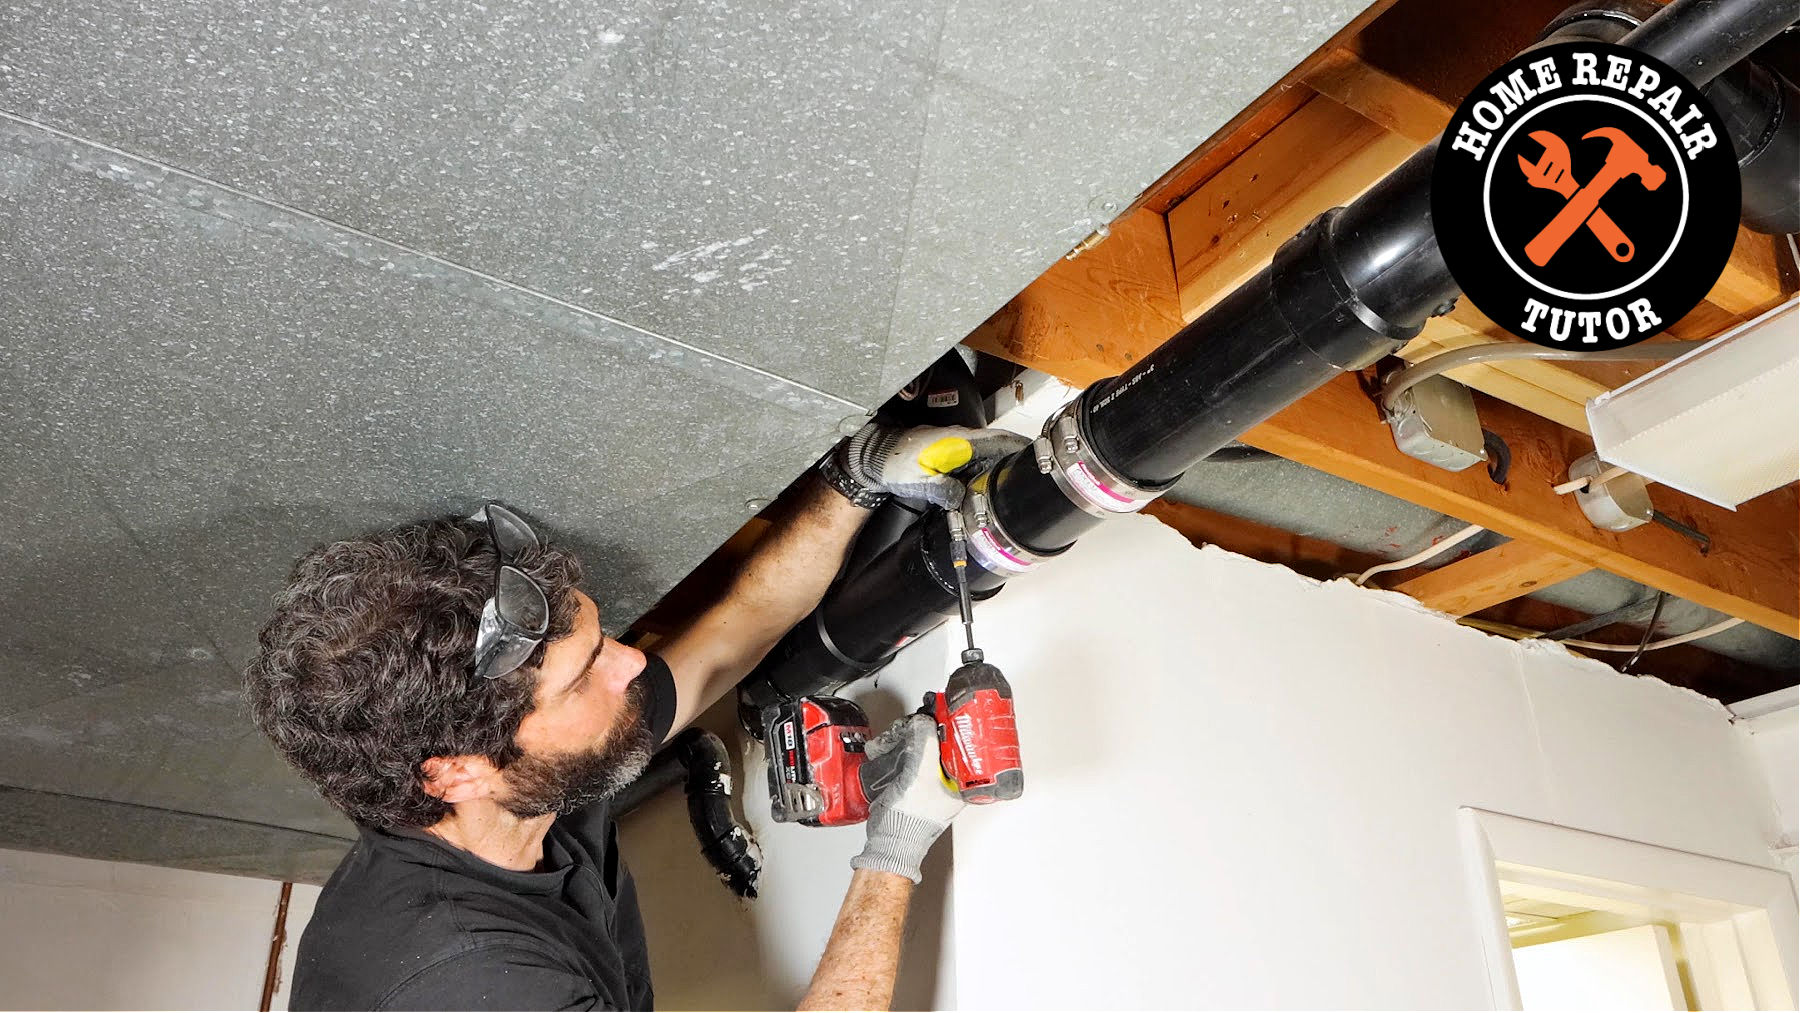
In this tutorial, you’ll see how I used 3-inch Fernco couplings to replace a section of pipe. This project was specifically for plumbing a new toilet. Yet the tips and tricks are applicable to other projects, like shower drains.
Let’s Get Down to Business with Fernco Couplings
Step 1: Gather Your Gear
Before diving headfirst into this plumbing adventure, ensure you have the right tools and, of course, your Fernco flexible coupling.
Here’s a list of tools I like to have:
- Reciprocating Saw/Hackzall or
- Reed Tube Cutter
- Milwaukee AX Blade (for saw)
- Reed DEB4 for chamfering pipe
- Utility Knife for deburring pipe
- Fernco Coupling with Stainless Steel Shield
I’ll be frank, my favorite tool out of all these is the Reed Tube Cutter. It’s quick, makes square cuts, and relies exclusively on good old elbow grease. That said, for tight situations like this, I use the Milwaukee Hackzall.

Step 2: Cut and Prepare Pipes
In this situation, I had to cut the 3-inch pipe to rough in new plumbing for a toilet. The most important thing is to make a square cut. You can accomplish that with a reciprocating saw and Milwaukee AX blade or Reed tube cutter.
Once the pipes are cut, I deburr and chamfer them with the DEB4. You can also use a utility knife.

Step 3: Slide on the Ferncos
Now, comes the fun part! Carefully slide the Fernco onto the replacement pipe. It might feel a bit like trying to put on a too-tight sock but don’t worry, it’ll go on. Once it’s on, push it as far as it will go. I then fold back the rubber to the stop. I like having both couplings on the pipe, you’ll see why in a second.

Step 4: Position the Steel Shields
Place the stainless steel clamps and warm drives onto the house pipes. Then fold the Fernco rubber coupling onto the same pipes. Slide the clamps over the coupling. As you can see, this is super helpful when there’s no movement in the plumbing.

Step 5: Tighten the Warm Drives
Tighten the warm drive clamps until the rubber Fernco coupling is snug against the pipe. Fernco recommends 60-inch lbs of torque. That said, I use my impact driver most of the time. Then proceed to the next step.

Step 6: Water Test
Turn on the water and check for leaks. I do this by flushing the toilet a few times or letting the water run in the shower or sink. If everything is copacetic, give yourself a pat on the back. You’re officially a Fernco installation champion! If there’s a leak, don’t panic. Tighten the clamps a bit more or check for any gaps in the connection.

And there you have it! That’s how you successfully use a Fernco Coupling.
By the way, this is just a snippet from our full tutorial series inside Home Repair Tutor’s Video Library. If you’re doing a bathroom remodel and need extra help, join our Gold or Platinum Membership. Tap the button below to check it out
Cheers,
Jeff


