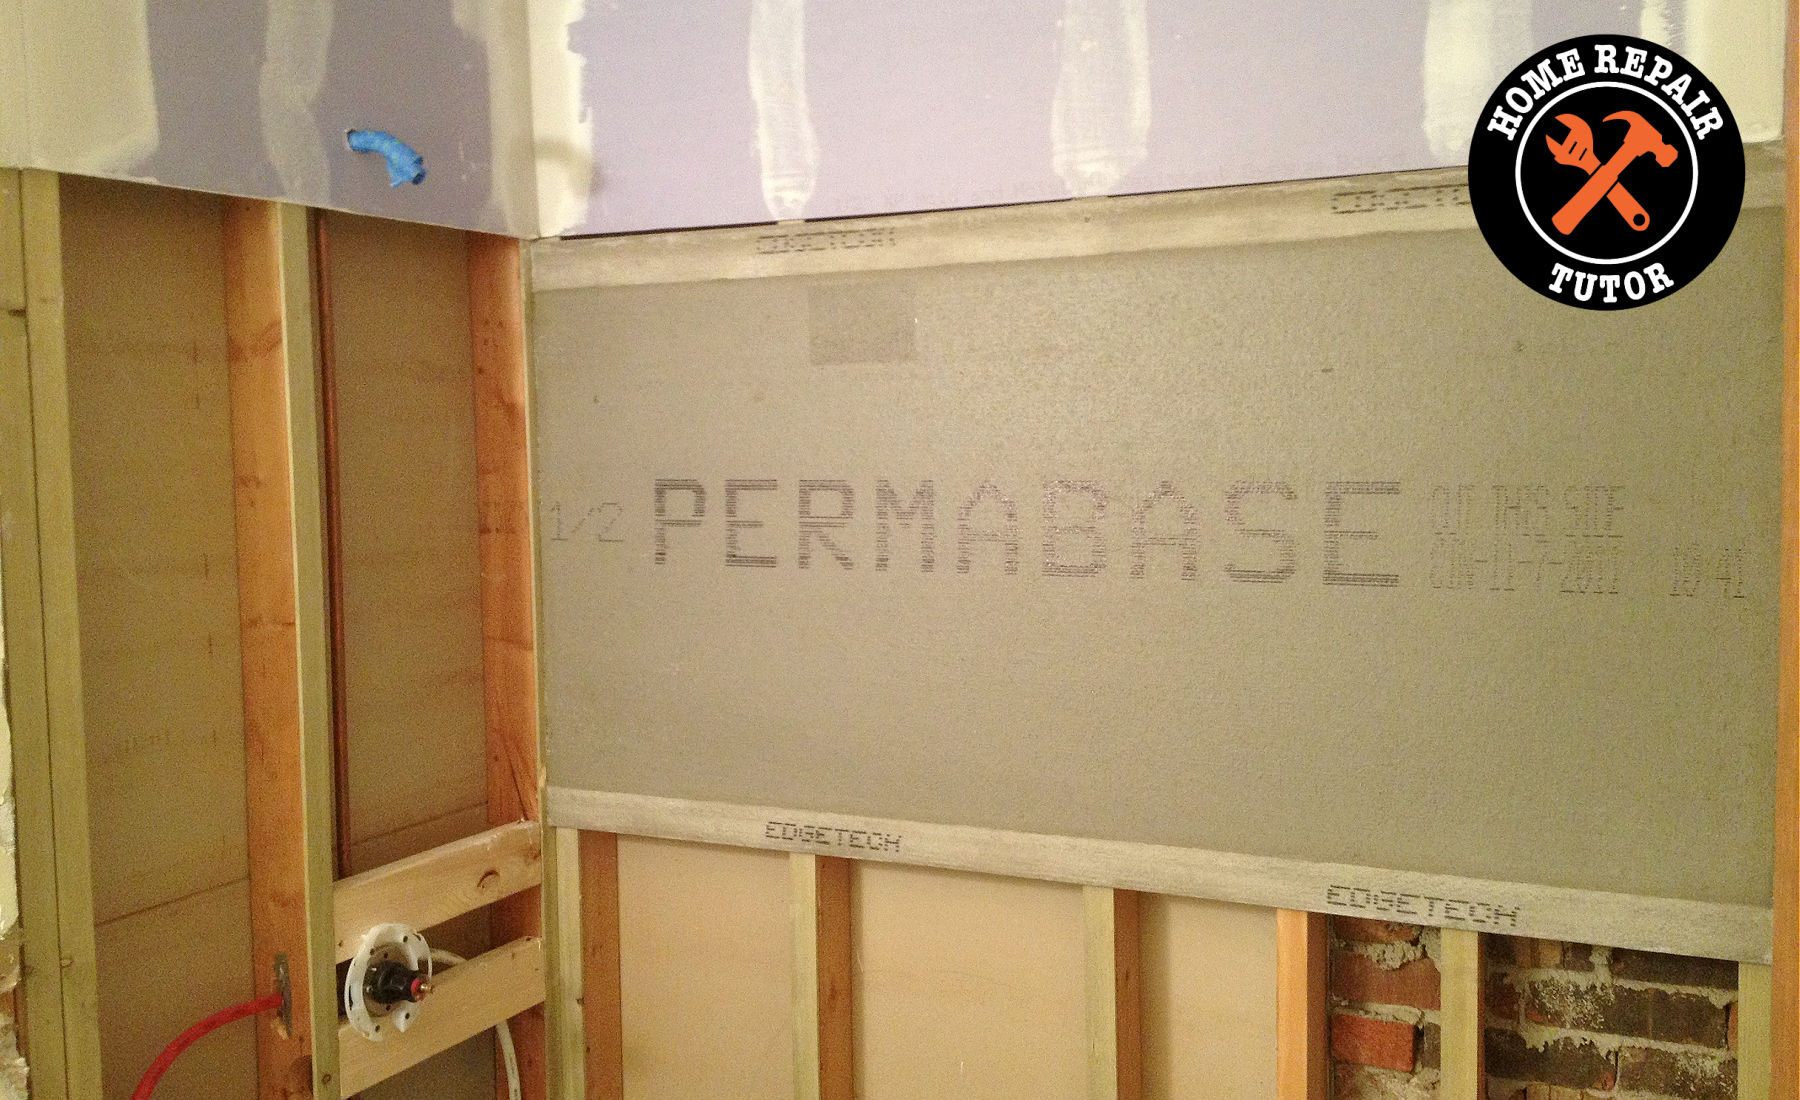
In this tutorial, you’ll see tips for how to use Permabase cement board inside showers.
My previous tutorial gave tips for attaching cement board to shower stud walls.
Since cement board panels come in 3 ft x 5 ft sections it makes the installation much easier than you’d think.
With that said, some tips make the final steps of cement board installation less frustrating.
And I’m going to share those with you today.
How to Cut Large Holes in Permabase Cement Board
Cutting accurate holes in Permabase cement board can be difficult.
And you want those holes accurate for the shower valve and tub spout.
The first step is to get the location of the shower valve.
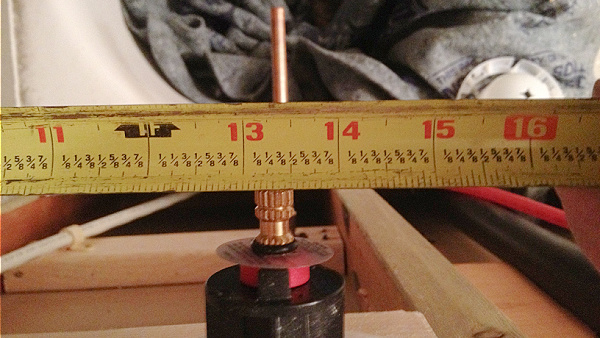
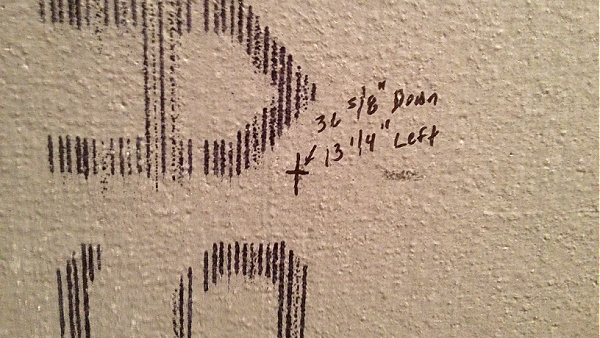
For instance, in this shower, it was 13-1/4 inches from the main shower wall.
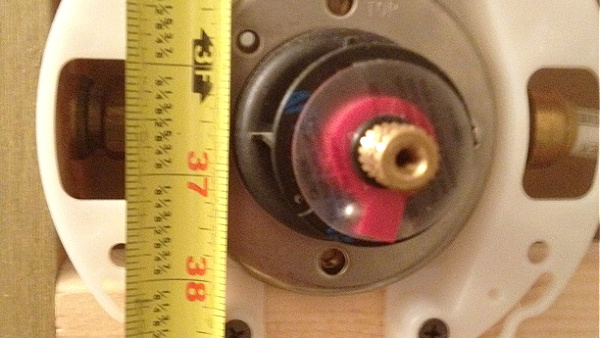
And 36-5/8 inches from the cement board/drywall transition.
This location marks the center of the shower valve on the Permabase cement board.
I carefully measured the radius of the shower valve and determined it was 2-1/2 inches.
But I wanted a little wiggle room for the final cement board hole and made it 2-13/16 inches.
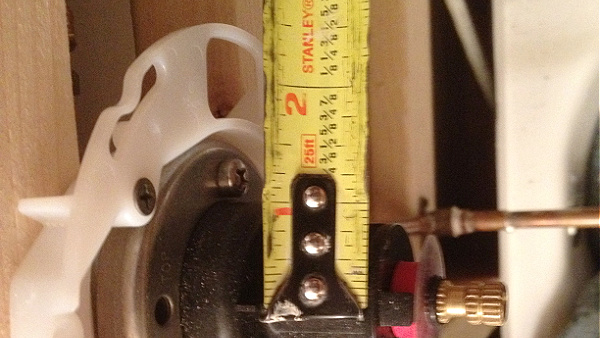
Here’s the deal,
Cutting a perfect hole in Permabase is easy with a scribe.
I made a scribe with two cement board screws and a sturdy piece of scrap wood.
The first step was to place a screw 1 inch from the edge of the wood.
Then I positioned the second screw at 2-13/16 inches from the first screw. This was the radius of the shower valve location.
Then I drilled the first screw into the mark on the cement board that indicated the center of the shower valve.
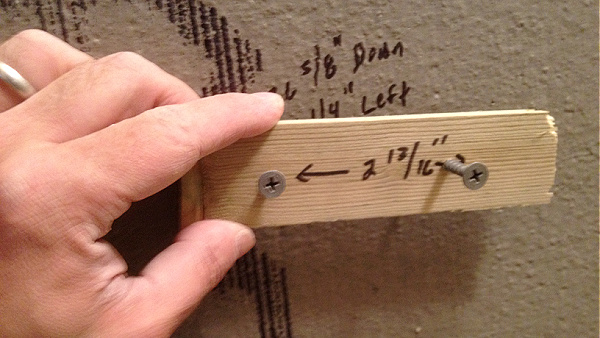
This allowed me to turn the scribe and cut through the mesh and cement layer in the Permabase
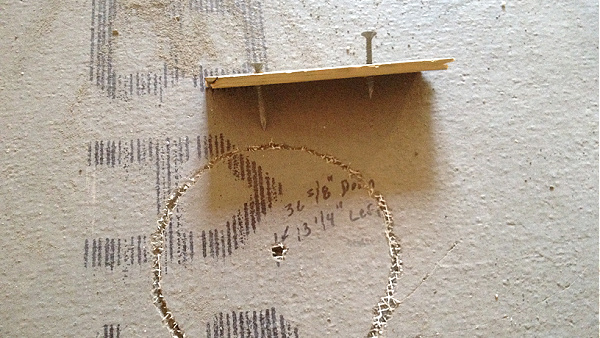
At this point, the hole is halfway to completion.
I turned the cement board over and inserted the scribe in the center hole.
I used the scribe to cut through the mesh and cement on the back of the panel.
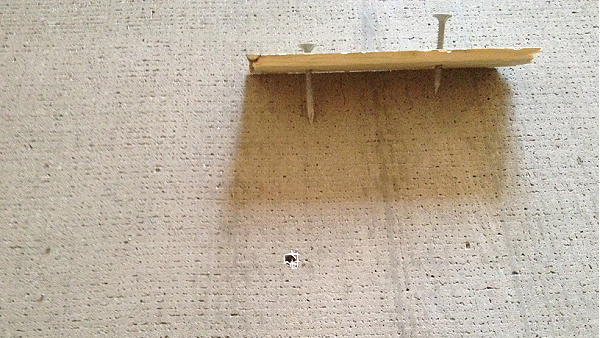
Finally, I used a hammer to remove the scored circle from the Permabase.
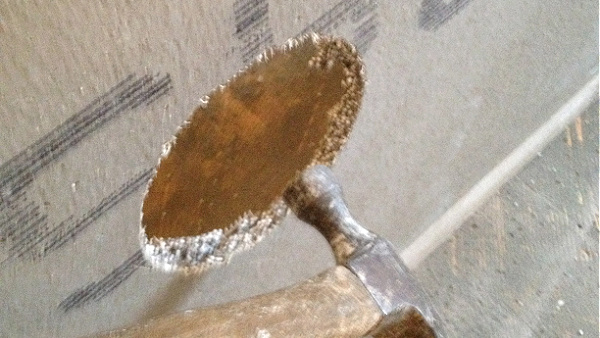
This scribe method is cheap and effective.
How to Cut Small Holes in Permabase
Most showers have either a tub spout, shower head, or both.
So you’ll need to cut small holes in Permabase for those.
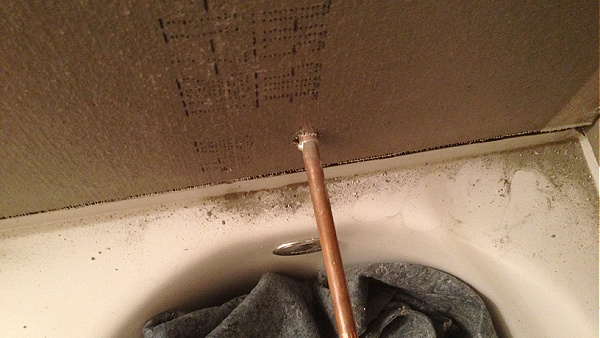
In this shower, I got the location of the tub spout by measuring the distance between the side wall and the tub deck.
And this time, I used an old hole saw to make a hole in the Permabase.
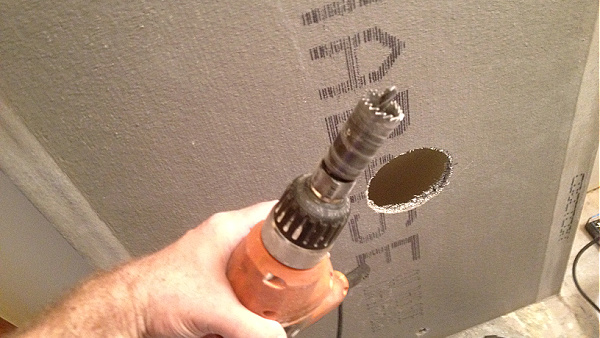
Normally I use 1-inch hole saws for copper tub spouts.
Another option is to use 1-inch diamond hole saws.
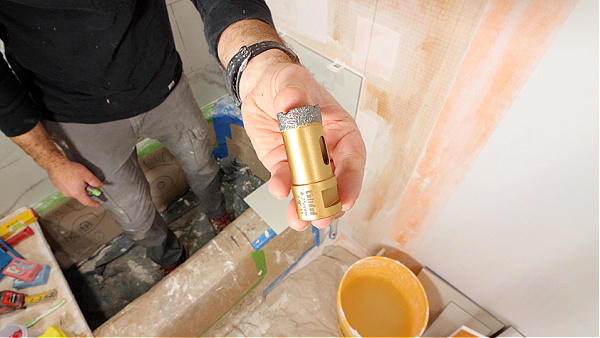
I typically have these on hand for the tiles.
But they work well for Permabase cement board or KERDI-BOARD.
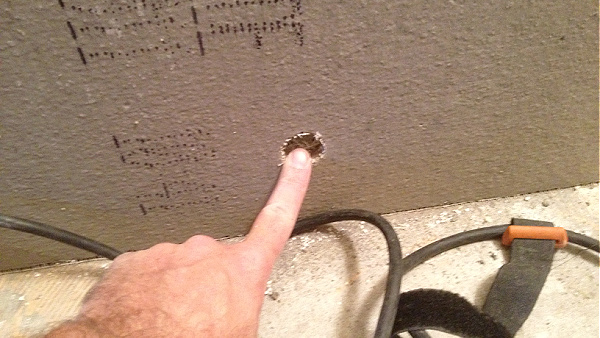
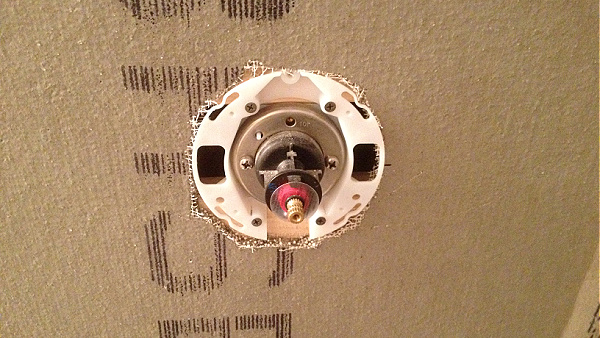
Making these holes as accurate as possible is important.
That way the Permabase will fit tight against the shower valve.
And the tub spout.
I used 1-5/8 inch cement board screws to attach the Permabase cement board directly to the studs.
Screws were spaced every 10 to 12 inches along the stud height and about 1/2 inch from the edge of the panel.
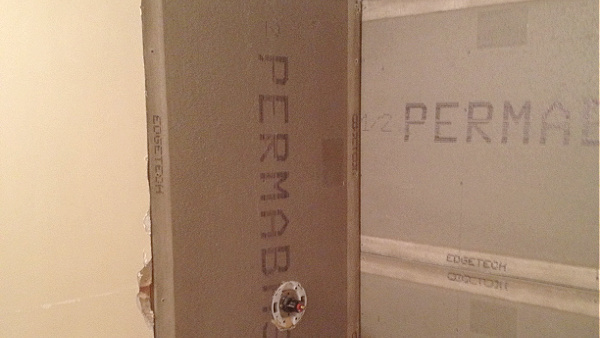
Most cement board manufacturers recommend a 1/8-inch gap between cement board panels or drywall.
Then I use modified thin-set to fill in the screw locations and embed alkali-resistant mesh in the corners and seams.
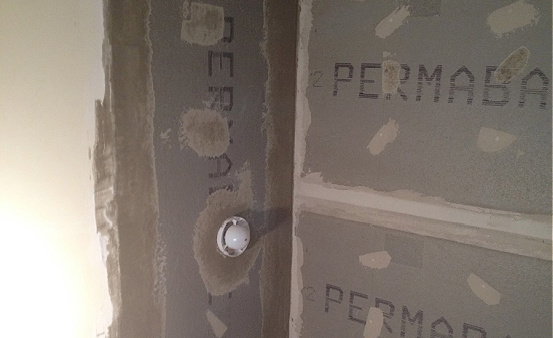
Finally, I use RedGard to waterproof the Permabase after the thin-set cures for a day.
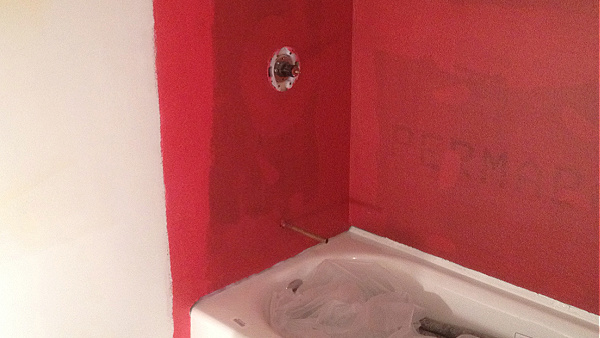
Honestly, I wish I had known these tips before I did my first shower.
So hopefully they help you out.
What’s Next
Keep in mind, Permabase cement board isn’t the only type of backer board for showers.
KERDI-BOARD is terrific, much lighter, and more versatile.
If you need help with your bathroom remodel join our Platinum Membership. You’ll make your project easier with over 375 step-by-step tutorials and Personal Coaching.
Learn more by tapping the button below
Cheers,
Jeff


