Are you tired of your outdated bathtub?
Me too.
The gold 1980s shower doors, moldy caulk, stained grout lines…
If your bathroom makes you feel like you’re roommates with Tom Hanks & Shelley Long in Money Pit then read on.
But where do you begin a bathtub renovation process?
I’d like to help you start by sharing the concepts I’m going to use in my own bathroom remodel.
And if your current bathtub really grosses you out then I’ve got a special treat for you.
All 9 of my tips have the same theme: modern and maintenance-free.
I’ll repeat that last part – MAINTENANCE FREE!!!
I’m totally excited to share these tips. Let’s get started.
Ooops, I almost forgot. Grab a pen and some paper because you’ll want to take some notes 🙂
So here’s the deal, over the next several months I’m going to do a series of posts that outline things you should consider when redoing a bathroom.
I’m doing it so that you’ll have a roadmap to follow.
Today I’m going to discuss what you should consider when renovating a bathtub or shower.
Without further ado, here are the 9 Tips along with a video that shows you what I’m talking about.
Tip #1 – Porcelain Tiles
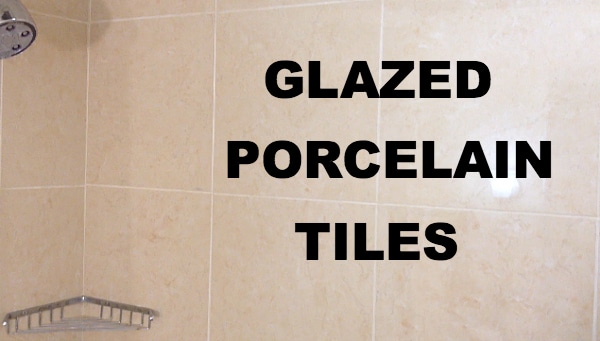
When choosing tiles I recommend porcelain because it’s harder and denser than most ceramic products.
You should definitely consider glazed porcelain tiles because they are easy to clean. The water will bead right off and soap scum has a hard time gripping to the smooth surface.
You’ll know a glazed porcelain tile when you see one because the surface is smooth like glass.
The other cool part is that they don’t need to be polished, waxed, or sealed. Plus they’re super resistant to harsh chemicals. Although I don’t think you’ll need harsh chemicals after reading the rest of this post.
Porcelain tiles have come down in price without sacrificing quality. And I’ve been impressed with the variety of styles you can get for $2 to $4 per square foot.
Doing some quick math, if you have a standard size bathtub (around 66 square feet of tub surround) the total material cost is roughly $288 if you use tiles that cost $4 per square foot. This calculation also factors in 10% more material in case you’re like me and make a few mistakes!!
That’s not a bad price for a tub surround that will last 30 years or more. Just make sure to pick a tile you like!!
And finally, the bigger the tile the less maintenance because you’ll have less grout lines – which is a nice transition to Tip #2…
Tip #2 – Small Grout Lines
There’s nothing worse than trying to clean stained grout.
My most popular post here on Home Repair Tutor deals with this very topic.
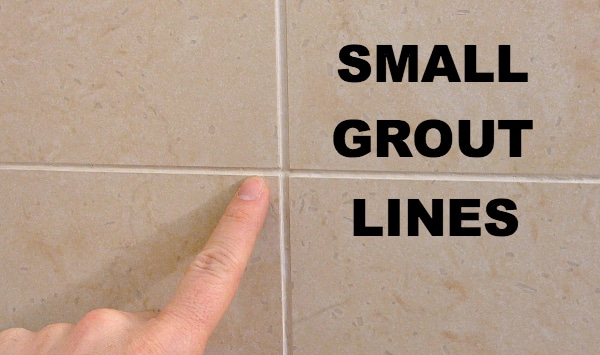
Grout lines less than 1/8 of an inch are good for showers because soap & body oils tend to discolor grout faster than tile.
Remember this tiny bit of advice:
BIG TILES + tiny grout lines = LESS maintenance
Now, if you’re going to use small grout lines your tile job will need to be pretty darn good. The tiles will have to be super level and the cement board will need to be plumb.
And each tile needs to be inspected to ensure lippage is minimized.
Lippage is when tiles become uneven, or one tile is higher than the other. It can be avoided by having a good cement board installation and using a level on each tile that’s installed.
Unsanded grout can be used for grout lines less than 1/8 of an inch. Opt for this variety of grout if you do choose highly glazed tile because it won’t scratch the tile surface when being installed.
You can also opt to use epoxy grout which is super stain and chemical resistant. Before using any epoxy grout make sure you read the manufacturer’s directions.
Epoxy grout is probably the best in terms of durability but the hardest to apply to tile. It sets up faster than either sanded or unsanded grouts and can scratch glazed tiles because it has sand in it.
That said, I used epoxy grout for our shower tile floor and was thrilled by the end result (and the fact that the grout is stain-free).
Two grout companies I can recommend are Mapei and Custom Building Products. Check out their websites because they have a ton of info – great for a DIY geek or someone trying to figure out what a contractor is talking about 😀
Tip #3 – Seal Grout Joints
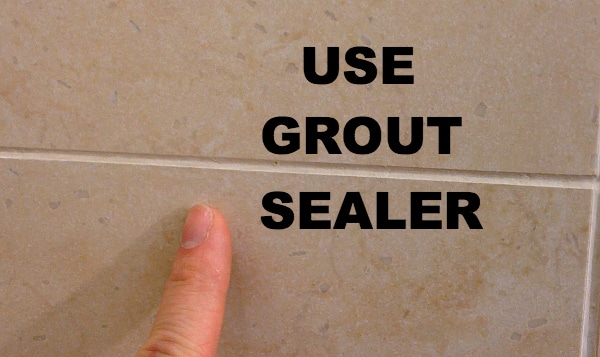
Grout joints get stained because they aren’t sealed.
Both sanded and unsanded grout joints should be sealed with a product made by the same company that produced the grout.
Yes, this can be a pain in the butt. Yet it’s well worth the effort.
Just think about it, you installed the tile and applied grout. This took a lot of effort.
To give up at the very end is well, kinda wimpy. And you’ll have a lot of time to reflect on this mistake while scrubbing the grout with a toothbrush.
Sealers cost less than $10 for a bottle. You probably only need one bottle since grout has very little surface area. Seriously, a little goes a long way in this case.
There’s no doubt that grout can look disgusting, but caulk get downright nasty.
Tip #4 – Caulk that Has Microban
Mold and mildew.
You’ve seen it in showers and probably gagged a little.
Okay, maybe that’s me remembering something my wife said (most likely to get me to start a bathroom remodel).
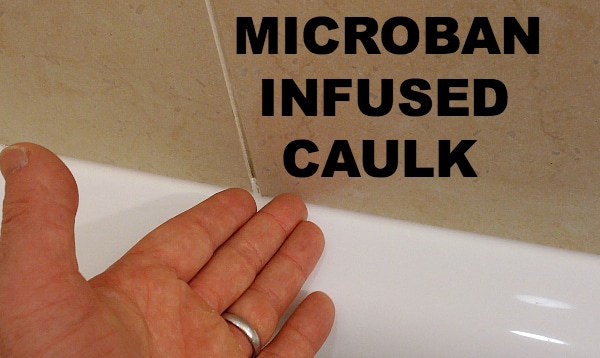
The point is this, you can avoid seeing mold and mildew first thing in the morning by using a silicone or siliconized latex caulk that has Microban in it.
Microban is an additive that reduces the growth of bacteria which in turn causes stains and odors. It can also reduce mold and mildew growth.
DAP makes a fantastic product called KWIK Seal Plus with Microban. This is a caulk specifically made for bathrooms.
Always, I’ll repeat myself, ALWAYS choose a caulk made for bathrooms. Otherwise, you’ll find yourself repeating this process after the caulk cracks or lifts off the tub surface.
Two extra suggestions,
- Fill the tub with water (up to the overflow cover plate) before caulking the tub/tile transition
- Caulk all corners instead of using grout
Filling the tub with water pulls the tub down and widens the gap between the top of the tub and the bottom row of tiles. This allows the caulk to fully penetrate the seam.
Once the caulk is totally cured you can let the water drain. This step also prevents the possibility of the caulk splitting or separating over time due to the expansion/contraction of the tub. This is particularly important if you prefer to take baths instead of showers.
Grout in the corners will look okay for a year or two then you’ll start to notice cracks. Again, there is slight expansion/contraction of the walls and while grout is strong it’s just not as flexible as silicone or siliconized latex caulk.
Often times the manufacturer of the grout will have a caulk that matches the color of the grout. This is a fantastic option for all of us who are anal retentive and need things to match!!
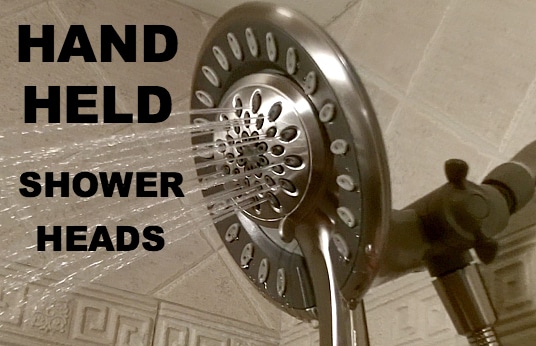
Tip #5 – Handheld Shower Heads
Stationary shower heads are great but a handheld version is BETTER!
Here are some reasons why
- Cleaning small kids is easier (especially when washing hair)
- Pet maintenance is quicker
- You can use the showerhead to rinse down the shower when cleaning it
If you’d like to swap out your old showerhead today I can show you how to do it in 15 minutes.
Keep in mind that there are a variety of different styles available. When we redo our bathroom we’re definitely going to install a handheld showerhead. Heck, it might be one of three showerheads if my wife has her way (okay, it’s actually me who wants this more than her)
Tip #6 – Wall Niches
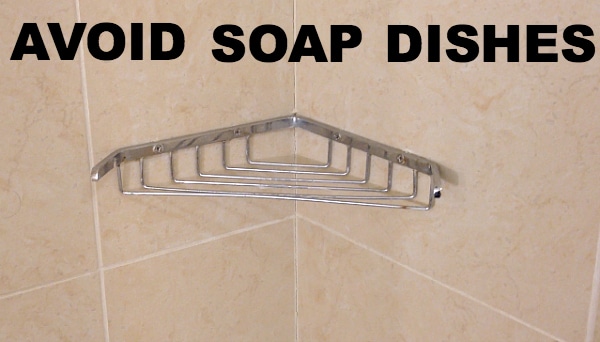
Soap dishes are one more thing to clean in a shower or bathtub.
And they’re in the corner most of the time. What happens in corners – nasty stuff to say the least.
If you’re going to remodel your tub or shower you should look into adding a wall niche. They are tucked into a recess in the wall.
Of course, you’ll want to waterproof the heck out of it. This is a more modern look than traditional soap dishes.
And whatever you do, don’t opt for metal soap holders that need to be drilled into the tile.
I explain why this is a really bad idea and discuss the 8 other things you should consider when doing a bathtub renovation so that your remodel will be as maintenance-free as possible.
Tip # 7 – Grab Bars
Bad news my friend, you and I aren’t getting younger.
But on a positive note, our human mortality is being prolonged.
The average life expectancy is 79 and 81 for Americans and Canadians respectively.
Did I mention that I love you Canada, especially Toronto? What a fun city and the Hockey Hall of Fame is there.
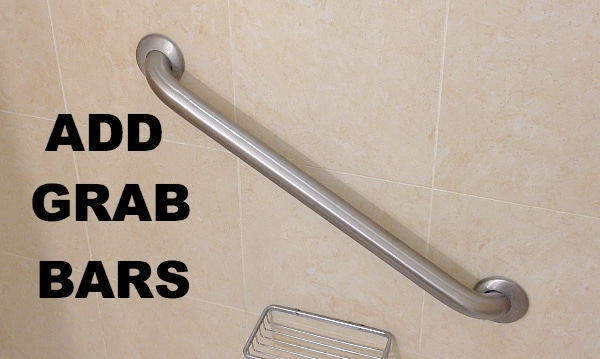
Having grab bars in the tub is an absolute no-brainer.
They come in a variety of styles and shapes.
Even though the one in my picture is kind of blah, you can find really stylish ones that fit your decor.
Grab bars need to be anchored to wood blocking. The blocking is usually made from 2 x 6 or 2 x something.
Just make sure you preplan and add the blocking to the area where you want the grab bars. You’ll have to do this before installing cement board.
Tip #8 – Opt for a Rod
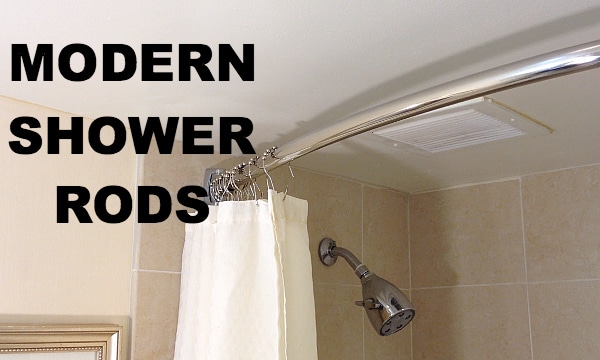
There’s nothing wrong with having a shower curtain rod.
Especially if your other option is cheesy shower doors like the ones in our bathroom.
Here’s the lowdown, if you’re revamping your bathroom on a budget you can always spend $70 on a great curtain rod and save your money until you can get a great set of doors.
If you’re remodeling a bathroom just to sell your house then a rod is an even better option than doors. Pocket the $300 yourself!!
Frankly, I don’t think doors look good at all with bathtubs. And if you’re doing a shower save up the money for a really stylish set of glass doors you’ll love for the next 20 years.
Make sure your shower rod’s finish matches the fixtures. Chrome with chrome. Stain nickel with satin nickel. Simple enough.
Speaking of fixtures…
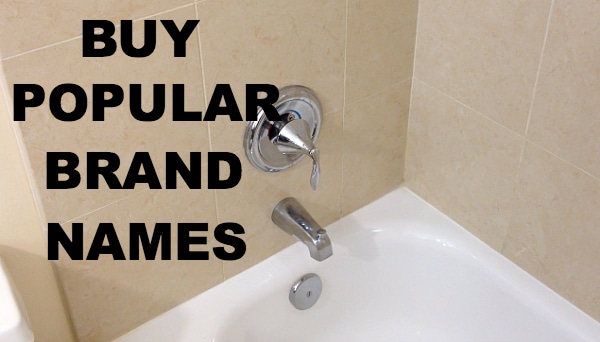
Tip # 9 – Buy Brand Names
I’m not one for flaunting brand names.
Trust me, I wore parachute pants and flannel as a kid.
But when it comes to your bathroom go with the name brands all day long.
American Standard, Delta, Kohler, and Moen are wonderful because they usually offer lifetime warranties. And as some of you might know these companies will send you free replacement parts.
When your cartridge or faucet handles start to go bad give the manufacturer a call. I did this with Delta and they sent me replacement faucet handles worth $100. I even told them the handles corroded because of our hard water!!!
When you choose your fixtures I recommend ones with chrome or satin nickel finishes, especially if you have hard water like me. Oil rubbed bronze exposed to hard water tends to wear a lot faster than chrome or nickel.
If you’re dead set on oil-rubbed bronze then investigate all the brands and read a ton of reviews.
There are a lot of things that go into bathroom renovations. And these 9 tips will serve you well.
To sum it up here’s what you should use
- Glazed porcelain tiles
- Small grout lines
- Grout joint sealer or epoxy grout
- Caulk with Microban
- Handheld shower head
- Wall niches instead of soap dishes
- Modern grab bars
- Shower curtain rod instead of cheesy shower doors
- Brand name fixtures because they provide free parts
And don’t forget to watch my video for three BONUS tips.
What’s Next
If you’re doing a bathroom remodel and need help, join one of our online courses – they’ll make your bathroom renovation much easier!
Let me know if you have any questions and I’ll do my best to help.
Thanks as always for reading, watching, and being part of our awesome community.
Cheers,
Jeff


