Need a conversation starter?
This tutorial will give you one.
I’m always up for building cool stuff to make our patio more inviting.
Since I’m also a penny pincher I like to figure out how to DIY these things and get a cool result.
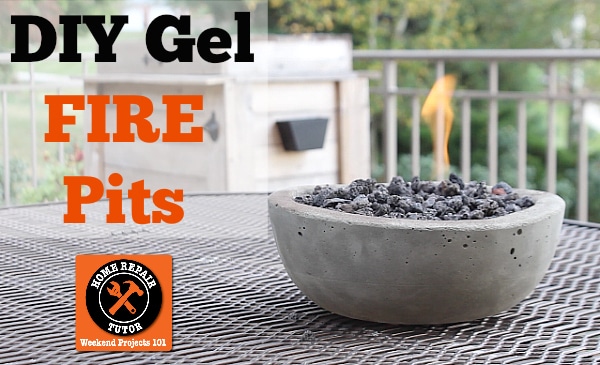
Cement DIY gel fire pits like the one I made are super easy to build, don’t cost a ton, and add sizzle to your outdoor space.
This project took me one day and I’m stoked to show you the details!!!!
It’s fall here in Pittsburgh. The nights are getting cooler and having a little fire pit would be nice.
BUT our local code doesn’t allow fire pits.
Probably something to do with homes burning down.
So I decided to build a small table top fire pit from concrete, lava rock and gel fuel.
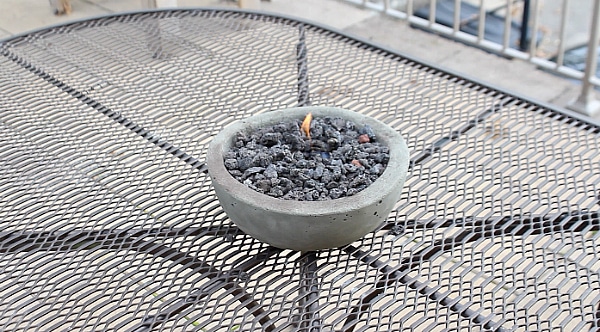
It’s probably the safest fire pit you could design for a table top setting.
Here are the supplies you need
- Plastic Bowl Set
- Newspaper
- Quikrete Quick Setting Cement
- Random Orbital Sander
- Respirator
- Chemical Resistant Gloves
- Pam Cooking Spray
- Paper Towels
- Margin Trowel
- 2 Gallon Plastic Bucket
- Grout Sponge
- Solid Gel Fuel
- Lava Rock
I raced all over town looking for the solid gel fuel only to find it at my local Lowe’s.
Duh!
It was in the garden center.
The lava rocks can be bought at a fireplace store.
Let me show you how to build a custom cement bowl for the fire pit.
It’s way easier than you think 😀
Build a way cool custom cement bowl for your fire pit
Do you remember making neat stuff in grade school art class?
Well this part of the fire pit project is kinda like that.
Place newspaper on your table.
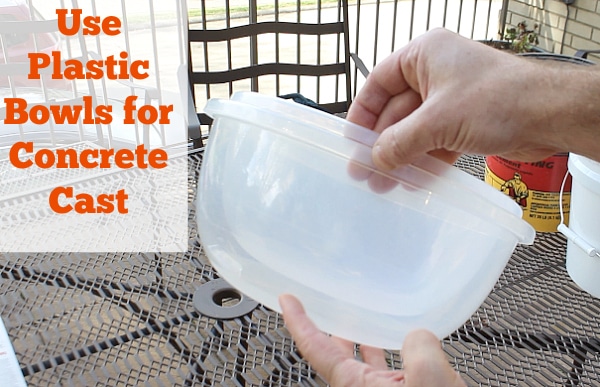
Get two plastic bowls, one smaller than the other.
The space between the two bowls needs to be about 1 inch. This will be the thickness of your cement bowl.
Put on your gloves and respirator, safety first my friend.
Place the sander close by. It’ll be used to vibrate the cement cast.
Spray the inside of the large bowl with Pam. Then spray the outside of the smaller bowl with Pam.
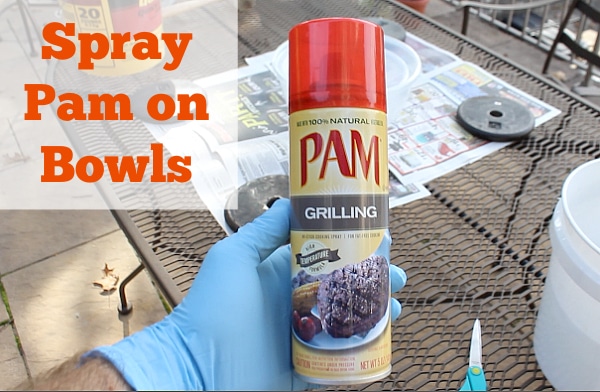
THIS IS SUPER important.
The Pam will allow the cement to pull off the plastic bowls. I show you an extra step in the video tutorial that makes this a full proof process.
Pour one bag of the quick setting cement into your 2 gallon bucket.
Then add enough fresh water to mix it with your margin trowel.
Always make more cement than you think you’ll need. I made the mistake of not doing this 🙁
The consistency will like a thick milk shake. You want the cement to be pourable.
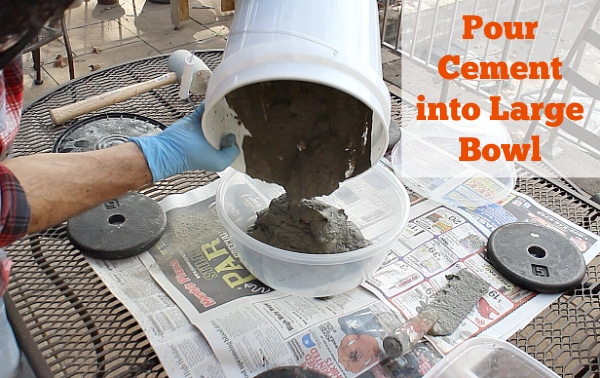
Pour the cement into the large bowl.
Then press the smaller bowl into the cement mixture.
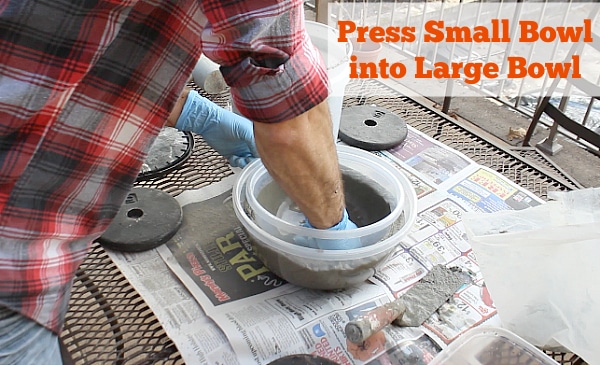
Make sure the small bowl is centered inside the large bowl and has a 1 inch gap on the bottom.
Use the sander (without sand paper) to vibrate the large bowl. This will help remove air pockets.
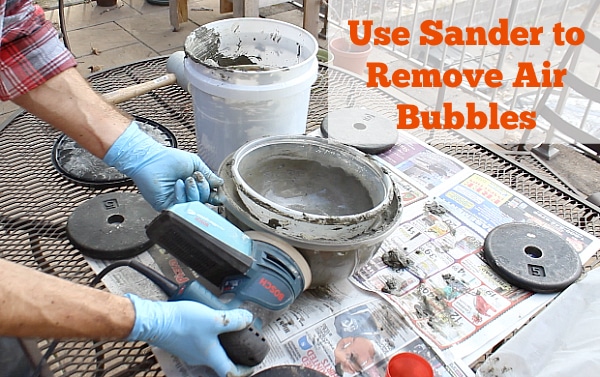
Let the cement sit for a good 5-6 hours.
Then you can pull the small bowl from the large bowl.
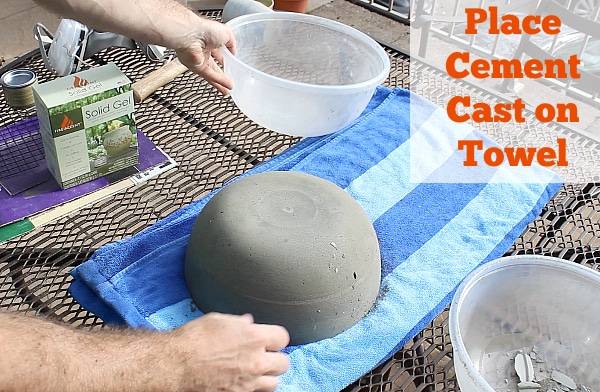
Place a beach towel on your table and turn the large bowl upside down while holding the cement cast with one hand.
Voila!!!
There’s your cement cast.
Now for the fun part: playing with FIRE!!!!
How to safely setup your gel fire pit
The bowls I bought at Walmart were just deep enough to hold a gel fuel can.
Wear chemical resistant gloves and open one fuel can. Place it in the center of the bowl.
It wouldn’t hurt to temporarily place the cans lid back on so that you don’t get lava rocks in the fuel.
Spread the fire resistant lava rocks around the gel fuel can.
Light the fuel with a long match or lighter.
And you’re done.
Check out my video for all the details and extra tips. I thought this was a fun 1 day project. Once you have the supplies you can make more DIY gel fire pits pretty darn easily.
What’s Next
If you’re doing a bathroom remodel and need help, join one of our online courses – they’ll make your bathroom renovation much easier!
Let me know if you have any questions and I’ll do my best to help.
Thanks as always for reading, watching, and being part of our awesome community.
Cheers,
Jeff


