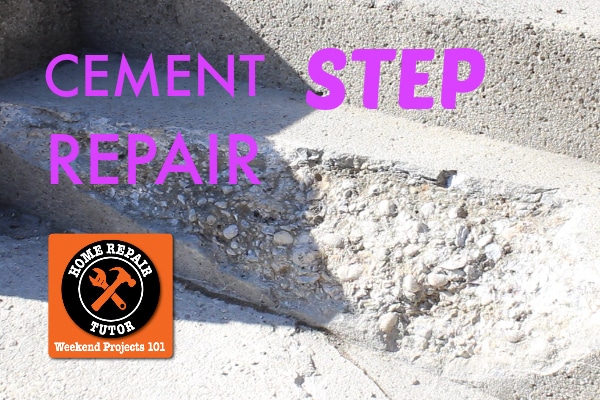
This week’s tutorial is all about showing you a quick way to fix cement steps in less than one day.
Here’s the deal, you don’t need any cement experience to do this.
If you mess up it won’t be the end of the world either. After all, you already have a broken step, right?
I’ll walk you through this repair, show you all the tools and share the products that are DIY friendly.
Cement isn’t much different than playdough, although the former is a tad bit harder in the end!!
So let’s have some fun and get started 🙂
Cement Step Repair Supplies
Here are the supplies you need
- Hammer
- Cold Chisel
- Safety Goggles
- Gloves
- Margin Trowel
- Steel Trowel
- Edging Tool
- Plastic Tub (for mixing cement)
- Shovel or Hoe
- Garden Sprayer
- Respirator
- Quikrete Bonding Adhesive
- Quikrete Quick Setting Cement
- Hammer Drill
- Tapcon Screws
- Flat Head Bit for Drill
- 2 Foot Level
- Grout Sponge
- Pam Cooking Spray (haha, this is perhaps the best cement tool)
- Quikrete Sealer
- Cinder Blocks
- Wood (2×8 for creating a form, I’ll explain)
- Tapcon Drill Bit
- Bucket
- These Amazon affiliate links help keep the lights on at HRT headquarters…mucho gracias
Yes, there are a lot of tools.
But read on and I’ll have a surprise at the end that could help 😉
Here’s what you’ll learn
- How to patch crumbling or broken cement steps
Your first step to fixing steps (pun totally intended, haha) is prep work.
Prep work: it’s not just for the prom, cement steps have needs too!!
I remember the prom and think cement steps need more primping than guys.
Seriously, all I did was comb my hair, buy some flowers, and rent a tux.
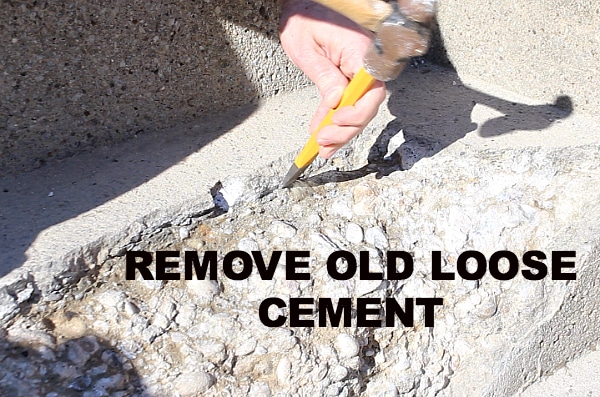
Chip off any loose or crumbling cement. You can use a hammer and cold chisel to do this.
You’ll also want to undercut the edges of the step. Undercutting is simply adding a v-shaped groove. This helps the new cement stay in place during freeze/thaw cycles.
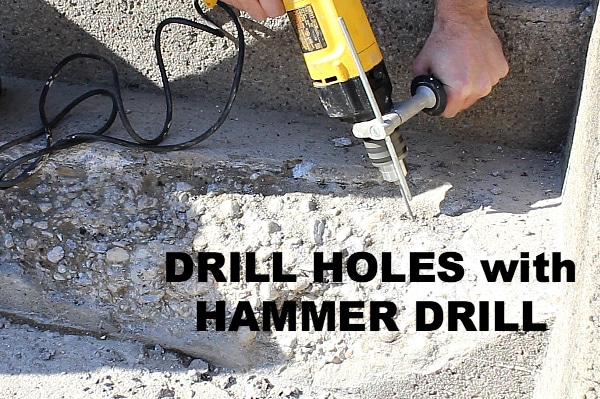
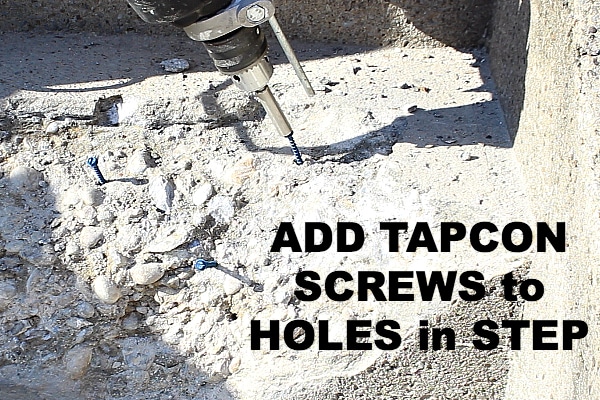
Drill holes into the crumbling step using a hammer drill and Tapcon drill bit. Stick with me here because this tip can mean the difference between your step lasting years or falling apart.
Add Tapcon Screws…They’re Awesome
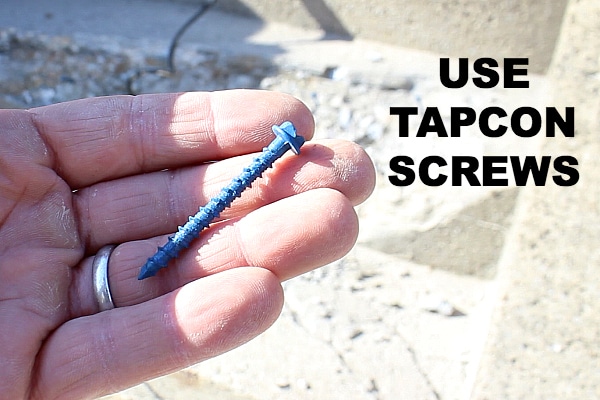
Tapcon screws can then be screwed into the holes and act as anchors for the new cement. This anchoring effect should be used on areas of the step that are steep.
You can use either your hammer drill or impact driver to tighten the Tapcon screws. I used Tapcons that were 1 3/4 inches long and like to have their heads 1/4 or 1/2 inch below the new cement.
The one thing you don’t want is the screw heads to be sticking out above the new surface. So keep this in mind when tightening them.
Apply Bonding Adhesive (Important!!!)
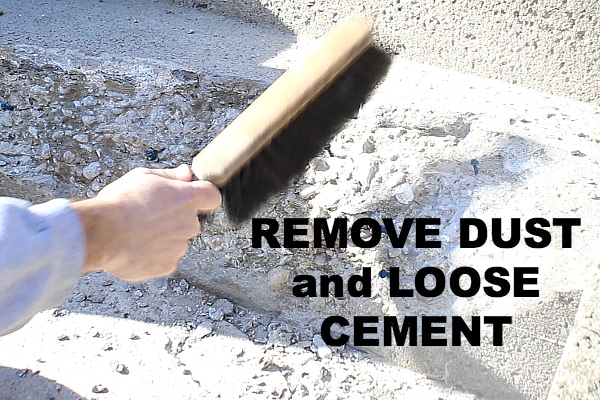
Dust off the entire step. Loose cement or dust will hurt the bond between the new cement and the old step.
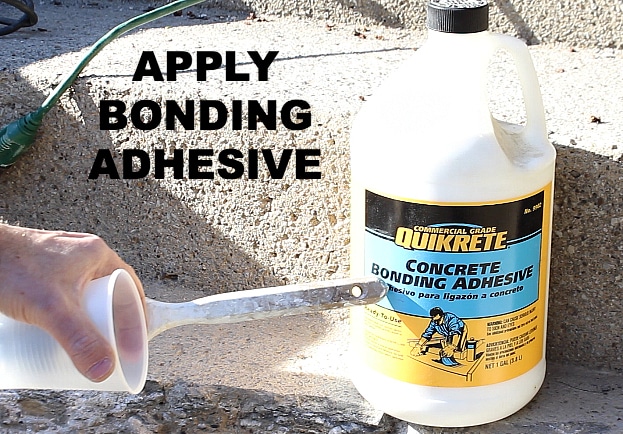
For repairs that require more than 1/2 inch of cement, you should consider using Quikrete Bonding Adhesive. This product is fabulous at getting new cement to bond with the existing step.
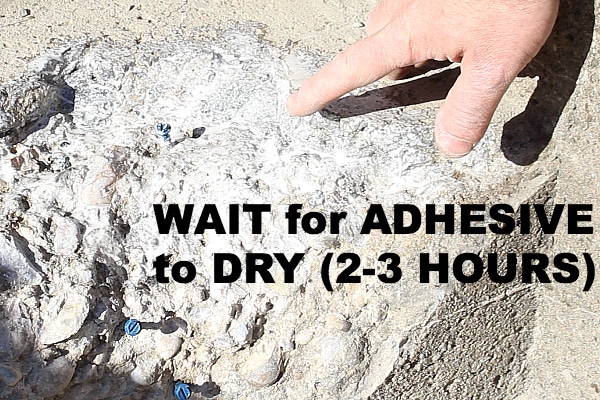
Let the adhesive dry for 2-3 hours before applying the new cement.
Now that you’re done with prep it’s time to go to the big dance. And I’ll show you all the right moves, like what cement to use and how to tool it.
Using the right cement and tools (and believe it or not, they all fit in your car’s trunk)
It’s amazing that your holiday turkey might weigh more than the cement in today’s project.
You can buy 20-pound pails of Quikrete Quick Setting Cement. So you don’t need to be a strong person to fix cement steps, contrary to most TV shows.
I like using this kind of cement because it sets up in 15-20 minutes. Yes, you’ll have to move fast but don’t worry. I’ll show you how to save time.
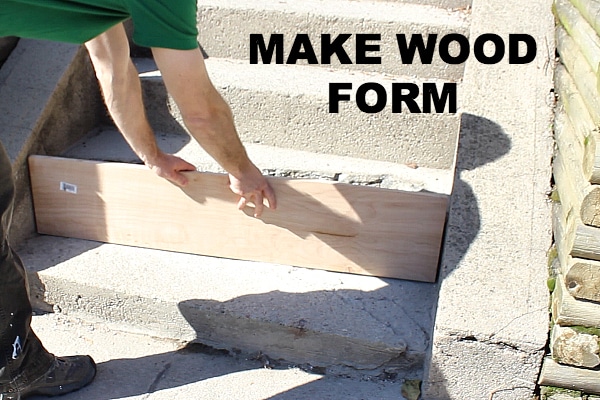
Measure the height of your step. Cut a piece of wood that’s at least that height. You’ll want the wood to also be the length of the step because it will serve as a form.
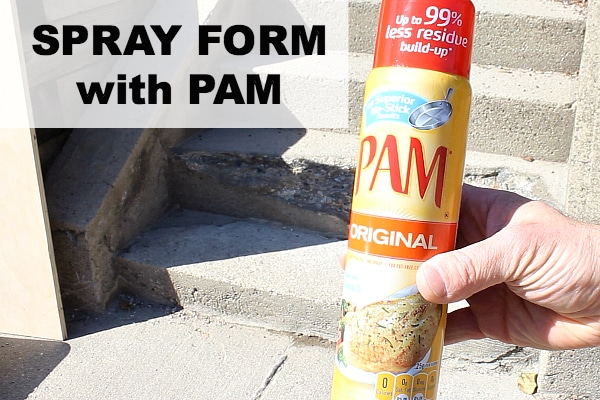
Spray the form with Pam, yes I recommend Pam cooking spray! Primarily because you probably already have it. Pam prevents your new cement from sticking to the wood form.
Trust me, Pam is a remarkable cement or concrete tool. If it stops steak or chicken from sticking to the grill then cement is no match!
Place the wood form against the step. Place cinder blocks again the wood to hold it in place.
I chose to use Quikrete Quick Setting Cement for this project for its quick drying time. And this was an absolute necessity since there’s no other way to
access the house except through these steps.
After watching my video you’ll likely have a good idea of how fast you need to work. It’s not that hard but you do need to keep track of time so that the cement doesn’t harden on you (or your front steps!!!)
Mixing the Cement (this stuff sets fast)
Before mixing up the cement have all of your tools ready so that you can move quickly.
Estimate how much cement you need then add it to a plastic tub. Create a crater in the cement then add your water. This makes it easier to mix the cement with a shovel or hoe.
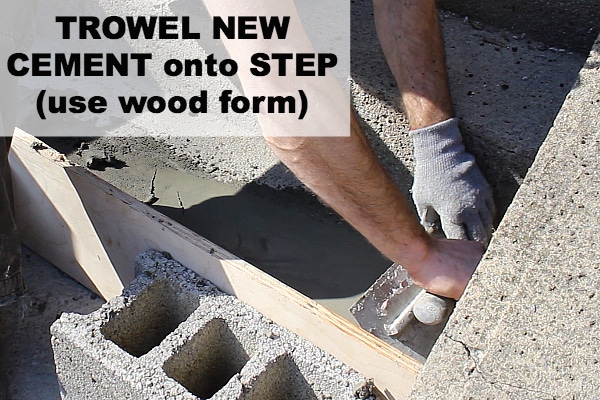
The final consistency should be like super thick ice cream. Scoop the cement up with a margin trowel and dump it between the wood form and step. Push down on the cement to compress it against the form. Once your cement is packed down you should use a steel trowel to make it level.
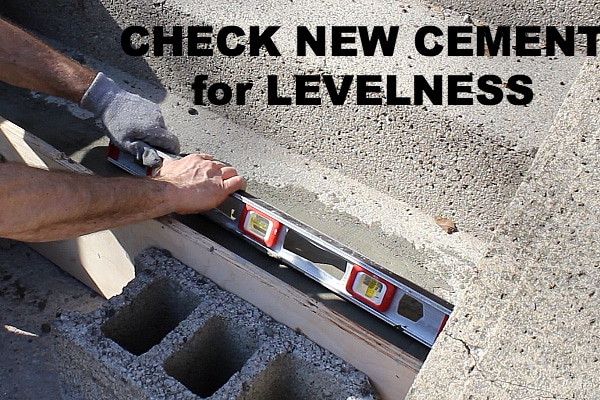
Use a level to check that it, well, is in fact level. Look for any low or high spots. Fill low spots with extra cement and remove high areas with your steel trowel.
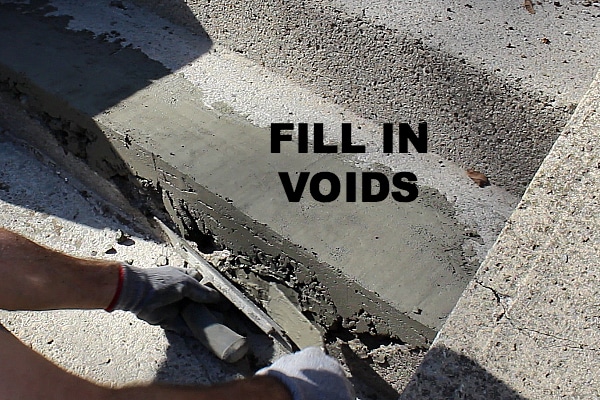
Remove the wood form and fill voids on the vertical surface. You can either use your steel trowel or level to check that the vertical portion is plumb (aka straight up and down). This process is just like the one you did for the horizontal area of the step.
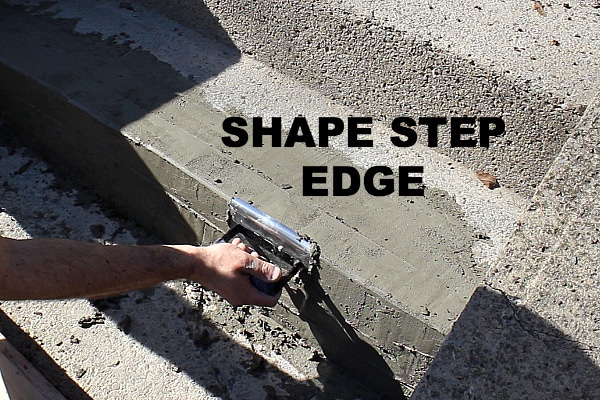
Once you’re satisfied with the shape of your step you can use an edging tool to round off the edge. This is a nice touch and also helps preserve the structural integrity of the step.
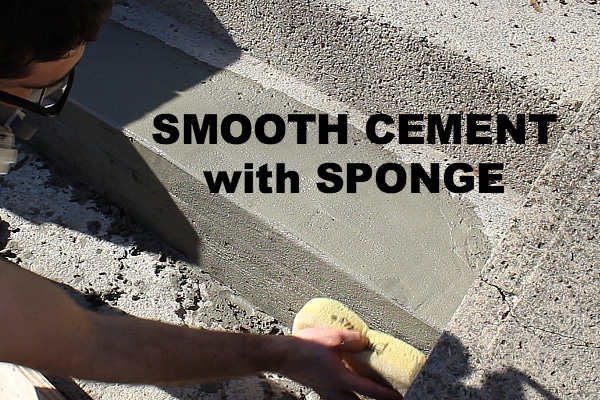
Smooth the surface of your step with a grout/cement sponge. You’ll totally love the texture the sponge leaves behind and it also gives super-smooth transitions between the old and new surface.
Steps for Longterm Success (pun intended)
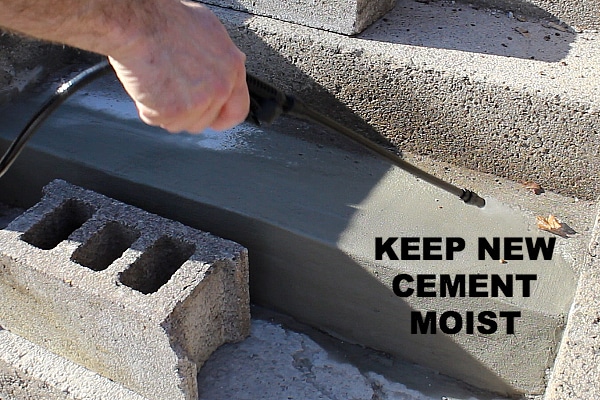
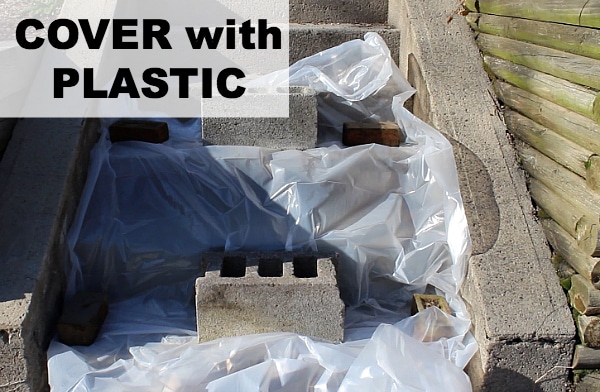
Keep the new cement moist for as long as the directions state. In this case, it’s 48 hours.
You can then cover the cement with plastic to preserve the moisture.
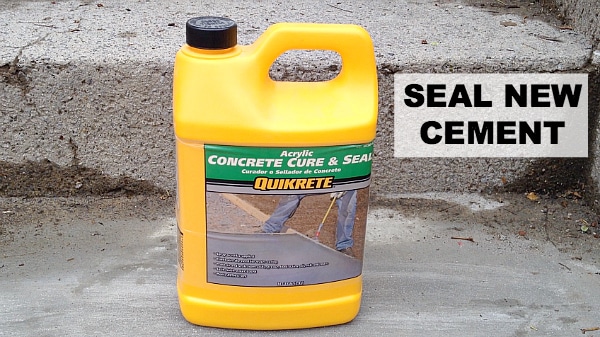
The final thing you need to do is seal the new cement. If you use Acrylic Concrete Cure and Sealer by Quikrete there’s no need to spray the cement step with water. This kind of sealer can be sprayed immediately after the cement has set up and it’ll keep the cement strong for years to come.
You’ll literally get your curb appeal back in one day by fixing your steps.
What’s Next
Our other tutorial showing how to install outdoor landscape lighting is fantastic – it’s an easy way to get curb appeal!
If you’re doing a bathroom remodel and need help, join one of our online courses – they’ll make your bathroom renovation much easier!
Let me know if you have any questions and I’ll do my best to help.
Thanks as always for reading, watching, and being part of our awesome community.
Cheers,
Jeff


