Instant home improvements are awesome!!!
So this week I wanted to share how you can wire a dimmer light switch in 15 minutes or less. Plus save at least $79 by DIYing it.
Cathy, one of our sensational fans, asked me a few weeks ago if I could do this tutorial.
She has a rotary dimmer that she’d like to upgrade.
Cathy, your wish is my command.
My mother-in-law is also a Cathy, lol. What a coincidence because the switch in this tutorial is her’s!!!
Good thing I did this project because I made a discovery that could have led to a house fire.
Okay, let me show you how to replace a dimmer switch, save some dinero, and safely upgrade your home.
Getting Started with Dimmer Switches
When we first moved into our current house I wanted to replace the dining room dimmer switch.
I made a HUGE mistake.
I removed the switch without taking a picture of the current wiring configuration.
DUH!!
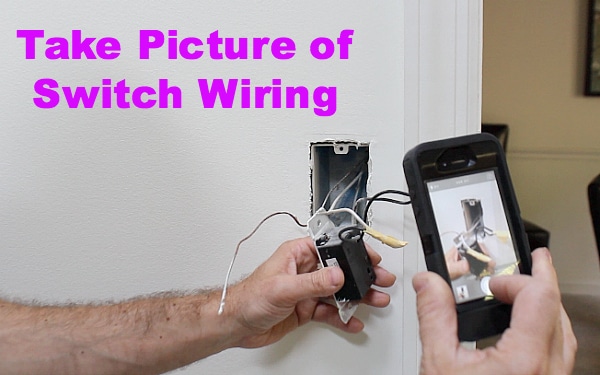
Now I do this on every single electrical project. It’s great to have a reference picture.
This is a remarkable tip and there are several more sprinkled throughout my post.
Here’s your supply list
- Phillip’s and Flat Head Screwdrivers (FREE)
- Utility Knife
- Extra Wire Nuts ($3)
- Voltage Detector ($16)
- Smartphone with Camera or other Camera (FREE)
- Emory Cloth ($4)
- Combination Strippers ($15 or Borrow)
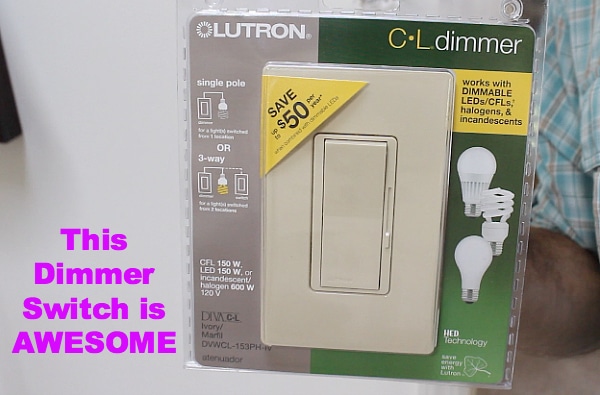
- Lutron CL Dimmer ($29 – but totally worth it)
Not a huge supply list at all.
I know the dimmer switch is pricey. But it works with single pole or 3-way electrical boxes. And you can dim almost any kind of light bulb, including LEDs.
You never know what you’re in for with wiring. I found a surprise myself during this project. I’ll show you 🙂
Stay Safe with These Tips
Never use underestimate the people who use to own your house.
Always turn off the power to the switch at the electrical panel or fuse box.
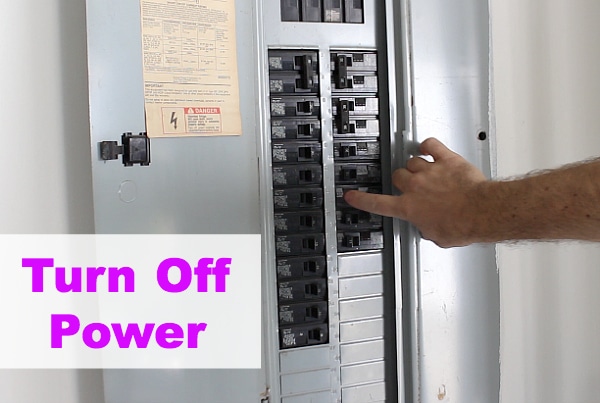
Try to turn the light back on. If it’s off that’s a good start.
Remove the cover plate to the old switch by turning the screws counterclockwise.
Score the painted wall that butts against the switch.
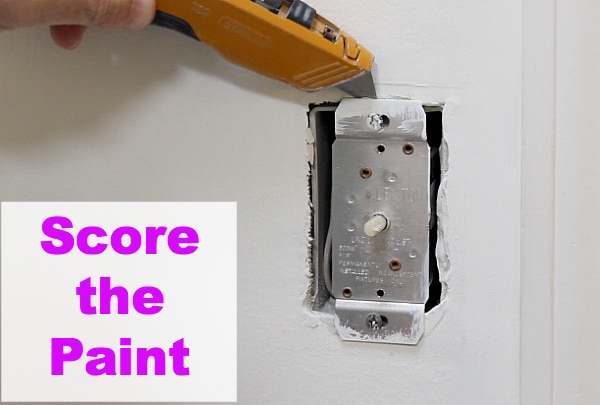
That way you won’t risk pulling the paint off the drywall when you pull the switch from the electrical box.
Grab the old switch by the metal tabs and take it out from the electrical box.
Double check the power is off by testing the wires with a voltage detector.
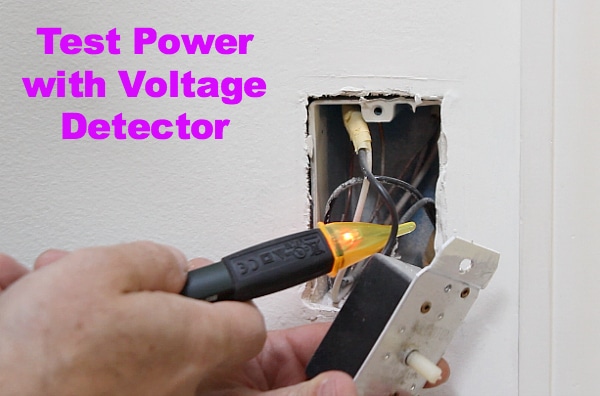
I always do this just in case there’s some kind of goofy wiring going on.
For some reason the wires in this box were spliced together with masking tape.
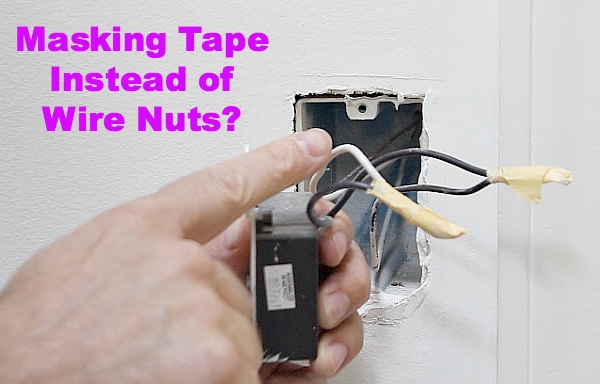
WHY????
I have no idea.
But that doesn’t fly in my household. I know this is my mother-in-law’s house but I still like her.
She doesn’t read this stuff but just in case…
Haha.
Before dismantling the wiring take a picture. Like I said earlier, this would have saved me a lot of grief early on in my DIY career.
Check all the wires for nicks or disrepair.
If the wires are in bad shape cut them with your combination stripper and strip off 3/4 inch of insulation.
Once the wires are prepped you can move onto installing the dimmer switch.
I thought I had this in the bag but actually had a slight snag. Thank goodness Lutron had my back 🙂
Wiring the New Dimmer Switch
Lutron makes the best dimmer switch in my humble opinion.
Primarily because it can accommodate either a single pole or three-was switch setup.
And you can use almost any bulb on the market (incandescents, CFLs, LEDs, and halogens).
My electrical box only had 3 wires: one white, one black and one ground.
Usually the white wire is a neutral but it turned out to be a hot wire in this case.
I figured this out after calling Lutron’s technical service line.

By the way, it was 6:02 pm on a Friday night. And it took only 5 minutes to talk to someone live.
Probably because it was Friday night.
I was pretty sure how to wire the dimmer switch but just wanted some confirmation.
And the technical rep was great. We figured it out together in about 2 minutes.
Check out my video to see how easy it was and the crazy discovery I made after removing the old switch
What’s Next
If you need help other electrical stuff this tutorial shows how to wire an electrical outlet in just a few minutes.
If you’re doing a bathroom remodel and need help, join one of our online courses – they’ll make your bathroom renovation much easier!
Let me know if you have any questions and I’ll do my best to help.
Thanks as always for reading, watching, and being part of our awesome community.
Cheers,
Jeff


