Learning to repair small drywall holes will save you money.
And the skills you learn today will help you fix large holes or even do full-blown drywall projects.
I’ll share all my pro tips, tools, and supplies that make this a lot easier.
Let’s dive in
Drywall Supplies
Having the right tools and supplies makes a huge difference.
I like using setting-type joint compound for drywall repairs, e.g. Easy Sand 20.
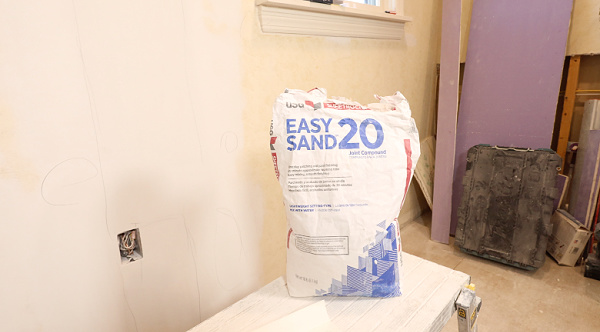
The advantages are twofold.
First, this type of joint compound sets up fast compared to premixed versions.
Second, the finished product is way harder and stronger than the premixed compound.
Here’s a link to my printable Supply List, which also has links to Lowe’s and Amazon.
I prefer using Level 5 joint compound knives versus the cheap ones.
This is mostly because they don’t rust over time, and also allow me to feather repairs exceedingly well.
But honestly, if you’re just doing a one-time repair (are you a college student?), then a homestore knife works.
Furthermore, I like small, fine-grit sanding sponges.
These are great for small to large repairs.
Now onto the repair.
Roll-Patch for Small Drywall Holes
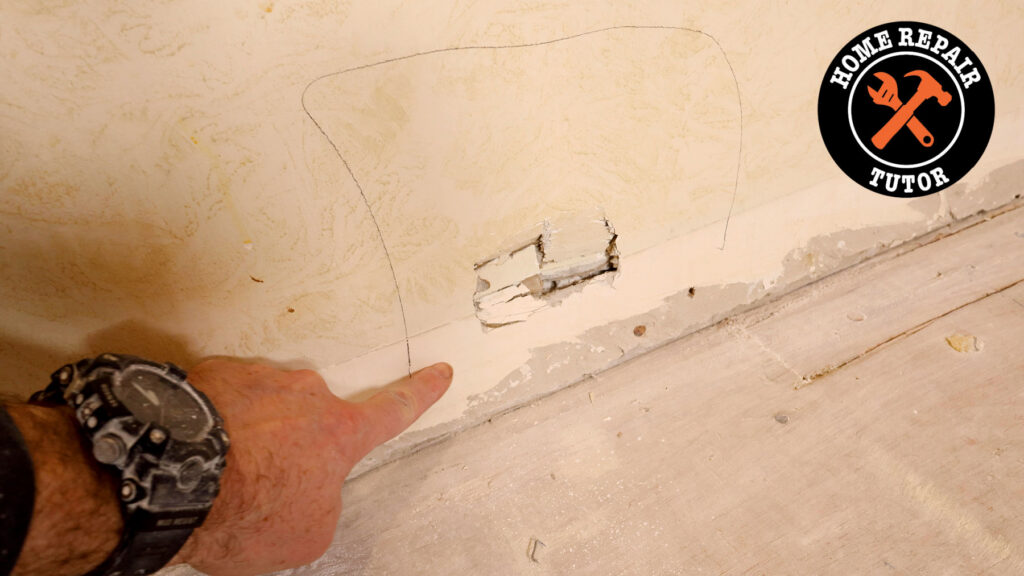
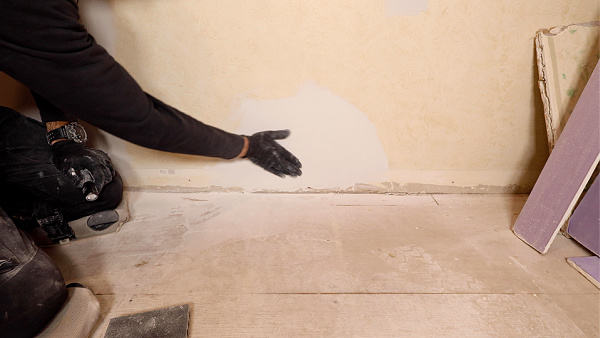
On this project I found a small hole near the baseboard.
This was probably caused when someone removed the baseboard.
Honestly, it wasn’t me this time!
It’s easy to accidentally create a small hole with a hammer or prybar.
Fortunately, the old drywall was crushed into the wall.
As a result, I used Strait-Flex Roll-Patch which is made from a PVC fiber composite and very strong.
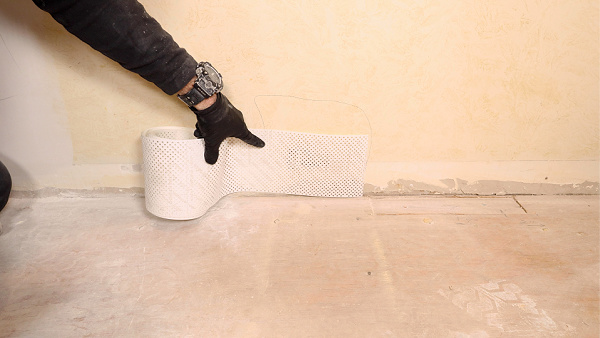
I like making the Roll-Patch about 2 to 3 inches bigger than the drywall hole. That way, it’ll reinforce the repair.
However, if you don’t have this situation, you can fill the hole with spray foam, e.g. Great Stuff Big Gap Filler.
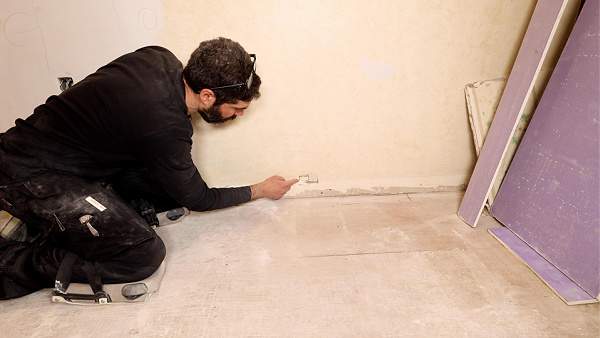
Here are the step-by-step instructions for how I patch the hole
- Cut the Roll-Patch – use scissors or a utility knife to cut a piece of the Roll-Patch that extends 2 inches beyond the hole
- Fill the drywall hole – if the drywall has collapsed on itself and support by insulation, fill it with setting-type joint compound
- If the cavity is small, use Great Stuff Big Gap filler to fill it, allow the foam to cure, and cut it flush with the wall
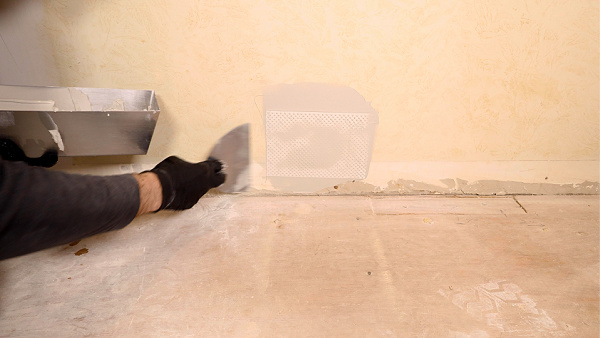
- Apply joint compound – use a 6-inch joint compound knife to apply setting-type joint compound to the wall
- Embed Roll-Patch – immediately embed the Roll-Patch and compress it into the joint compound, making the patch as flat as possible
- Feather the area – use a 10-inch joint compound knife to apply more joint compound in a semi-circular motion
- Apply more pressure to the outside edge of the knife to feather the compound smooth
- Allow the joint compound to cure for 1 to 2 hours or until it’s dry to the touch
Here’s a Pro Tip: mix the setting type joint compound to a thick but smooth consistency.
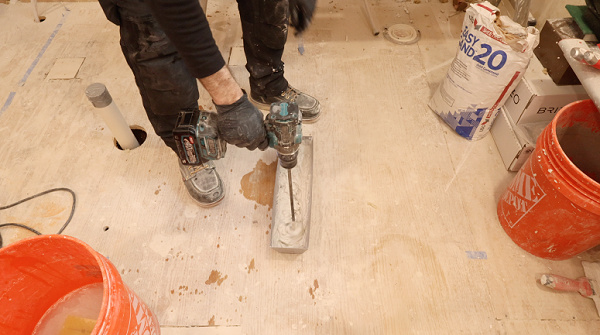
I liken the texture to a thick Wendy’s Frosty on a cool day in Pittsburgh (Go Steelers!).
Normally, I mix joint compound in a metal mud pan with 2-inch and 6-inch joint compound knives.
And somtimes I’ll use a drill with a mixing paddle. But don’t overmix the compound because pinholes will develop (more on that later).
How to Sand Drywall Patches
I like setting-type joint compound because it speeds up the drywall repair.
And I use fine-grit sanding sponges to get great results.
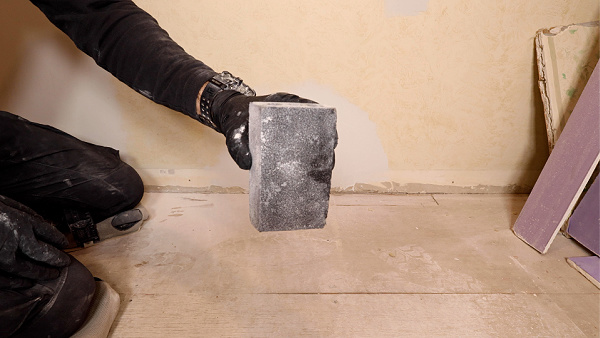
Here’s my step-by-step guide for sanding drywall patches
- Knock down high spots – use a 6-inch joint knife to knock down any joint-compound high spots
- Lightly sand the outer edges – use circular motions to lightly sand the outer edges of the patch and any rough areas
- Shine light on the patch – place a flashlight on the wall and shine light on the patch to see any low or high spots and sand them down
- Wipe off drywall dust – brush off the patch with an old paint brush to remove dust
- Prime and paint – prime the patch with Kilz 2 primer, allow it to cure per the directions, and apply the topcoat
- I like using 3/8-inch Purdy White Dove rollers for semi-smooth to smooth walls
Sanding in circular motions and using the flashlight will produce super smooth results.
Here’s another Pro Tip: if you see pinholes in your drywall, don’t panic.
Instead, use DAP DryDex to fill the holes with a small putty knife. Since it has primer it it, you can simply paint over the small repair with a brush or roller.
Here’s my step-by-step video tutorial, which has some extra tips
Learning to patch small drywall holes is part of living in a home or apartment.
I have a ton of great courses on how to plumb showers & sinks, waterproof/tile showers, install bathroom floors, and more inside Home Repair Tutor – it’s one of the best online resources for anyone renovating a bathroom or home. Tap the button below to learn more
Jeff