Do you ever day-dream about how to fix your squeaky floors?
Both the Mrs. and I wake up at 5 a.m. We try not to disturb our daughters while getting ready for work. But the squeaky floors in our bedroom and hallway make this a challenge.
After reading this post I guarantee you’ll discover how to easily fix the squeaky floors under your carpet in no time. Plus, there’s a surprise at the end that you don’t want to miss.
The floor repair kit that solved our squeaky floor problem is called Squeeeeek No More. After seeing it on an episode of This Old House I immediately went to my local hardware store and bought one.
At around $20 this is without a doubt one of the best DIY purchases I’ve ever made-right up there with my impact driver.
Here’s what you need to fix your squeaky floors:
- Squeeeeek No More (floor repair kit)
- Extra screws for Squeeeeek No More
- Drill
- Tape measure
- Hammer
- Stud finder
- These Amazon Affiliate links help support HRT…many thanks for using them.
It’s pretty cool that the supply list is short (unlike my grocery list that boggles the human mind and slims the wallet like Jenny Craig). Some of the tools you might not need, so keep that in mind.
I’m super excited to share my tutorial with you!! Let’s get started 🙂
The First Step in Fixing Squeaky Floors is a No Brainer: Find the Squeak
Finding the squeak in your floor is pretty easy. Walk over the carpet until you hear the creaking then mark off this area with string or yarn.
The squeak is caused by the wood subfloor that isn’t properly attached to the joist. You need to screw down the subfloor to the joist.
Joists are the horizontal wood beams that support the weight of your home. They are parallel to each other and span the length or width of your house.
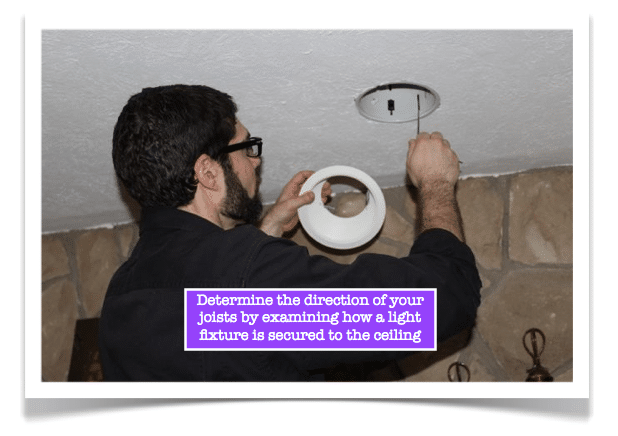
Determining which way joists run can be a pain. Here’s a BIG TIP: If you’re trying to find the joist direction on your second floor remove a light fixture on the first floor.
Typically the fixture is screwed to the joist. Therefore the screw indicates the joist location.
In our case, I removed a recessed light and inserted a wire hanger through a slot to confirm the direction of the joist (making MacGyver proud, oh yah).
Find the Joist Location
Once you’ve determined the joist direction you have three ways to find its location under the carpet.
- Use a stud finder
- Tap the carpet with a hammer to find the difference in sound over the joist and adjacent empty bay
- Utilize the special joist finding tool in the Squeeeeek No More kit
If a stud finder doesn’t work I highly recommend you use a combination of #2 and #3 together.
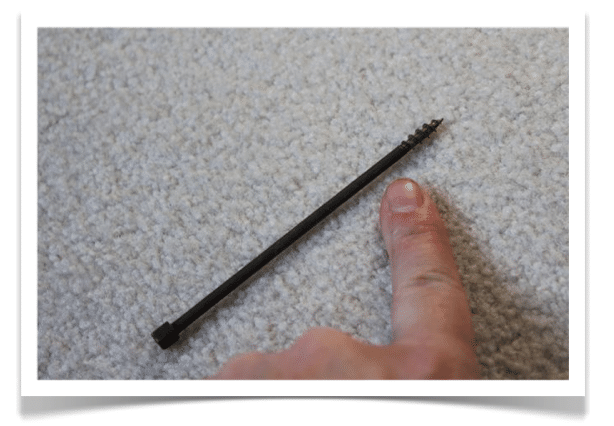
Tap the squeaky floor with the hammer until you hear a different pitch sound. This indicates a joist. Confirm your suspicion by drilling the joist finding tool through the carpet.
This tool is like a drill bit but only has 4 threads then a smooth shaft. The smooth shaft allows the tool to drill through the carpet without hurting it.
In addition, because there are so few threads on the joist finding tool it will only push itself back up through the wood subfloor if it is in a joist. This allows you to determine whether you found the joist or not.
I drilled through the carpet with the joist finding tool in 1/2 inch increments to verify the joist position.
Once you find one joist you’re set. Since joists are spaced every 16 inches you can use a measuring tape to measure 16 inches to the left or right to find the next one.
Again verify your findings with the joist finding tool.
The next step is to use the rest of the Squeeeeek No More floor repair kit. You’re going to love it 🙂
Use the Squeeeeek No More Floor Repair Kit
The Squeeeeek No More floor repair kit comes with these items
- Tripod fixture for carpeted floors (aka Alignment & Depth Control fixture)
- Fixture for hardwood or linoleum floors
- 50 specially scored screws
- Square driver bit with a stop
- 2 joist finding tools
Squeeeeek No More can be used to fix floor squeaks under carpet, hardwood, and linoleum. This post only deals with carpet but you can visit the product’s website to get the tutorials on hardwood and linoleum.
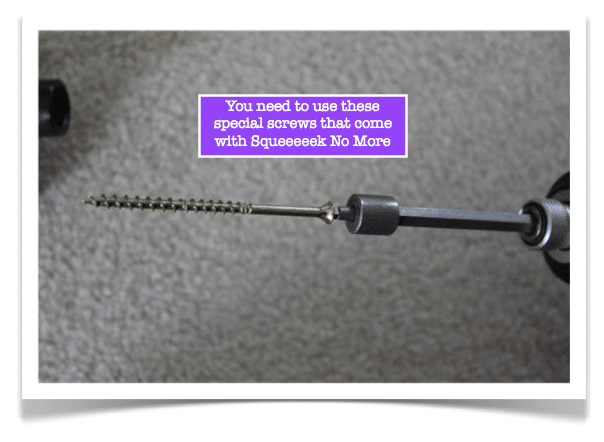
Here’s how the floor repair kit works: the special screws have 8 threads per inch on the first inch and 9 threads per inch on the second inch then a score line.
The change in thread count allows the screw to pull the wood subfloor tight to the joist. In addition, the threads of the special screw are coated with wax which prevents the carpet from being damaged.
The Step-by-Step Instructions
Place the tripod fixture down over the joist.
Insert the square driver bit into your drill and put a screw on the end of it.
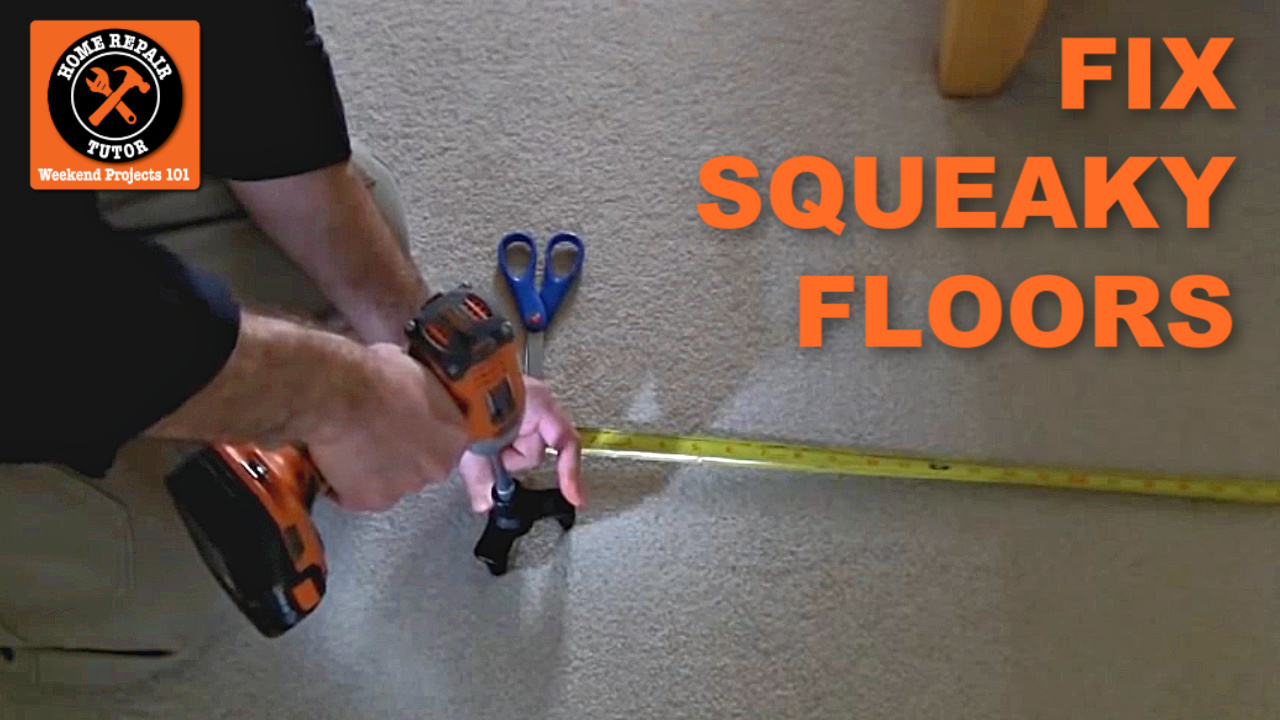
Push the driver bit/screw through the tripod fixture and drill the screw through the carpet, into the joist.
You’ll know the screw is down as far as it can go when you hear it rumble. The screw heads (at least in my case) were about 1/4 inch above the carpet.
This will pull the wood subfloor super tight to the joist and fix the squeak in your carpeted floor.
Turn the tripod fixture over on its side.
Slip the screw gripper on the tripod fixture over the screw head.
Then rock the tripod fixture left to right. This will snap off the screw head at the score mark which is below the wood subfloor and carpet.
PRETTY AWESOME!
You won’t feel or see the screw in your carpet.
Trust me here, I wouldn’t have used this product if there was any chance that my wife would cut her toe on a screw head.
Here’s a video that shows you just how easy this process is for anyone to do. In the beginning of the video I accidentally called the joist a stud, too little sleep can do that to you.
We had a particularly stubborn floor and I had to use several screws in a 3 foot by 5 foot section of our bedroom.
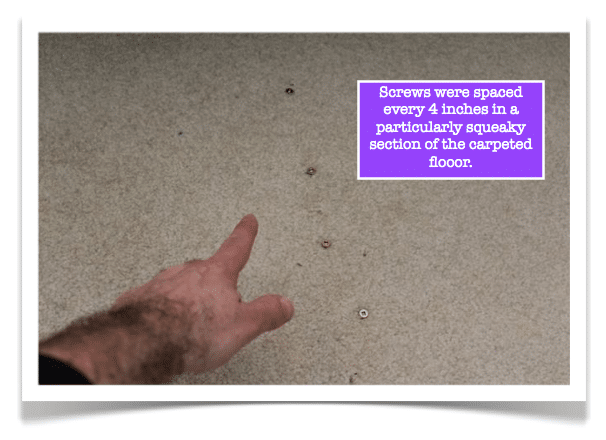
Here’s a photo of all the screws in the carpet and the screw heads after I broke them off.
If you still hear a slight squeak simply add more screws to the problem area and you’ll be good to go. You can space the screws every 8 inches along a joist. I ultimately had to add screws every 4 inches on a particularly squeaky area.
In Summary…
So, the steps to fixing a squeaky carpeted floor are
- Find the squeak
- Locate the joists in the squeaky area
- Screw down the subfloor to the joist
- Break off the screw head
- Pat yourself on the back cause you ROCK!
Who knew it would be this simple. I certainly didn’t.
This is one weekend project that will make you look like a home improvement hero.
What’s Next
Hope you liked the tips in today’s tutorial. Our tutorial showing how to remove old carpet is also very handy.
If you’re doing a bathroom remodel and need help, join one of our online courses – they’ll make your bathroom renovation much easier!
Let me know if you have any questions and I’ll do my best to help.
Thanks as always for reading, watching, and being part of our awesome community.
Cheers,
Jeff


