In this course, you’ll learn how to install the Schluter DESIGN-NICHE from start to finish.
This shower niche is a great option for situations where low maintenance and modern design are the goals.
Each lesson below has
- Timestamped instructions
- Printable step-by-step instructions
- Engligh and Spanish video captions
Schluter DESIGN-NICHE Overview
Shower niches that require minimal maintenance are ideal for many people.
While tile is beautiful, it requires regular cleaning.
The Schluter DESIGN-NICHE is made of powder-coated aluminum and provides ample storage without the need for tile.
DESIGN-NICHEs can be installed horizontally or vertically, are fully waterproof, and available in a variety of colors.
They are great for showers, bathrooms, and other wet areas. Additionally, the adjustable frame accommodates flush or reveal edge installation for tile thicknesses ranging from 1/8 inch (3mm) to 2-3/16 inches (55mm).
The niche is available in three sizes
- 12″ x 12″ (298 mm x 298 mm)
- 12″ x 24″ (298 mm x 598 mm)
- 12″ x 48″ (298 mm x 1198 mm)
Currently, it’s available in nine TREDLINE colors
- Bronze
- Cream
- Dark anthracite
- Greige
- Ivory
- Matte black
- Matte white
- Pewter
- Stone grey
The DESIGN-NICHE brochure below has more details and color samples
Framing and Tile Tips
Proper framing is important for every shower niche.
This lesson shares how to frame the DESIGN-NICHE to ensure continuous grout lines for a seamless look.
- Schluter DESIGN-NICHE introduction and benefits (0:01)
- Plan the tile layout before determining the DESIGN-NICHE location (0:25)
- Transfer the niche location onto the shower backerboard (2:00)
- Remove the niche frame from the powder-coated box (3:05)
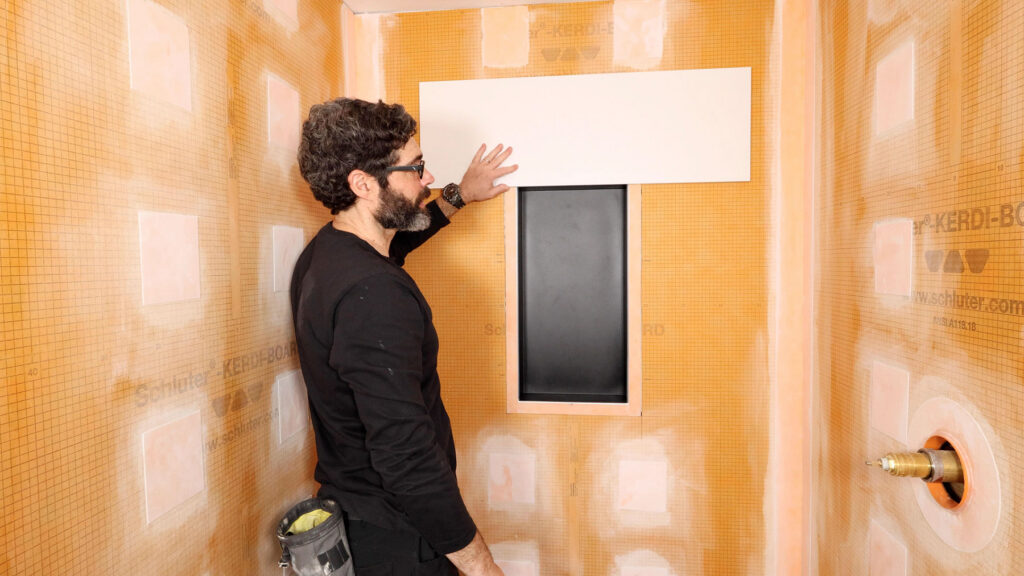
- Place the niche frame on the wall, make it level, and trace its dimensions (3:15)
- Remove any Schluter KERDI-BOARD screws and washers (6:00)
- Use a sharp utility knife to cut the outline of the niche frame (6:05)
- The niche frame should be supported on all four sides with lumber (6:25)
- Add 2×4 studs on the top and bottom of the stud bay (6:49)
- Use the DESIGN-NICHE foam spacers to adjust the location of the 2x4s (7:10)
- Pre-drill the 2x4s about 1 inch from the edge with a countersink bit (7:35)
- Use 3-inch screws on the left and right to secure 2x4s to the vertical studs (8:00)
Niche Installation
The DESIGN-NICHE can be installed with a reveal or flush with the tile.
This lesson shares how to bond the niche to the framing so that the wateproofing and tile installation are easy.
- Apply Schluter KERDI-FIX to the 2×4 framing using a tight S-pattern (0:01)
- Press the foam spacers for the niche frame into the KERDI-FIX (0:35)
- Dry-fit the niche frame to see if it’s even or subflush in relation to the KERDI-BOARD (1:35)
- Set the depth of the niche (accounting for tile and mortar thickness) using the provided nuts (2:20)
- Check the niche depth with a tape measure at all four corners (3:39)
- Dry-fit the niche into the wall and use the wall tile to double-check the niche depth (4:05)
- Use painter’s tape to protect the exposed perimeter of the niche (4:55)
- Place the painter’s tape about 1/4-inch from the niche frame (5:10)
- Apply KERDI-FIX to the foam spacers using a tight S-pattern (5:48)
- Firmly press the DESIGN-NICHE into the KERDI-FIX and foam spacers (6:29)
- Immediately check that the niche is level and use spacers to adjust the height (6:55)
- NOTE: spacers can either be cut flush with the wall or removed after the KERDI-FIX cures
- Fasten a Schlute rscrew and washer 1/2 inch from the niche frame at the four corners (7:40)
Waterproofing
Shower niches should be fully waterproof and complement the tile installation.
This lesson shares how to waterproof the DESIGN-NICHE against Schluter KERDI-BOARD.
- Apply KERDI-FIX between the shower niche and frame (0:01)
- Use a DAP caulking tool to smooth the KERDI-FIX and make it flat (0:25)
- Add Schluter ALL-SET around the niche perimeter using a 5-inch joint compound knife (1:30)
- Create notches in the ALL-SET with a Schluter KERDI trowel, hold the trowel at a 45-degree angle (2:22)
- Embed the KERDI frame into the thin-set and KERDI-FIX (2:58)
- Make the KERDI frame flat with a 5-inch joint compound knife or Schluter Embedding tool (3:21)
- Cover any additional screws and washers with 5-inch KERDI squares (4:14)
- Use a damp sponge to remove excess thin-set from the wall (4:40)
- Remove tape that’s on the shower niche (5:10)
- Sponge off any thin-set that’s on the niche (5:20)