Nrdly
Get Nrdly Free Trial Built with Nrdly

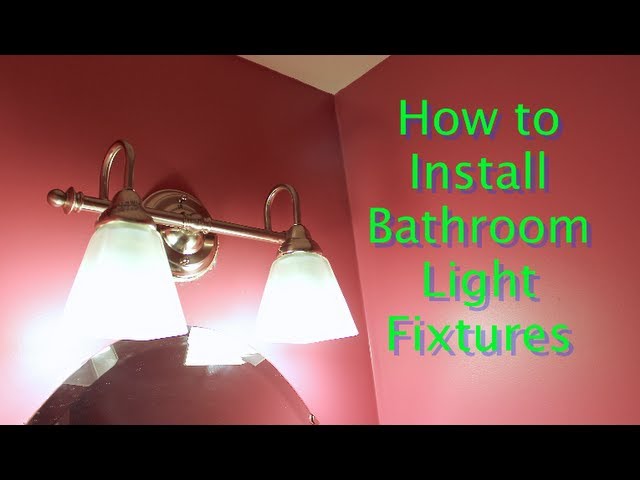
Bathroom Light Fixtures by Lowe’s

Have you ever felt like your bathroom light fixtures need to be thrown in the trash, but you’re too afraid to do something about them?

If you’re normal, that answer is yes.

Here’s the good news

Anyone and I mean anyone, can replace an old drab bathroom light fixture.

Today, I’ll share several tips I’ve learned over the years that I wish someone would have told me about.

Lets’s dive in!

How to Change Bathroom Light Fixtures

Light fixtures are pretty simple to change out.

But you do need some tips to do it safely. Here’s a good checklist to help you get started:

  1. Turn off the power at the breaker or fuse box
  2. Take off the olf glass sconces and light bulbs
  3. Unscrew the old fixture’s nuts
  4. Remove the fixture and test the electrical wires with a voltage detector
  5. Undo the hot wires, then neutral wires, and finally the ground wire
  6. Replace the old mounting bracket with the new one
  7. Wire the ground wire from the light to the mounting bracket
  8. Wire the neutral wires then the hot wires
  9. Add the light to the wall and secure it with the decorative nuts
  10. Add the sconces, tighten the sconce nuts and insert LED light bulbs
  11. Turn on the power at the breaker box and enjoy the fruits of your labor

This step by step tutorial will show you how to swap out your old fixture for a new one.

What’s Next

Bathrooms also need GFCI outlets – so don’t forget to install a GFCI in all your bathrooms.

If you’re doing a bathroom remodel and need help, join one of our online courses – they’ll make your bathroom renovation much easier!

Let me know if you have any questions and I’ll do my best to help.

Thanks as always for reading, watching, and being part of our awesome community.

Cheers,

Jeff


Bathroom Light Fixture Installation

  1. pauline dodd says:

    thanks for sharing .. you made it look easy … so easy ..I can do that .. thanks Pauline ..

    1. Thanks Pauline, you can do this and it will look awesome. Make sure to send me pictures.

      🙂

  2. Linda S says:

    Thanks for the video. I’ve replaced a fixture, but I like your tip about scoring the paint before pulling the old fixture away from the wall. Good video.

    1. Hey Linda,

      Thanks, that tip has saved me some grief. You can do it for thermostats, switch plates, furnace grates, or any surface that’s been painted.

      Jeff

  3. Joe says:

    Questions and comments. You keep calling the glass shades sconces, sconces are specific wall mounted light fixtures, those are just the shades. Can you really cut a screw with the wire stripper? I don’t see how, I’ve had a hard time trying to saw a screw shorter with a hack saw and then the nut wouldn’t go over the end since it was rough from cutting it. Also, shouldn’t the screws be the right length since they came with the fixture? I would complain to the store about that, they should give you new screws for free. Did you try using the bracket that you already had in the wall, looks like it might have worked and you wouldn’t have to change it. I’m not being snarky, just want to know details.

    1. Hi Joe,

      Thanks for the questions. Yes these are shades. Sometimes my mind plays tricks on me while making the videos and this is one if those moments. But honestly you could make an argument that this small light is almost a sconce (I could have turned the shades upward, haha).

      You can cut a screw with the combination stripper if it has holes in it to do so. It’s rather easy and the decorative nut fit on it just fine.

      The old bracket wouldn’t have worked because the screws were in the wrong position for the lamp. I tried this idea 🙂

      The only reason the new bracket didn’t work is because our junction box was recessed a bit. But the longer screws worked great. I’ve experienced this issue before and that’s why I had extra screws. Hope this helps explain my reasoning.

      Jeff

  4. Jenny says:

    Very nicely done! I think I’m going to give this a try next weekend!

    1. You can do it Jenny. If you’ve got any questions send me an email. I may not have all the answers but can certainly try to help 😉

      Jeff

  5. Bernice says:

    HI, appreciate this video..hubs is deathly afraid of anything electric, so we still have the long fluorescent tubes in the main bath. With a box around them and plastic sheeting for the light to come through. ugly , yes. What would I like to do in the bathroom? 1.change lighting 2.Put in a dresser/highboy type looking vanity, 3. have a nice curved long necked faucet , oh! 4. a big sink, so I can hand wash sweaters!!! Big dreams for a 30+yr old dbl wide mhome! (liking the outtakes, and the no beard! 🙂

    1. Well Bernice I think you can tackle this project head on. Sounds like the lights might be hard to start with but the vanity wouldn’t be difficult.

      I was bummed that the beard had to go. It subsequently clogged the sink-LOL. I’ll keep the outtakes coming just for you 😉

      Jeff

  6. Shasha says:

    Thank you for making this video, it’s extremely helpful. I’ve always enjoyed doing DIY projects but stayed away from anything that involves electrical wiring. Now, I can finally change the ugly light fixture in my bathroom! I’m also going to be repainting, would it be best to remove the old fixture, paint, and then mount the new one?
    If so, could I put something on the wires or junction box and turn the power back on while I paint? and just turn it back off before I put in the new fixture?

    1. Hi Sasha, thanks for your kind words. I would recommend removing the old light, painting the room, then installing the new fixture.

      You could also leave the old light in place, paint the other 3 walls and when it’s time to paint the 4th wall that the light is on just remove it and use a lamp plugged into an outlet on a different breaker or fuse. That way you don’t need to fiddle with the junction box.

      I can’t wait to see your new lights 🙂

      Make sure to send me some pictures.

      Jeff

      1. Shasha says:

        Thanks Jeff, will definitely take your advice on that and send some before and after photos when everything is done.

        Hopefully, I’d be able to plan out my little bathroom makeover and acquire the materials needed to tackle this project by the weekend. Aside from painting and changing the lights, I’ll be adding some storage space, re-caulking the tub, cleaning and sealing the grout (will be trying out the GrimeBuster 3000 with oxiclean) and figure out if I want/can do something about the flooring. Quite a challenge with a pretty limited budget. Would it be alright to get in touch with you if I have any questions?

        I’m absolutely loving your website. Everything is explained in such a clear and simple manner with lots of helpful photos and videos, it’s practically idiot-proof. You rock!

        1. Thanks Shasha, and you can totally email me anytime. I’d love to help you with your project. I could talk about bathrooms all day long, they are such a critical room in the house. Everyone uses them!!!! Talk with you soon.

  7. Brett says:

    Nice work. The previous bathroom light fixture was a single bulb type connected to the side of the medicine cabinet. I’m sure it was all the rave back in the 1960s but it needed an update. We just added a new two bulb fixture above our mirror in our small 15 sq ft bathroom this past weekend. Had to cut a hole, insert one of the twisty braces since there wasn’t a nearby stud, add a box, and rewire. It looks great now! Thanks for all the great work.

    1. Thanks Brett, glad to hear your light is now from modern day instead of the Kennedy era 🙂

      Your fix was a bit more involved but sounds like it went smoothly.

  8. Alex says:

    Where can I find those brackets ? I have try home depot with no success.
    Thanks

Leave a Reply

Your email address will not be published. Required fields are marked *